Garden hose repair, 3/4 inch
prusaprinters
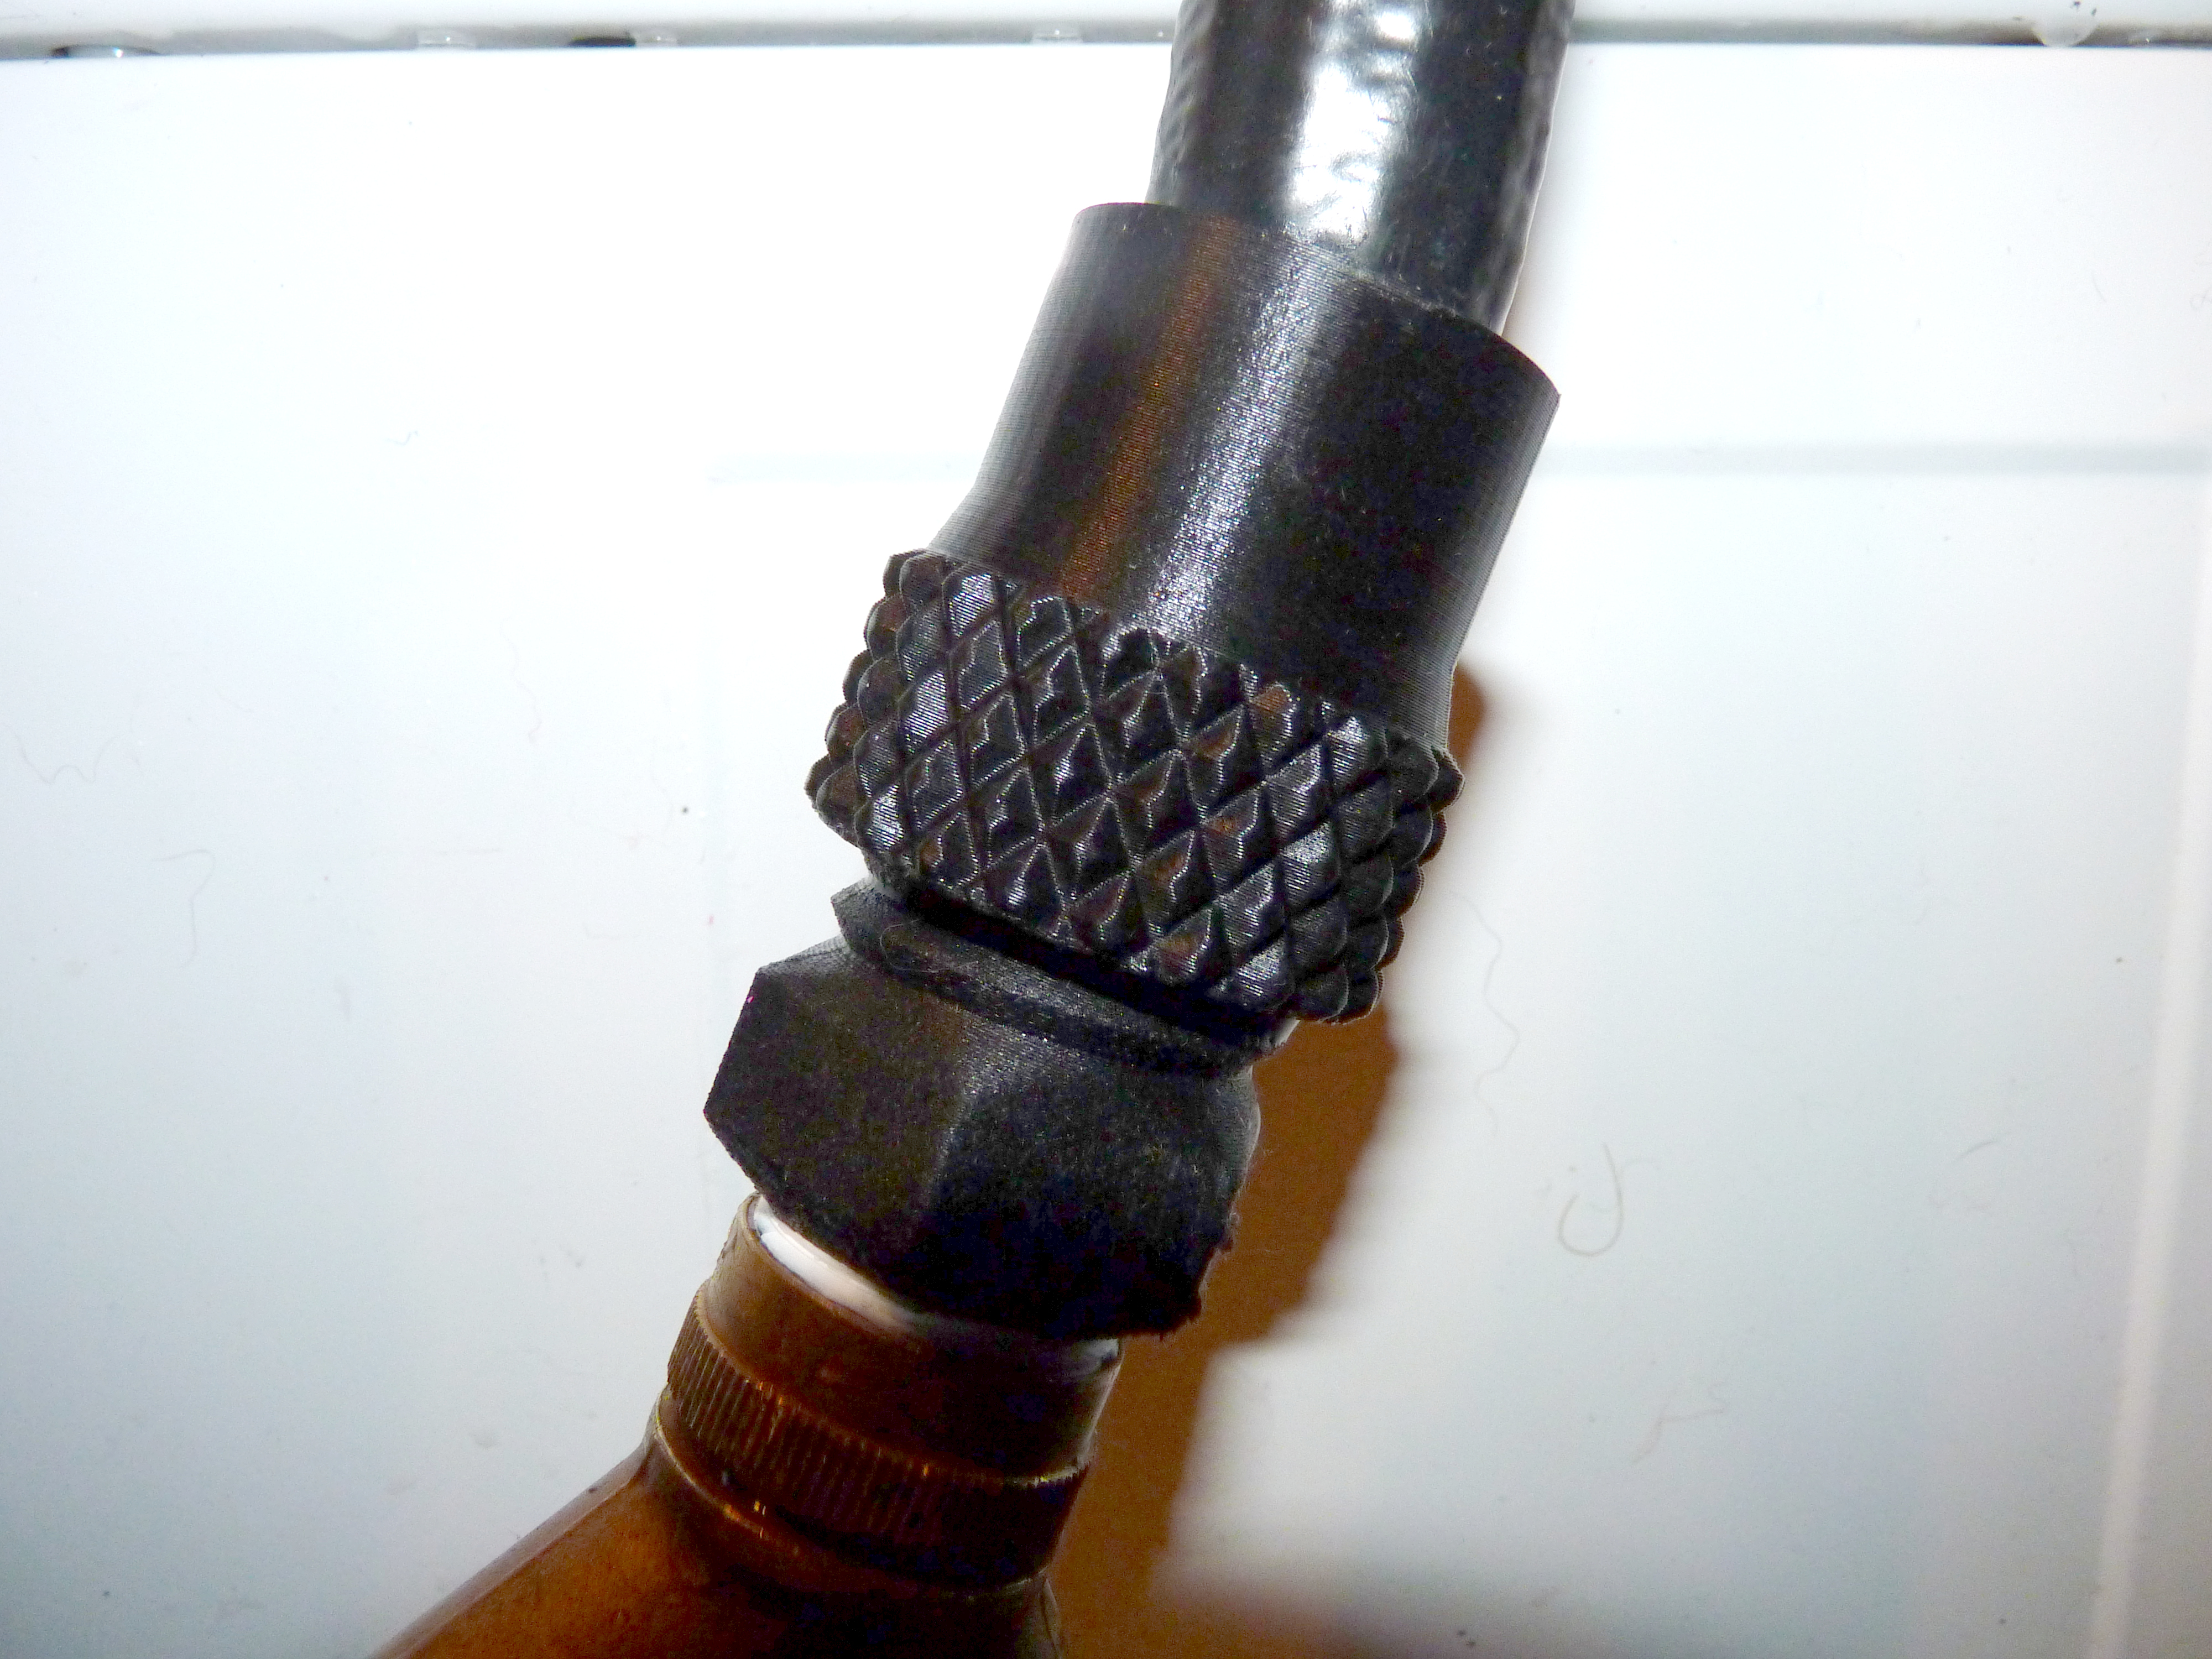
<p>mildot's original ¾ inch parts (https://www.thingiverse.com/thing:1636812) did not fit the hose I wanted to use them on (the insert/male end was too small and the nut was too big. The hose in question has a 1 inch outer diameter, and ¾ inch inner diameter with a spiral ribbing molded into the lining. </p><p>In the process, I re-drew them in a much higher resolution, and truncated the tips of the knurled surface on the clamp nut so as not to hurt my hand.</p><p>Cleanly cut off the broken fitting, slide the “clamp nut” over the hose, smooth end first, and back a few inches, push the hose “end” piece into the hose, put a few drops of plastic-safe oil on the clamp threads and hose end threads, then push the clamp nut up and screw it onto the end piece.</p><p>Because of its small diameter and relatively thin walls, I highly advise using your "strongest" print quality profile (I.e. thick walls, dense infill, hotter temperature than normal, you get the idea). Use your toughest/most durable filament for the “end” piece. I chose Atomic brand carbon fibre Nuclear Nylon. It's the clamp nut that actually supplies most of the strength of the assembly, but you don't want to risk breaking the “end” piece before the nut is torqued down. The clamp nut is less fragile since it's so thick, so plain old PLA would probably be fine, though I used Atomic carbon fibre PETG.</p><p>I also recommend wrapping pipe tape around the fitting threads, but then again I'd use it on a brand new metal fitting as well. :-)</p><p>The end/insert piece has a *very* tight fit. Be prepared to use some muscle. The clamp nut is more “normal” to start out, but you're probably gonna have to really torque it down to get a good seal around the end/insert's barbs.</p><p><strong>Changelog</strong></p><p><strong>2021-02-27:</strong> My initial try worked well enough to make the hose usable, but leaked a little, so I made the end piece's barbs a bit bigger, tapering from where they were in the first draft, up to about 3 mm larger in diameter at the clamp threads. Also, I added a 1⅜ inch hex to it to give something reasonable for a wrench to grab onto when torquing down the lock nut. The new parts are now watertight.</p>
With this file you will be able to print Garden hose repair, 3/4 inch with your 3D printer. Click on the button and save the file on your computer to work, edit or customize your design. You can also find more 3D designs for printers on Garden hose repair, 3/4 inch.