Garfield
thingiverse
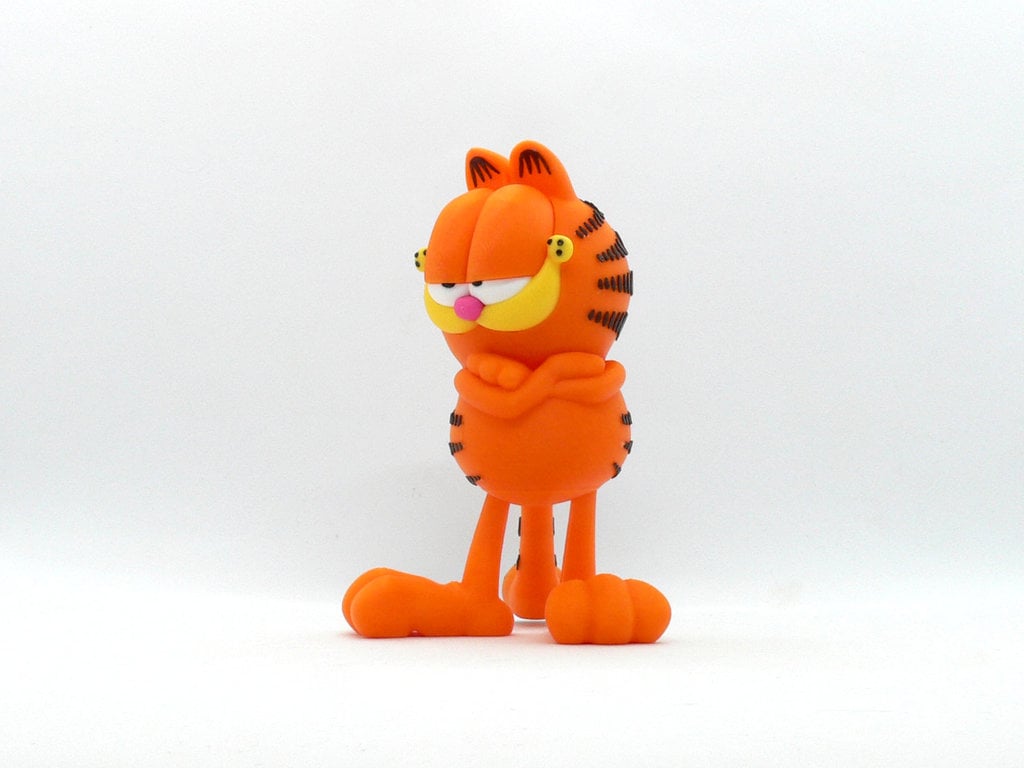
Garfield, from an American comic strip, Garfield, created by Jim Davis. He is characterized as being lazy, obsessed with eating, has a love of coffee and lasagna, a disdain of Mondays and diets. Garfield is also shown to manipulate people to get whatever he wants. No supports are required. Two optional parts are supplied if you prefer to paint the stripes instead of using the supplied stripes (see very important notes below about the stripes). If you have the proper filament colors, no painting is needed. The assembled model is 165mm tall. Enjoy! ........................................................................................................... Special shoutout to maker Benoît Lussier for providing QA printing and quality feedback. Benoît also provided the instructions for printing and applying the stripes. **Important** See notes below and extra text file about the stripes. Be warned, the application of the stripes can be tricky. ........................................................................................................... **Print Instructions:** Supports: No Resolution: .2mm Infill: 10% Notes: ........................................................................................................... **Building the model** Colors Black: (Paramount3D PLA - Black) eye_black_right eye_black_left ear_black_left ear_black_right face_dots (contains six pieces of various shapes for texture) tail_black .. Yellow: (Paramount3D PLA - Simpson Yellow) mouth .. White: (Paramount3D PLA - White) eye_whites .. Orange: (Paramount3d PLA - Mc Laren Orange) body_top body_top_smooth (optional piece without indents for stripes) body_bottom eyelids foot_left foot_right tail_orange tail_orange_smooth (optional piece without indents for stripes) .. Pink: (CookieCad PLA - Hot Pink) nose .. Color change printing at .2mm layer height with two black layers and two orange layers: 1_flat 2_flat 3_flat 4_flat 5_flat 6_flat 7_flat 8a_flat 8b_flat 1_tail_stripe 2_tail_stripe 3_tail_stripe .. Any color: (hidden piece): pin_body .. ........................................................................................................... **Printing and assembly tips** Printing tips 1 - No supports are required. Two optional parts are provided, body_top_smooth and tail_orange_smooth, if you prefer to paint the stripes instead of using the supplied stripes. The regular parts have slight indents in them to help guide the gluing of the supplied stripes. 2 - There are some pieces that may need brims or rafts, use your discretion. When setting up my prints I prefer to be conservative to ensure the least chance of a print failure, especially since the base of many parts are hidden when inserted into another part. *I used brims on: - face_dots - eye_black_left - eye_black_right 3 - **Important** The stripes need to be printed with a color change. Printing at .2mm layer height, the first two layers are black and the top two layers are orange. Note to Simplify3D users. S3D typically defaults to 150% first layer height and must be changed to 100% for the stripes to be printed correctly with the color change. 4 - Be sure to read the file 'stripe notes.txt'. It was put together by Benoît as part of his QA testing. 5 - Due to the shape of the body_bottom piece, it is a good idea to print it at a lower layer height. This is not required, just suggested for a smoother looking part.. 6 - The eye_black parts and face_dots are very small. It may be wise to print extra copies in case you drop them. 7 - The face holes for the face_dots are sized to fit 1.75mm filament as an option to printing the small dots. You can cut a peice of filament to put in the hole directly instead of printing the dots. I posted the dots to allow people that resize models up to have a proper part to put in the holes. 8 - When removing parts from the printer bed, it's a **VERY** good idea to place left/right parts into separate containers to help with the assembly process. Sometimes the difference between the left and right parts is very small but it is still worth keeping track of them and assembling them in their proper place. .. Assembly tips: 1 - Take your time gluing the model together and enjoy the process. Give some thought into which parts to glue together as groups and then gluing the groups together. Let the glue for each group set completely before combining groups. 2 - **Important** Be sure to download and read the file 'stripe notes.txt'. It was put together by Benoît as part of his QA testing. I think he did a better job than I did in applying the stripes. 3 - I used 3D Gloop and E6000 to put this model together. Each type of glue has different pros/cons and I found that 3D Gloop was far easier to use than superglue (for me). The E6000 sticky glue that I also use allows more time to position parts and is still the best for smaller parts. 3D Gloop covers the middle ground for me and really works wonders. It leaves enough time to set, so parts can be positioned correctly and it dries fast enough to hold awkward parts without the need for taping. I used the PLA version that comes in a tube. For both glues using a smaller amount is usually better than more glue. 4 - Refer to the assembly diagrams in the pictures section as well as the uploaded pictures for putting the model together. The model is meant to be glued. Do not hesitate to ask questions, feedback is essential to making better models.
With this file you will be able to print Garfield with your 3D printer. Click on the button and save the file on your computer to work, edit or customize your design. You can also find more 3D designs for printers on Garfield.