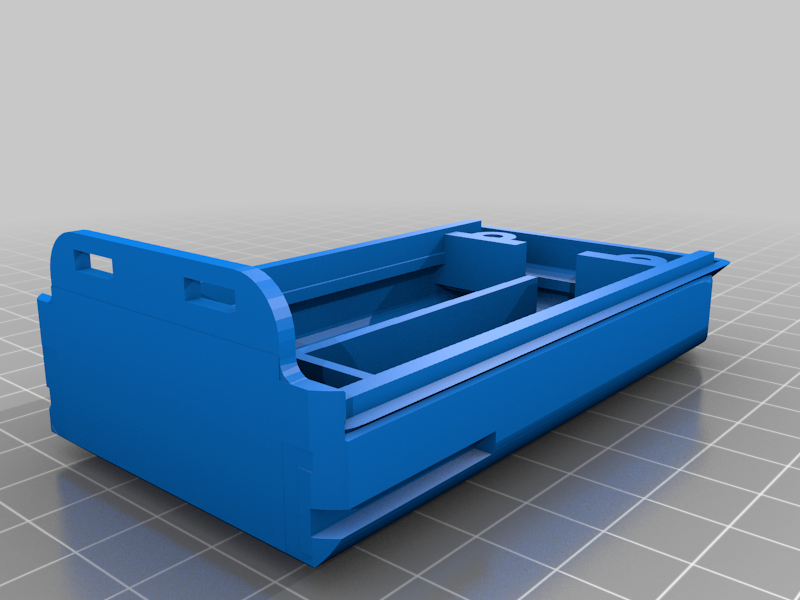
GD-77 18650 battery pack
prusaprinters
<p>This is a remix of <a href="https://www.thingiverse.com/thing:2742838">https://www.thingiverse.com/thing:2742838</a> </p><p><strong>PLEASE NOTE: I do not present this as a full function replacement for the OEM factory battery pack. Any use is at your own risk. This design was simply a method to house two 18650 batteries. No consideration was given to addition of battery protection circuitry.</strong></p><p> Having said that, I did revisit my build & later incorporated a BMS board ( I used this one https://www.amazon.com/gp/product/B0842Q1F68 ). It is a tight fit, but does fit inside the pack on top of the batteries. You have to route your connections properly. I used AWG 20 silicon wire for the BMS connections.</p><p>Zvones52o did the heavy lifting with his battery eliminator back piece for the GD-77 <a href="https://www.thingiverse.com/thing:2742838">https://www.thingiverse.com/thing:2742838</a> , I just made some mods in Tinkercad to accommodate addition of two 18650 batteries.</p><p>My version uses threaded inserts for screwing the parts together & holes are roughly sized for using inserts for 3mm flat head beveled screws. Electrical contact points for charger & radio are made from nickle plated strips intended for spot welding batteries into packs. A dollop of solder creates a raised area for the contact. You may want to explore alternative approaches.</p><p>The tinkercad workspace can be found here:<br/><a href="https://www.tinkercad.com/things/gwjK4Wsbj8v">https://www.tinkercad.com/things/gwjK4Wsbj8v</a></p><h3>Print Settings</h3><p><strong>Printer:</strong></p><p>Ender 3</p><p> </p><p><strong>Rafts: </strong></p><p>No</p><p><strong>Supports:</strong></p><p> </p><p>Yes</p><p> </p><p><strong>Resolution: </strong></p><p>0.2mm</p><p><strong>Infill:</strong></p><p> </p><p>20%</p><p><strong>Filament:</strong> any PLA+ <br/> </p><p><strong>Notes: </strong></p><p>I printed the back piece vertically with supports everywhere. If you do this, be sure to have enough separation between supports & model to facilitate removal. This is true for both walls and support interface. 15% support density was plenty for mine. Other orientation may work better for you, but I wanted a flat bottom & no support removal marks on the outer skin.</p><p>Assembly can be made simpler by using solder tab batteries at the expense of losing the ability to remove the batteries for external charging. The spacing of the existing battery contact mounts were initially intended for bump top batteries but I actually ended up using solder tab flat face batteries & folding the tabs into a tight bundle.</p><p> </p><h3>Post-Printing</h3><p><strong>connections</strong></p><p>Battery contacts will be based on user preference. I used a combination of both glued on & clipped on battery contacts. Check fit up with regard to the latch. You may need to fine tune with sandpaper or file to get an easy release. I used heat to insert the brass threaded inserts for 3mm screws, you may want to fill in the insert holes & use pointed screws to simplify the build. I had the inserts available so I used them.</p><p> </p><p> </p><p>Category: Electronics</p>
With this file you will be able to print GD-77 18650 battery pack with your 3D printer. Click on the button and save the file on your computer to work, edit or customize your design. You can also find more 3D designs for printers on GD-77 18650 battery pack.
