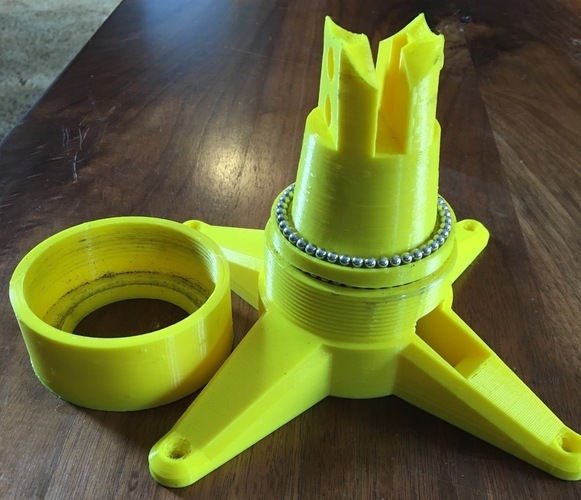
Geared Lazy Susan, Robotic Arm Project
pinshape
I've Included the Fusion 360 project with this update. This redesign completely solves the issue of side to side slop from the old rotating base by adding a bearing swashplate. For bearings, use BB's for a BB Gun; Airsoft BB's might also work, but I don't have any to test. If you try it, leave a comment so everyone else will know too. This gearbox is recommended: http://www.thingiverse.com/thing:2101218. You'll only need Ring Gears #1 & #2 for this joint, along with the one-piece sun gear and 3-module long planet gears (not 4). Check out these links: http://www.thingiverse.com/thing:2153317 (EZ Print Arm) and http://www.thingiverse.com/thing:2105057 (Original Robot Arm Design). The third module of the gearbox seems to be going unused inside the top cover, but it actually supports the top end of the planet gears. There's room for the #3 ring gear, but installing it would add drag, backlash, and make disassembly impossible. If you use the EZ print design, make sure to use this custom center ring holder. The bullet-looking spacers fit into the holes and keep all the pieces in tight alignment; this attachment method is extremely rigid and a major improvement over the original design. To design the attachment for this, I turned the entire robot upside-down - not much of a change. The main difference is that my parts listed in the EZ print robotic arm "thing" are labeled upside-down now.
With this file you will be able to print Geared Lazy Susan, Robotic Arm Project with your 3D printer. Click on the button and save the file on your computer to work, edit or customize your design. You can also find more 3D designs for printers on Geared Lazy Susan, Robotic Arm Project.
