Geeetech A10T: 40mm Noctua Mainboard Fan
thingiverse
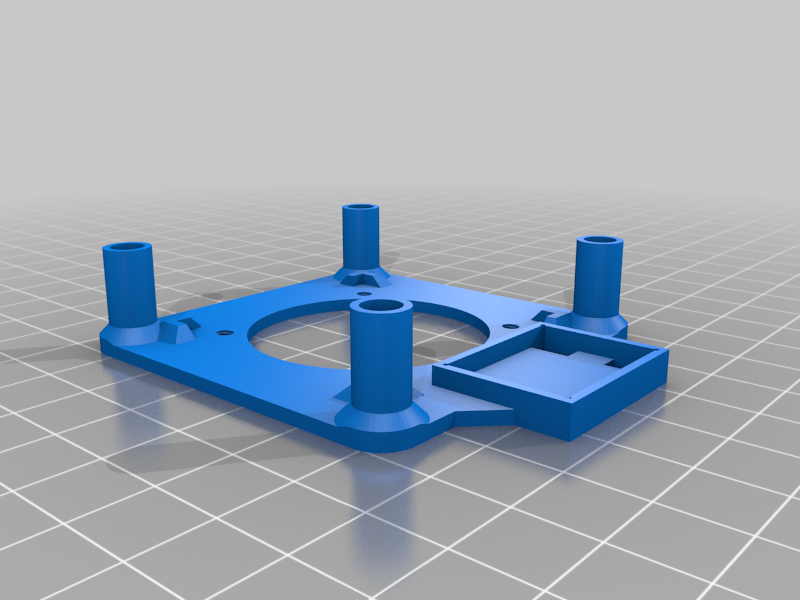
I really like my Geeetech A10T as it fits perfectly in a LACK enclosure for temperature stable printing, but... yes, a 320 bucks 3-color printer does for sure have some flaws but a self-loosing Z axis and the tremendously loud 60mm mainboard fan are surely something that needs to be fixed. Let's start with the fan: Checking the height of the original jet turbine mounted (15mm), fitting a 60mm Noctua does not work unless you're starting a complete housing redesign, since the fan has to be mounted "somehow in between" to avoid blocking the leveling screws of the heated bed (controlled by a <b>dedicated </b>MOSFET which most likely killed the budget for a proper fan...) and keeping the possibility to safely screw the lid to the lower part. A search for a quiet fan in the parts box revealed the 40mm Noctua which was planned to be attached to the U30pro (was replaced by a 60mm one) but never did the job. <b>What you need:</b> 1. Use 4x M3x15 screws to fix the Noctua to the printed adapter - the holes should fit with some slight pressure (threads available). 2. Knowing the Noctua is running on 12V only, apply a buck converter (24V => 12V) in the small cut-out next to the fan and cut & solder the wires directly to the fan. 3. crimp 2 wires to a 2pin JST PH2 connector to connect to the motherboard (you'll find the right assignment for +/- printed on the board)
With this file you will be able to print Geeetech A10T: 40mm Noctua Mainboard Fan with your 3D printer. Click on the button and save the file on your computer to work, edit or customize your design. You can also find more 3D designs for printers on Geeetech A10T: 40mm Noctua Mainboard Fan.