Geodesic(k) RGB LED Spheres
prusaprinters
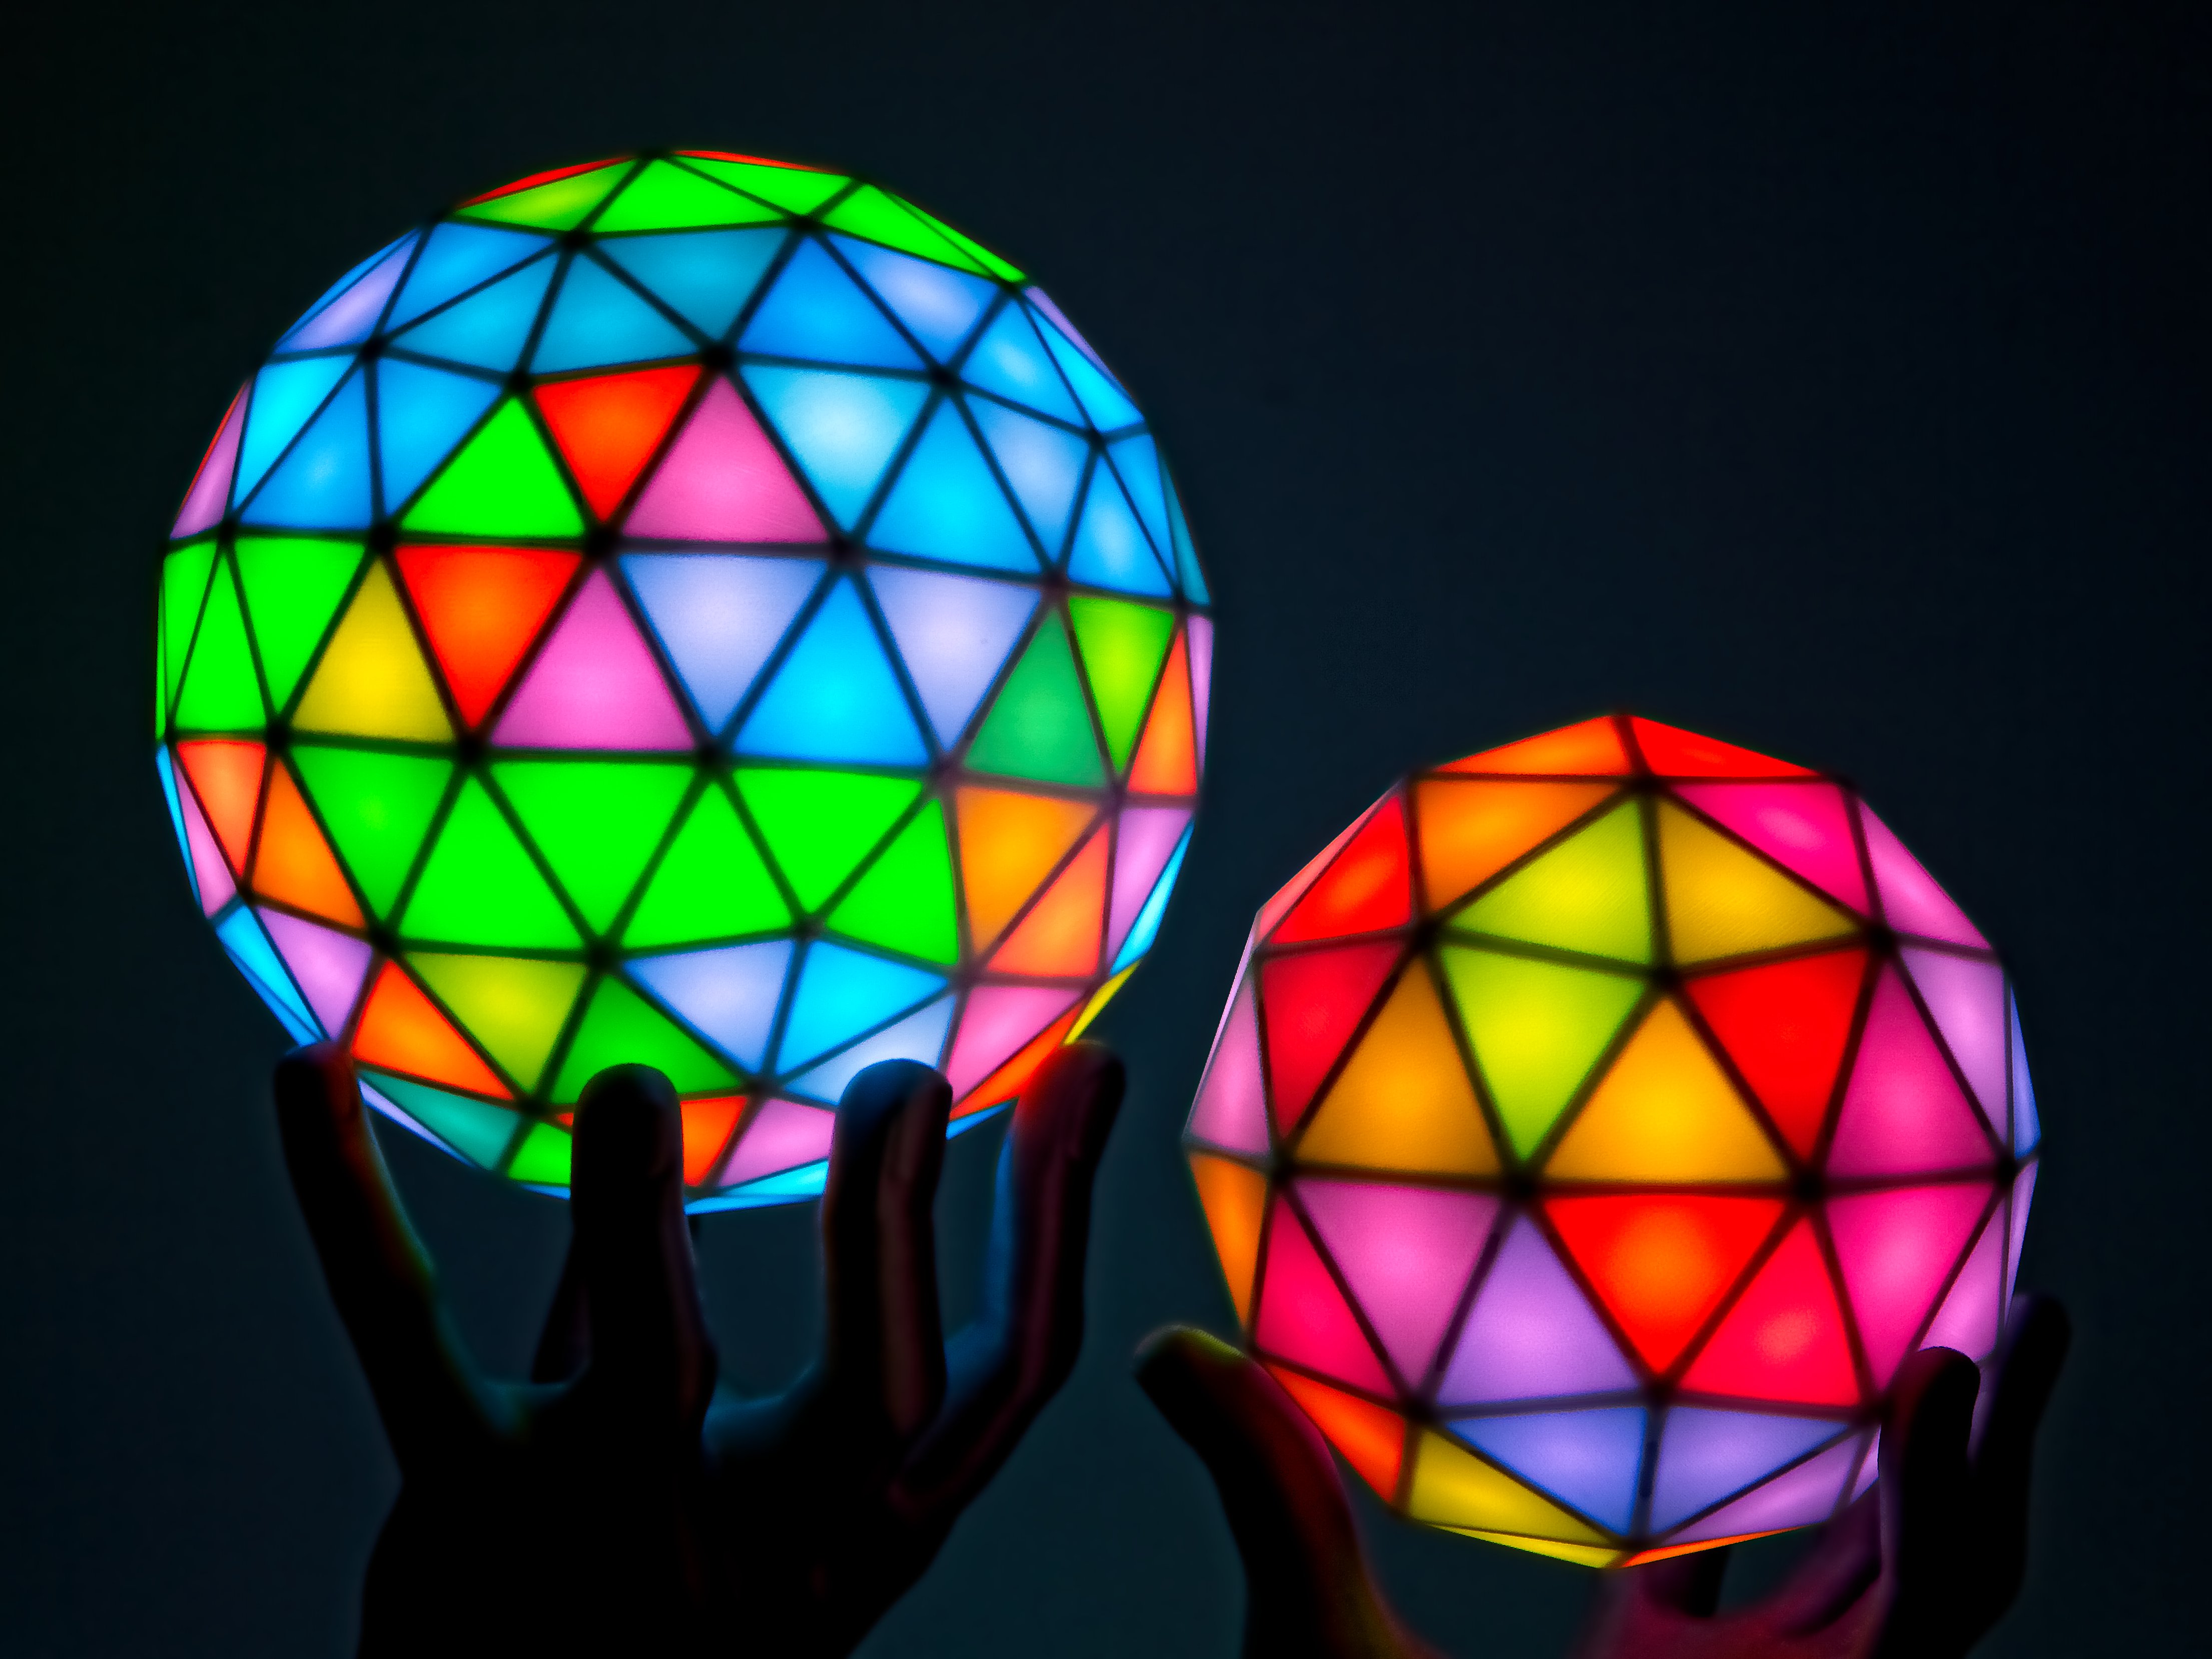
<p><a href="https://youtu.be/rSOMBKVU9OY">Watch this short video to see them in action</a></p> <h3>VERY IMPORTANT NOTE</h3> <p>This is not a simple print, assemble and enjoy project. It requires quite some experience, basic knowledge in electronics, a good amount of patience and probably some nerves (it's worth it!). I'll try to give you as much informations as possible to make it easier for you.</p> <h3>Updates</h3> <p><strong>07.09.2020:</strong></p> <ul> <li>Replaced all geodesic STL files<br/> (they now are oriented in the ideal position to print)</li> <li>Added Cura profile download for MK3S</li> <li>Added another layer screenshot (Improve accuracy)</li> <li>Added "Program code" section</li> </ul> <h3>Introduction</h3> <p>My submission for Prusas "Lights and 3D printing" contest in September 2020. <strong>(Don't forget to give it a like...)</strong></p> <p>Two RGB LED spheres in the shape as you may know it from geodesic domes, but as a full sphere.</p> <table> <thead><tr> <th>Size </th> <th>Type </th> <th>Diameter </th> <th>Faces</th> </tr> </thead> <tbody> <tr> <td>Small</td> <td>2V</td> <td>125 mm</td> <td>80</td> </tr> <tr> <td>Large</td> <td>3V</td> <td>180 mm</td> <td>180</td> </tr> <tr> <td> </td> <td></td> <td></td> </tr> </tbody> </table> <p>Since i spent well over a hundred hours on this project, I would like to start with the story behind it and the process to get to the final version.<br/> If you don't give a sh... about the story, just scroll down to the printing part (it's important to read it!).</p> <h3>The story</h3> <p>Some of you may know the Chaos Communication Congress (with around 17'000 people) happening every year between Christmas and New Year. And as every year I thought about a project i could work on or show there (this became some kind of a tradition for me).</p> <p>I knew it should have RGB LEDs involved, nothing more. So i started to click through Google, Youtube and 3D printing sites searching for ideas. One evening I found <a href="https://youtu.be/E2HVLBBQtZI">this video</a>, which got me started looking into geodesic spheres, not knowing where this will lead to.</p> <p>Many evenings later i had a very rough idea how it could look like.</p> <h3>The way from PoC to final version</h3> <h4>The beginning</h4> <p>Everything starts with a proof of concept. Will it work at all?</p> <p>This was my first "quick" try using single RGB LEDs from a W2812B LED strip:</p> <p><img alt="" src="https://whity.ch/shared/prusaprinters/geodesic2v3v//IMG_6286.jpeg"/></p> <p><img alt="" src="https://whity.ch/shared/prusaprinters/geodesic2v3v/IMG_6285.jpeg"/></p> <p>I also made a <a href="https://youtu.be/foYUhmWjkbs">video of it</a>.</p> <p>This looked quite promising already.</p> <p>To calculate the correct lengths of the single triangles I used <a href="https://www.ziptiedomes.com/geodesic-dome-calculators/2v-geodesic-dome-calculator.htm">this online calculator</a>.</p> <h4>Make it bigger</h4> <p>The next step was to find a way to assemble the single triangles. This was the part taking the most of the time...</p> <p><strong>Note:</strong> At the beginning I printed the first few layers in white PLA and the rest in silver, because i hoped to get brighter tiles and a better separation between the single triangles. Turned out later that this isn't needed at all. Printing it in white only works perfectly fine.</p> <p>Used tape to glue together four single triangles as precise as possible and then glueing together five of them to a full circle.</p> <p><strong>Note:</strong> A slightly wrong angle in the design adds up...</p> <p><img alt="" src="https://whity.ch/shared/prusaprinters/geodesic2v3v/IMG_6292.jpeg"/></p> <p><img alt="" src="https://whity.ch/shared/prusaprinters/geodesic2v3v/IMG_6293.jpeg"/></p> <p>Fixed the wrongly calculated angle i my design.</p> <p><img alt="" src="https://whity.ch/shared/prusaprinters/geodesic2v3v/IMG_6296.jpeg"/></p> <p><img alt="" src="https://whity.ch/shared/prusaprinters/geodesic2v3v/IMG_6297.jpeg"/></p> <p><img alt="" src="https://whity.ch/shared/prusaprinters/geodesic2v3v/IMG_6299.jpeg"/></p> <p>Hot glue FTW!</p> <p><img alt="" src="https://whity.ch/shared/prusaprinters/geodesic2v3v/IMG_6309.jpeg"/></p> <p>I didn't like the gaps between the bigger triangles and the not very nice looking corners, as you can see in <a href="https://youtu.be/l3IhUsIUOqA">this video</a>.</p> <p>Also the accuracy was not good enough for a full sphere. Again, a small error adds up. It simply would not look as amazing as i want it to look like.</p> <p>So, the search for a better solution began...</p> <h4>Improve accuracy</h4> <p>Printing it as a half sphere in one part was not an option as it would become quite tricky and not look really nice at the end either.</p> <p>I came up with the idea to print multiple triangles flattened out, like a single strip, and then glue them together. This will reduce the potential of errors a lot.</p> <p>As i have no pictures of the single parts I made a rendering:</p> <p><img alt="" src="https://whity.ch/shared/prusaprinters/geodesic2v3v/single_parts_rendering.png"/></p> <p>Sounds easy, but wasn't... It took some time to get everything right.</p> <p>The first layer has to be one single area. But all slicers i tried generated gcode with each triangle next to each other with its own outer perimeters, or they wanted to print a second layer at the "hinges", which is not ideal either:</p> <p><img alt="" src="https://whity.ch/shared/prusaprinters/geodesic2v3v/screenshot_layers_04.png"/></p> <p><img alt="" src="https://whity.ch/shared/prusaprinters/geodesic2v3v/screenshot_layers_06.png"/></p> <p>Of course this will not work to glue them together properly. As it is only a single layer holding them together, they will just rip apart.</p> <p>I had to adjust the design a bit so that the slicer recognised the first layer as one single area:</p> <p><img alt="" src="https://whity.ch/shared/prusaprinters/geodesic2v3v/screenshot_layers_01.png"/></p> <p>Much better.</p> <h4>Slice and print</h4> <p>Everything comes down to accuracy. I tested different slicers (Prusa Slic3r, Simplify3D and Cura). Cura worked out best for me after tweaking the settings a bit. As this was also a time consuming process, you can download the profile <a href="https://whity.ch/shared/prusaprinters/geodesic2v3v/Geodesic_Cura_Profile_MK3S.curaprofile">here</a> (Printed on a MK3S).</p> <p>You will find the assembly instructions and tips in the "Printing & Assembling" section below.</p> <h4>Electronics and Power</h4> <p>It has to run on battery (of course). I don't want to have any cables hanging out.</p> <p>My current setup uses an Arduino Nano, MPU-6050 Gyroscope/Accelerator, Step-Up (Step down on the big Geodesic), a BMS and some recycled 18650 batteries. As LEDs i use single W2812B LEDs which are soldered onto a 10mm PCB. More about that below.</p> <p>Lucky owner of a spot welder:</p> <p><img alt="" src="https://whity.ch/shared/prusaprinters/geodesic2v3v/IMG_6355.jpeg"/></p> <p>The plan was to use a Wemos D1 Mini, but as it turned out it sometimes has problems with LED strips (probably timing? idk). One day i will redesign it and use an ESP32 which i tested to work fine (it should get wireless LAN...).</p> <p><img alt="" src="https://whity.ch/shared/prusaprinters/geodesic2v3v/IMG_6415.jpeg"/></p> <p><img alt="" src="https://whity.ch/shared/prusaprinters/geodesic2v3v/IMG_6416.jpeg"/></p> <h4>Conclusion</h4> <p>This project was amazing and very annoying at the same time. More than once i was close to give up because nothing worked out as expected.</p> <p>But when i turned on the final version the very first time, I was speechless. It looked terrific and beautiful. I was sitting on my couch just looking at it, probably for hours...</p> <p>At the beginning i already thought about a bigger version (more triangles) but discarded it during the build because of all the annoying things happened during the build of the first one.</p> <p>But, i became addicted. I had to build it. And i did...</p> <p>It luckily was much less pain than the first one and the result was even more stunning.</p> <h4>What's next</h4> <p>I'm already working on a new one, but it will still take some time to finish it. Many new challenges popped up, because it will be different...</p> <h3>==========================================</h3> <h3>Printing & assembling</h3> <h4>Parts to print</h4> <p>For the small (2V) geodesic sphere you have to print these parts:</p> <ul> <li>2 x gs-2v-125mm_ring-01.stl</li> <li>2 x gs-2v-125mm_ring-02.stl</li> <li>2 x gs-2v-125mm_ring-03_1.stl</li> <li>2 x gs-2v-125mm_ring-03_2.stl</li> </ul> <p>Fot the big one (3V):</p> <ul> <li>2 x gs-3v-180mm_ring-01.stl</li> <li>2 x gs-3v-180mm_ring-02.stl</li> <li>2 x gs-3v-180mm_ring-03_1.stl</li> <li>2 x gs-3v-180mm_ring-03_2.stl</li> <li>2 x gs-3v-180mm_ring-04_1.stl</li> <li>1 x gs-3v-180mm_ring-04_2.stl</li> <li>2 x gs-3v-180mm_ring-04_magnets_1.stl</li> <li>1 x gs-3v-180mm_ring-04_magnets_2.stl</li> <li>2 x gs-3v-180mm_ring-05_1.stl</li> <li>1 x gs-3v-180mm_ring-05_2.stl</li> </ul> <h4>Printing</h4> <p>Summary:</p> <ul> <li>The first layer has to be printed as <strong>one single area</strong></li> <li>The parts have to be orientated correctly that the infill of the first layer never is parallel (or very close to parallel) to the edges of the triangles or it will rip apart at this point (more about it below)</li> <li>Print it with 0.2mm layer height</li> <li>Don't use any infill (except top & bottom layers of course...)</li> <li>I recommend to use the powder coated spring steel sheet (looks and feels much nicer)</li> <li>Depending on your filament, you may want to use a brim to prevent warping</li> </ul> <p>I used Cura as slicer because it worked out best for me (I'm normally a Prusa Slic3r user). You can download the profile i used <a href="https://whity.ch/shared/prusaprinters/geodesic2v3v/Geodesic_Cura_Profile_MK3S.curaprofile">here</a>.</p> <p>The parts have to be oriented correctly and the slicer settings have to be correct to get a part which can be assembled without ripping apart between the single triangles.</p> <p>Here an example of a first layer:</p> <p><img alt="" src="https://whity.ch/shared/prusaprinters/geodesic2v3v/screenshot_layers_02.png"/></p> <p>The most important is that the infill of the first layer is one single area (not multiple triangles, this will not work!).</p> <p>It's also important that the parts are oriented in a way that the infill lines cross the edges of the triangles with the biggest angle possible. Ideally 90° of course but that's obviously not possible. You have to find the best orientation. (<strong>Update</strong>: I replaced the STL files to have the ideal orientation out of the box now).</p> <p>You can switch between the first and second layer to find the best orientation:</p> <p><img alt="" src="https://whity.ch/shared/prusaprinters/geodesic2v3v/screenshot_layers_05.png"/></p> <h4>Additional parts</h4> <h5>General</h5> <p>You need these additional parts:</p> <ul> <li>Small (2V): 80 LEDs<br/> Big (3V): 180 LEDs (s. below)</li> <li>Small (2V): 40 Magnets<br/> Big (3V): 60 Magnets<br/> (Diameter 8mm, 1mm thick. Buy good strong ones, not cheap ones!)</li> <li>Microcontroller (f.ex. Arduino Nano or ESP32 it you want BT/WLAN. Don't use Wemos D1 mini, they don't work correctly)</li> <li>18650 cells (or another power source)</li> <li>Small BMS to protect the battery (optional but recommended)</li> <li>Step-Up or Step-Down Converter to get 5V<br/> It must provide enough power to light up all the LEDs<br/> (I use a 3A Step-Up on the small one and a 5A Step-Down on the big one)</li> <li>A power switch</li> <li>Optional: Sensors like microphone, Accelerators, ...</li> <li>Blank wire (0.5mm)</li> <li>RC connectors (or just solder everything without connectors, except for the charging connector)</li> <li><strong>GOOD AND FAST</strong> Glue (s. below)</li> <li>Hot glue gun (depending on "how you do it")</li> </ul> <h5>LEDs</h5> <p>I'm using W2812B LEDs, each soldered onto a single 10mm PCB which makes gluing them in and soldering a much easier. You will find them on AliExpress and probably eBay.</p> <p><img alt="" src="https://whity.ch/shared/prusaprinters/geodesic2v3v/IMG_6325.jpeg"/></p> <h5>Battery</h5> <p>Basically you can use whatever you want and like the most.</p> <p>My geodesic spheres currently use 18650 cells in a 1s7p configuration (small one) and 2s4p configuration (big one).</p> <p><strong>Note:</strong> Seven cells in a 1s7p configuration is way too much for the smaller one. These days i would use four in a 2s2p configuration, or maybe even 2s1p. Using seven cells it runs for around 40 hours with the current code I'm running on it.</p> <p>In the bigger one i use a 2s4p configuration which is fine (lasts for around 20 hours).</p> <p>I do recommend a 2sXp configuration in general, as you can charge it faster. 1sXp is kind of slow.</p> <p>My current batteries (with glued on electronics) look like this:</p> <p><img alt="" src="https://whity.ch/shared/prusaprinters/geodesic2v3v/IMG_3608.jpeg"/></p> <p><img alt="" src="https://whity.ch/shared/prusaprinters/geodesic2v3v/IMG_3610.jpeg"/></p> <p><img alt="" src="https://whity.ch/shared/prusaprinters/geodesic2v3v/IMG_3745.jpeg"/></p> <p><img alt="" src="https://whity.ch/shared/prusaprinters/geodesic2v3v/IMG_3744.jpeg"/></p> <p><img alt="" src="https://whity.ch/shared/prusaprinters/geodesic2v3v/IMG_3746.jpeg"/></p> <h3>Charging</h3> <p>First i integrated a small 1A charger. But it's getting too hot and 5V/1A (peak) is way too slow.</p> <p>I ended up using an external charger (iMAX B6).</p> <h5>Schema</h5> <p>My current wiring is not perfect at all. Therefore i don't provide an exact schema. It's up to you, as you may also want to add some additional sensors anyway or use different parts in general.</p> <h4>Assembling</h4> <p>You will need a good strong and fast glue to assemble the parts, or it will become a nightmare (seriously).</p> <p>I tested around ten different glues and this one was my choice:</p> <p><img alt="" src="https://whity.ch/shared/prusaprinters/geodesic2v3v/IMG_7027.jpeg"/></p> <p>Another good one was "Gorilla Superglue GEL".</p> <p>Unfortunately i have no pictures from assembling it but I made some screenshots from a design i have to show you how i have done it.</p> <p>I will explain the assembly of one half of the small sphere</p> <h5>1. Glue together the single "rings"</h5> <p>This probably is the most tricky part.</p> <p>The time to get a good bond varies depending what exact glue you're using. The important part is how to align the two ends to get a straight and nice looking glue joint.</p> <p>Use a flat surface and a piece of plastic to prevent that the parts stick to your surface.</p> <p>I made <a href="https://youtu.be/pFEv64vXLa8">a video</a> to show you how I glue two ends of a part together.</p> <p><strong>IMPORTANT:</strong> Only glue together the two "end parts" (blue faces in the image below), not each single triangle.</p> <p><img alt="" src="https://whity.ch/shared/prusaprinters/geodesic2v3v/screenshot_gluing_01.png"/></p> <p>Ring 01:</p> <p><img alt="" src="https://whity.ch/shared/prusaprinters/geodesic2v3v/screenshot_ring_01.png"/></p> <p>Ring 02:</p> <p><img alt="" src="https://whity.ch/shared/prusaprinters/geodesic2v3v/screenshot_ring_02.png"/></p> <p>Ring 03:</p> <p><img alt="" src="https://whity.ch/shared/prusaprinters/geodesic2v3v/screenshot_ring_03.png"/></p> <h5>2. Glue together Ring 01 and Ring 02, then glue them on top of Ring 03:</h5> <p><strong>Hint:</strong> Rotate the ring to find the position which fits the best.</p> <p><img alt="" src="https://whity.ch/shared/prusaprinters/geodesic2v3v/screenshot_gluing_02.png"/></p> <p><img alt="" src="https://whity.ch/shared/prusaprinters/geodesic2v3v/screenshot_gluing_03.png"/></p> <h5>3. Repeat steps 1 and 2 for the second half</h5> <h5>4. Melt the triangles together</h5> <p>To make the sphere much stronger I used a 3D pen (slow setting) to melt together the single triangles. I then also used my soldering iron to make it even stronger (that's why the seams are flat in the picture below). But the soldering iron part is not needed at all as it turned out in test i made later. The 3D pen makes it quite strong already (it will not survive a fall anyway...).</p> <p><img alt="" src="https://whity.ch/shared/prusaprinters/geodesic2v3v/IMG_6451_2.jpeg"/></p> <h5>5. Glue in the LEDs</h5> <p><strong>Note:</strong> For me a (very) small amount of hot glue worked better than normal glue.</p> <p>Glue in a LED in each triangle.</p> <p><strong>IMPORTANT:</strong> Always be aware of the orientation of the LEDs and the path you want to connect them in the next step. One single LED facing the wrong way and you will have an annoying problem later (just saying...). As you see in the picture I numbered them beforehand (only have one of the big one). And also keep in mind, on the second half it continues on the outer Ring (03).</p> <p><img alt="" src="https://whity.ch/shared/prusaprinters/geodesic2v3v/IMG_3743.jpeg"/></p> <h5>6. Soldering, soldering, soldering...</h5> <p>If you didn't recognise yet. You will have to solder 477 pads now on the small one and 1'077 on the big one. Sounds fun, ehhh :-D (Keep in mind: It's worth it. You made it that far already)</p> <p><strong>Hint:</strong> Dentist tools like this (or something similar) helps a lot bending the wires accurately.</p> <p><img alt="" src="https://whity.ch/shared/prusaprinters/geodesic2v3v/IMG_7028.jpeg"/></p> <p>Using blank 0.5mm wire only makes the process much faster. On my current project i also use blank wire for the data line instead of the red isolated one you see in the pictures.</p> <p>As you may can see in the picture above, you can connect all 5V and GND pads with a single wire for each of them. There's no need to connect from the output of one LED to the input of the next one.</p> <p>How i do it:</p> <ul> <li>Add a bit of soldering tin on each first 5V and GND (IN) pad along your path (except on the first one...)</li> <li>Solder the wire to the GND output of the first LED</li> <li>Solder the wire to the GND pad of the next LED leaving enough space for the 5V and Data wires<br/> (Btw.: A cotton glove helps to prevent burning your fingers when pressing the wire down if you don't have an appropriate tool to do it)</li> <li>Continue until you finished the GND wire on the half sphere</li> <li>Solder the wire to the GND (OUT) pad on each LED too</li> <li>Do the same with the 5V pads</li> <li>Repeat for the second half</li> </ul> <p>Only the data line is missing now. It always has to be connected from the OUT to the IN pad.</p> <p>Either you can solder them one by one. Or, as i started to do it recently, do the same as with the GND and 5V wires and cut out a piece of the wire between the IN and OUT pad on each LED with a side cutter (needs to be a good one which cuts all the way to the tip).</p> <h5>7. Connect the rest</h5> <p>The almost last thing to do is to connect the two halves and the electronics:</p> <p><img alt="" src="https://whity.ch/shared/prusaprinters/geodesic2v3v/IMG_3740.jpeg"/></p> <p><img alt="" src="https://whity.ch/shared/prusaprinters/geodesic2v3v/IMG_3741.jpeg"/></p> <p>For both i use some RC plugs i have laying around.</p> <h5>8. Magnets</h5> <p>To hold the two halves together magnets are used. As mentioned above already, buy good and strong ones. Cheap ones, even if they write N50 or N52 in the description, are mostly N35 (if you're lucky).</p> <p>Flip the polarity of each magnet like this and add a bit of filament with the 3D pen to close the opening (they should still be able to move around a bit):</p> <p><img alt="" src="https://whity.ch/shared/prusaprinters/geodesic2v3v/IMG_7029.jpeg"/></p> <p>To prevent the halves from shearing off glue in some short pieces of filament on one side.</p> <h3>Program code</h3> <p>You can find a lot of examples in this <a href="https://github.com/atuline/FastLED-Demos">GitHub repository</a>. All effects i currently use are from this page.</p> <h3>Credits</h3> <p>The 3D printed hand you see in the pictures and i use as a freaking nice looking stand for my spheres was designed by <a href="https://www.thingiverse.com/mikevr/designs">MikeVR</a> and can be found <a href="https://www.thingiverse.com/thing:2687241">here</a> (licensed under theCreative Commons - Attribution - Non-Commercial - Share Alike license)</p>
With this file you will be able to print Geodesic(k) RGB LED Spheres with your 3D printer. Click on the button and save the file on your computer to work, edit or customize your design. You can also find more 3D designs for printers on Geodesic(k) RGB LED Spheres.