Glass Cooling/Drying Rack
thingiverse
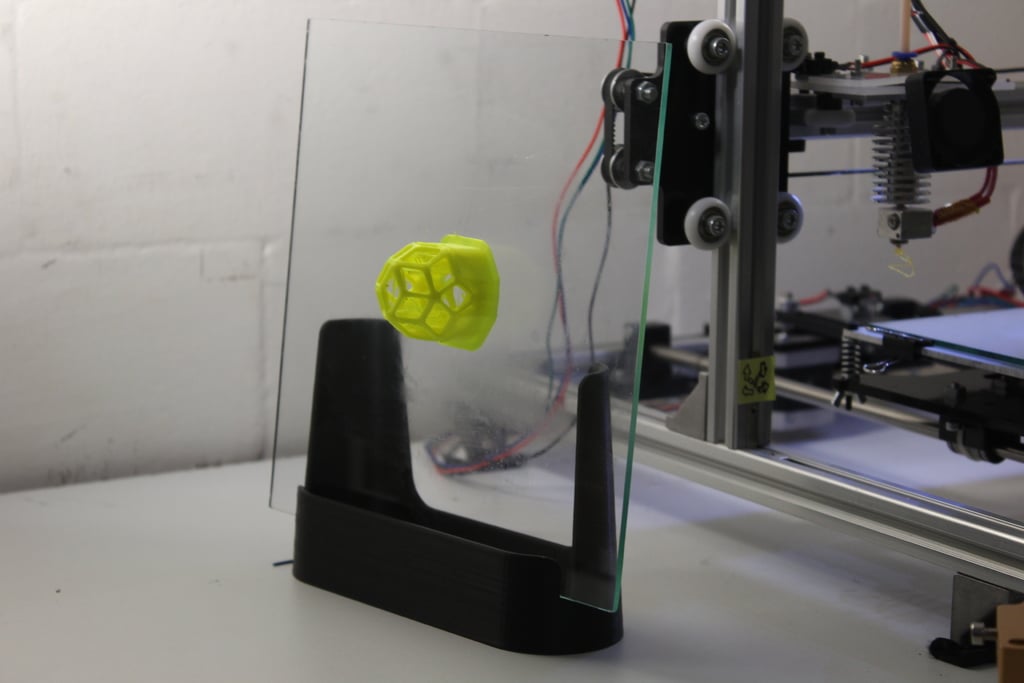
The best advice I've found regarding bed adhesion, is to use a 1:10 solution of white glue (PVA) in water, spread onto a glass printbed with a brush, and let it dry using the heated bed. However, there were a few issues with this: - This works *extremely* well with PLA, it becomes so adhered that if a part has a solid bottom, it can take 10s of kg to separate if the glass is still hot - As the glass cools and shrinks, the part pops off the glass on its own, however, if still on the printer, this takes several minutes (the metal core of the printbed stores a lot of heat) - Normally you add more PVA solution before each print, but after ~15 cycles, dirt and oils accumulate and the glass needs to be washed. PVA is easily removed with warm water, but the glass needs to dry afterwards (you can use isopropyl alcohol to speed this part up, though) - Finally, in a commercial printing setting, it's important not to waste time between prints Therefore, I designed this simple cooling rack. By having two identical glass panes, I can swap them after a print is finished, with zero downtime. The open back of the rack allows the glass to cool down fast, large prints pop off on their own in few minutes.
With this file you will be able to print Glass Cooling/Drying Rack with your 3D printer. Click on the button and save the file on your computer to work, edit or customize your design. You can also find more 3D designs for printers on Glass Cooling/Drying Rack.