Glass Desk Monitor Riser
thingiverse
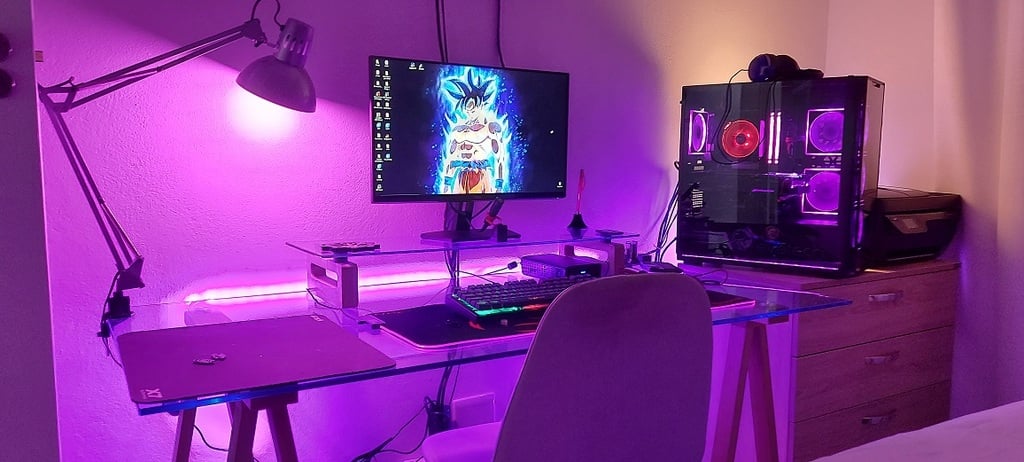
Improving your desk setup is a continuous process. You will always find something new to add or improve. Be it cable management, adding some personality through posters or fan-props or improving the desk's general layout. My current desk setup uses a mid-century glass desk. As many would know, cable management and monitor risers are difficult to match and still look good. Using the advantages of 3D printing, I designed 3D printed and assembled a custom glass desk monitor riser that perfectly matches my current desk. I also designed a built-in USB hub adaptor to add additional connections. The compartment is modelled around the commonly available 4-port USB adapter. (see the image attached) The full design makes use of M5 Nuts and bolts. Assembly Instructions: 1. Please see the exploded image for all part names. 2. For all "Attachment" parts (1,2,3 &4), you will need to pause the print at layer 60 to insert the M5 Nut. After inserting the nut, you can continue to print. 3. M5 bolts (25 mm long) are used to fix the "Attachment" parts to the "Support" parts. 3.1 A tip, if you struggle to get the bolt fixed into place (due to the opening, you can use a soldering iron to help heat the bolt to fit into the slot region. (Note: this is really dependent on your printers print accuracy. If your printer can print with a high level of accuracy, this may not be needed). 4. If you are using the 4-port USB hub - remove the electronics from its original housing. Keep the transparent piece. The transparent piece can be fitted to the slot designed in the "Support" part. 4.1 Feed the USB cable and the circuit board through the centre cavity of the "Support 1" through to the cable feeds' rear side. 4.2 Once the USB cable and the circuit board is mounted, fit the "cable covers" parts to block the hole at the rear. 4.3 If you are not using the USN Hub attachment, do not print the "Support1" the the "Support 2" instead 5. Glue the "Attachment" surface to the sheet of glass using two-mix epoxy glue. 6. Add a strip of cork mat to the base of the "Support" parts as this will prevent the entire desk riser from sliding. This is a relatively simple build, and I hope that the instructions are easy to understand. If not, we can chat in the comment section here. If you print this, please share a picture here or tag me on Instagram (@3d_whip). I would love to see others like this. Most people would most probable sell this type of design and model. I won't be doing this. If you want to support my work, please follow me on my Youtube Channel and Instagram page. I will really appreciate the support, and it will motivate me to provide more functional 3D printable models. Youtube: Link: https://www.youtube.com/channel/UCtIUv85M-It9pPXr2VhIkDA Instagram: https://www.instagram.com/3d_whip/?hl=en Thank you for your support.
With this file you will be able to print Glass Desk Monitor Riser with your 3D printer. Click on the button and save the file on your computer to work, edit or customize your design. You can also find more 3D designs for printers on Glass Desk Monitor Riser.