Glass plate shim
thingiverse
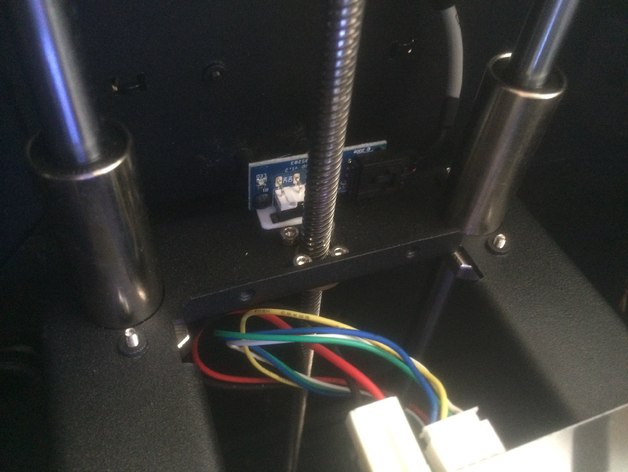
Customizable version: http://www.thingiverse.com/thing:1002887 Want to use a glass plate on your print bed? Don't want to change printer settings to make that happen? Just put this shim on the print bed underneath the Z-axis trip-switch so that the trip-switch gets pressed one glass plate's thickness early. IMPORTANT: Make sure you read the Instructions under Thing Info! There is vital information there! If your printer is like mine, the printer prepares to print by (among other things) raising the print bed platform until it hits the trip-switch. The height it achieved at that point is its maximum height, from which layer height offsets—e.g., the first-layer offset—are subtracted. Inserting a shim under the trip-switch changes the maximum height my printer will arrive at. IMPORTANT: YMMV! Not all printers work the same way mine (PowerSpec Pro/Flashforge Creator Pro) does. If your printer ignores the shim and starts carving a path in the glass, stop the job immediately. Instructions NOTE: Not all glass plates are the same thickness. I've deliberately left out the .stl file for this reason. See below. I'm using the glass from a 5×7" photo frame I bought at the dollar store; it's not quite as big as my print bed, but close enough. (And the size difference works out for other reasons.) The alternative would be to buy a custom-cut sheet of glass at OSH or someplace. Measure your glass's thickness with a digital caliper. Edit the .scad file and change the plate thickness to whatever you got from the caliper. Generate your .stl file and print it. Place the shim wherever it will hit the z-axis trip switch. On my printer, this is on the print bed platform, behind the print bed, just in front of the back wall of the printer. Secure it. If you use tape, you may need to subtract the tape's thickness back in step 2. Don't skip this step—you don't want the shim to fall off the platform and into the guts of the printer! What should happen is, with the shim in place, the shim will hit the trip-switch, and the printer will set the maximum height for that job to be that thickness lower than it would without the shim. You should then have a successful print on top of the glass. If your printer doesn't work like mine, doesn't have a z-axis trip-switch, or ignores the trip-switch measurement and goes by software or firmware settings, then this won't work for you.
With this file you will be able to print Glass plate shim with your 3D printer. Click on the button and save the file on your computer to work, edit or customize your design. You can also find more 3D designs for printers on Glass plate shim.