Gloomhaven Trays - Item Cards
thingiverse
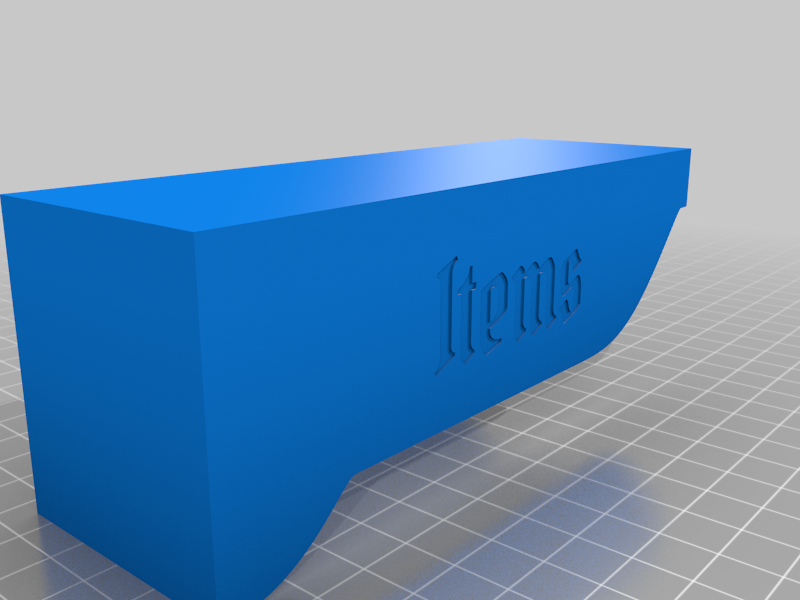
###Here is an overview of my whole storage solution for Gloomhaven: https://www.thingiverse.com/thing:5028096 #Item Box I designed this box to keep a good overview of the items available. Things I didn't like about other solutions were that they either make it difficult to shuffle through the cards when looking what to buy, or they are very spacious. This box is for me personally the ideal compromise between saving space and (enabled by the "wave" design" the option to see enough of a card when flipping through. The box has two more compartments, one is for the random items (the larger one) and the other one is for random locations. The reason why I put the random locations here is because we usually need them at the same time when we need the items / random items, which would be after completing an adventure when getting the reward and then returning to Gloomhaven. **Update: I added an alternative version without the fixed compartments if you prefer to store only items in this box** One thing I am not too happy with yet is the friction of the lid. I might upload an improved version with slightly improved friction in the future, so that the box only opens when it is supposed to. The icons used for the dividers are a remix from "Monster and Item Card Organizer - German/ Icons version" by https://www.thingiverse.com/tuster I printed them in two colours (all of them in one go) and I quite like the result of it. ###printing in 2 colours Here is how to do it: Simply slice the design if you would want to print it in one colour as usual (with 2 mm layer height). Copy the file so that you have two exact copies, name one of them "part 1" and the other one "part 2" Then open the G-Code of part 1, find the point where the last layer starts and delete this layer (usually your G-Code should clearly show where a layer starts and then at the very end has a few more commands after the last layer is completed which should also be easy to identify). Now you can print part 1. When it is finished (you should have one or several clean dividers on your build plate) *do not remove the prints*, instead change the filament as usual, extrude some until the colour has changed (maybe 8-10 cm). Then open part 2 of the G-Code and follow this instruction on how to "resume a print where filament ran out" https://www.3dplatform.com/Blog/2018/July/3D-Printing-Tech-Tips-Recover-a-Failed-Print (which is basically what we are doing, with the advantage that we know exactly where the previous print stoppped so no need to meassure) If you have questions about this method feel free to contact me and ask. I also uploaded the G-Code I used to print them, which is for an Ender 3
With this file you will be able to print Gloomhaven Trays - Item Cards with your 3D printer. Click on the button and save the file on your computer to work, edit or customize your design. You can also find more 3D designs for printers on Gloomhaven Trays - Item Cards.