Golf Ball in a Cage
pinshape
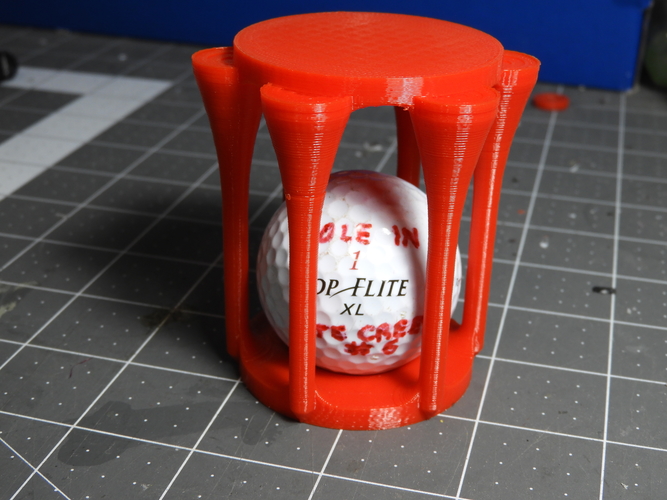
I encapsulated my hole in 1 ball into a 3D printed cage with surrounding golf tees. I've included 2 versions of the cage. I prefer version 7 but both will work. Print the cage up to about 50+ mm and pause the print. Drop the golf ball into the cage and continue the print to closure. You may have to experiment with your bridge settings to optimize the closure at the top of the cage. In Simplify3D i set the unsupported area threshold at 5.00 sq mm. And I set the extra inflation distance at 2mm. This seem to ensure that each pass of the bridge would attach at both ends minimizing hanging strands. Inside roof can be cleaned up with an exacto knife when the print is completed. Layer settings: .25mm layers, 3 top and 3 bottom solid layers, 2 outline perimeter shells (made t-tubes 2 walls thick for strength). Makes a great conversation piece on the tee box. And is a great way to pereserve and display that special golf ball.
With this file you will be able to print Golf Ball in a Cage with your 3D printer. Click on the button and save the file on your computer to work, edit or customize your design. You can also find more 3D designs for printers on Golf Ball in a Cage.