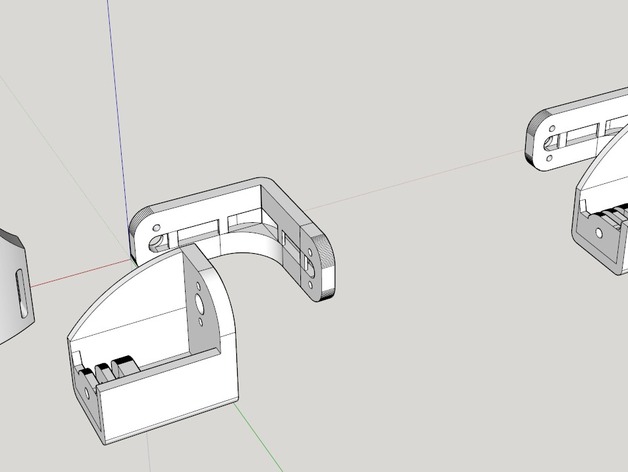
GoPro Gimbal (For GoPro + its waterproof case)
thingiverse
This is a GoPro gimbal that allows you to mount the GoPro in its waterproof case. I didn't see one available so I designed one myself, and had some fun using it snowboarding. I have included the original sketchup file too. You might need the latest version, but I have included sketchup 2013 and 2014 files just in case. It really could use some stabilisation on the third axis, with a smooth follow-me setting. I leave that as an exercise for the viewer. You need to buy your own hollow shaft motors and a gimbal controller. Parts list is in the instructions. Have fun! Instructions Here's what you'll need DYS hollow shaft gimbal x2: http://www.hobbyking.com/hobbyking/store/__67557__DYS_Hollow_Shaft_2606_Brushless_Gimbal_Motor_BGM2606_90_.html Micro alexmos 2-axis brushless gimbal controller x1: http://www.hobbyking.com/hobbyking/store/__53726__Quanum_Micro_AlexMos_Brushless_Gimbal_Controller_2_Axis_Kit_Basecam_SimpleBGC_.html Velcro strap x2: get it from your local hardware place. Soldering iron + thin heatshrink. Soft, thin silicone wires. Anything above 24awg will work, but space is extremely tight so I recommend getting the thinnest you can fit. 28awg is great too. Some tweezers or something to help you route the wires. Conformal coating spray. Basic tips Assembly is straight forward but here are some tips. When purchasing from hobbyking for the first time, you will not have access to the small discount that regular buyers do. A trick is to stay on the product page for a few minutes, and you may get a pop up telling you of a "one time only offer" which will give you a small discount on the parts you want to buy. It may not happen on all components and the price is just the regular buying registered user price, but it's something. During assembly, the most important thing is that both your IMU wires and your pitch-axis motor wires are routed carefully through the hole and slot that is available on the two motors and the "L" shaped bracket. It will be extremely tricky to route the wires through the slot on the back of the wrist mount. If you can't, just tape it down. The lid for the controller is held down by tape too. You will have to cut your wires to get them to fit, then extend them. Extend the wires by soldering them together as you go. Be very careful not to melt your plastic! You will have to cut a hole in the lid to get the main power leads out. You can change it in the file itself if you want. There are more tips and descriptions in the skp file. Can't help you with the tuning of the gimbal, I'm afraid. Just grab the correct version of the SimpleBGC configuration tool, and remember to do your 6-axis calibration. My Settings WARNING: THESE ARE FOR REFERENCE ONLY! SETTINGS WILL DIFFER BASED ON ALL SORTS OF THINGS! IMPROPER SETTINGS CAN MELT YOUR MOTORS AND DO OTHER KINDS OF DAMAGE! Use at your own risk! In SimpleBGC Gui v 2.40 b7, these are just the settings I changed. Basic tab PID Controller Roll P / I / D: 10, 0.04, 6 Pitch P/ I / D: 11, 0.06, 6 Limit accelerations checked at 500d/sec Motor Configuration Roll power 120, num.poles 13 Pitch power 120, num.poles 13 Sensor Get your axes looking right in the preview, and you should be OK. This tells the software, based on the IMU position, which way is up and right. Advanced tab Timings PWM frequency: HIGH (silent). Setting this to low makes it whine, and you will also have to adjust your PIDs afterwards.
With this file you will be able to print GoPro Gimbal (For GoPro + its waterproof case) with your 3D printer. Click on the button and save the file on your computer to work, edit or customize your design. You can also find more 3D designs for printers on GoPro Gimbal (For GoPro + its waterproof case).