Groucho Duke's 29mm high power rocket launch tower
thingiverse
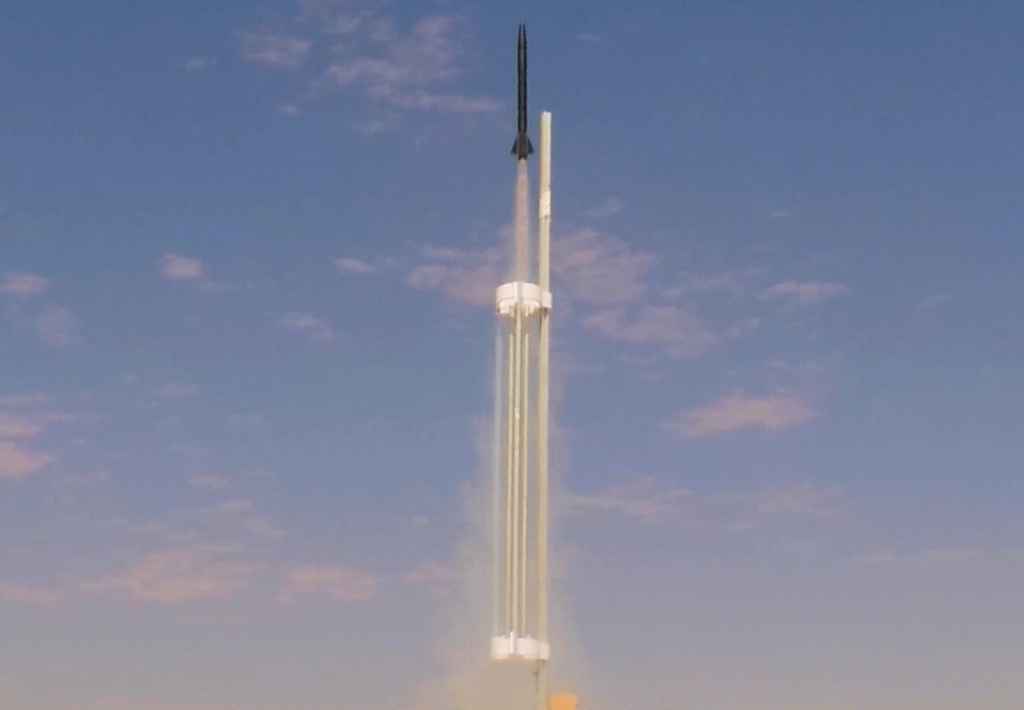
This is a 3d printed end support for a launch tower for 29mm high power rockets. This is still a work in progress, but I've done several flights with this with minimum diameter 29mm rockets and CTI I224 motors. None of the parts show any wear & everything works great. You can see a video of my first 29mm min-diameter rocket CTI I224 launch here: https://www.youtube.com/watch?v=Np2yk-4uS3s Update (2019-06-02) - V2 uploaded with slightly more space between EMT tubing and outer support structure. It also has a slightly enlarged 1010 launch rail square hole for easier mounting/unmounting. Bill of materials: Approx 1kg of PETG or similar filament. This is what I used: http://amzn.to/2y7Z0zs 4x #10 1-14" machine screws 8x #10 washers 4x #10 lock nuts 6x 1/4-20 x 4" lag bolts 1x 10¹⁰ launch rail 2x aluminum extruded L angle (1/16" thick with 3/4 and 1/2" sides) - http://bit.ly/16thALAngle 3x 3/4" EMT conduit Adhesive backed Teflon tape. Here's what I used: http://amzn.to/2wn9Hlc Contruction: - Print 2 of the parts (takes approx 15-30 hours each plus about 0.4kg of filament) - Sand/file/buff/machine the EMT conduit to remove any bumps that would damage your rocket - Test fit the 3d printed parts on the 1010 rail, EMT conduit & extruded L - Trim extruded L and/or EMT conduit to fit. Deburr the ends so they'll slide onto the 3d printed parts (For the 4' extruded L I used, trimming the EMT conduit to 44-3/16" worked well.) - Sand/file/adjust the 3d printed parts as required - Slide both 3d printed parts on the 1010 rail - Screw the 1/4" lag bolts into place in the holes where the EMT conduit mounts - Tape one side of each EMT conduit with the PFTE/Teflon adhesive tape. - Support one end of the EMT conduit with something to keep them level and slide into one of the 3d printed parts. Make sure the Teflon tape faces where the rocket will go. I used some car washing sponges to prop up the EMT. Repeat for all 3 EMT conduit pieces. - Slide the other 3d printed part and EMT conduit into place. Depending on the fit, this may take some force. Use extreme caution not to damage your 3d printed parts when assembling the tower. If you damage your 3d printed parts, throw them away and print new ones. <b>Do not use damaged parts in your rocket launch tower!</b> - Once all three EMT conduit pieces are in place, slide the extruded L pieces into place. Drill 3/16" holes through the L using the holes in the 3d printed parts to guide you. - Use #10 machine screws, washers & nuts to attach the L pieces to the 3d printed parts. - Test fit your rockets, inspect, & go fly!
With this file you will be able to print Groucho Duke's 29mm high power rocket launch tower with your 3D printer. Click on the button and save the file on your computer to work, edit or customize your design. You can also find more 3D designs for printers on Groucho Duke's 29mm high power rocket launch tower.