GT2 belt clamp w/tension
thingiverse
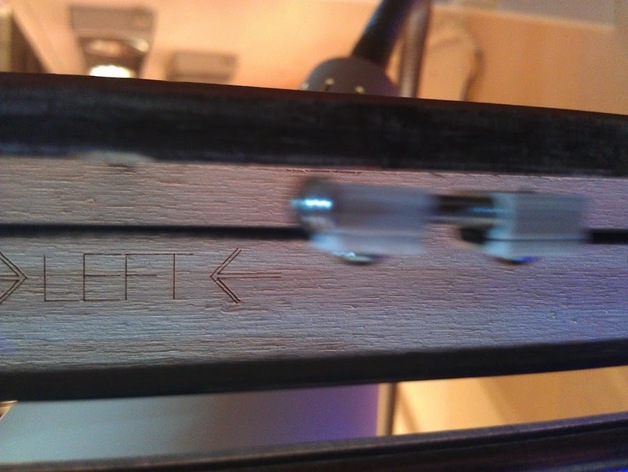
Bought GT2 belts for my Ultimaker, they where too long so I cut them to aprox. lenght and made this clamp to hold them together. Instructions A clamp for 6mm wide GT2 belt, clamp have 7mm wide groove Holes should fit a M3 bolt. Attempt to create a tenstion solution with 2 new bottom parts with added 3mm holes to use 2 20mm M3 bolt and nuts, should provide a way to adjust tension and it did, see attached picture of the 2 clamps together. Because of the tight space around the belts in the Ultimaker, I made the bolt that holds the belts,in the center of the clamp, so you need to punch a hole in the belt, used a small round file for that (see in pic). I had to cut 4 M3x10mm bolts down to 6mm length to get clearance to the plywood in the ultimaker(on right and left side), on the front and back belt tensioners are mounted on the lower side of the belt so there I used 10mm bolts. To find corrent length for the new GT2 belts, i measured the orginal ultimaker belts with a ruler inside of the belt in one side and tightened the belt along the ruler and got 30cm, the belts read 300 on them so should be correct. Cut the GT2 belt first, then hold one end at 30cm on the ruler and curl belt around ruler and down again to 30cm. To provide some gap to adjust tension I then cut away 2 teeth of the belt, but just one tooth should be enough.
With this file you will be able to print GT2 belt clamp w/tension with your 3D printer. Click on the button and save the file on your computer to work, edit or customize your design. You can also find more 3D designs for printers on GT2 belt clamp w/tension.