GT2 Timing Belt Clamp - M2 Threaded Insert
thingiverse
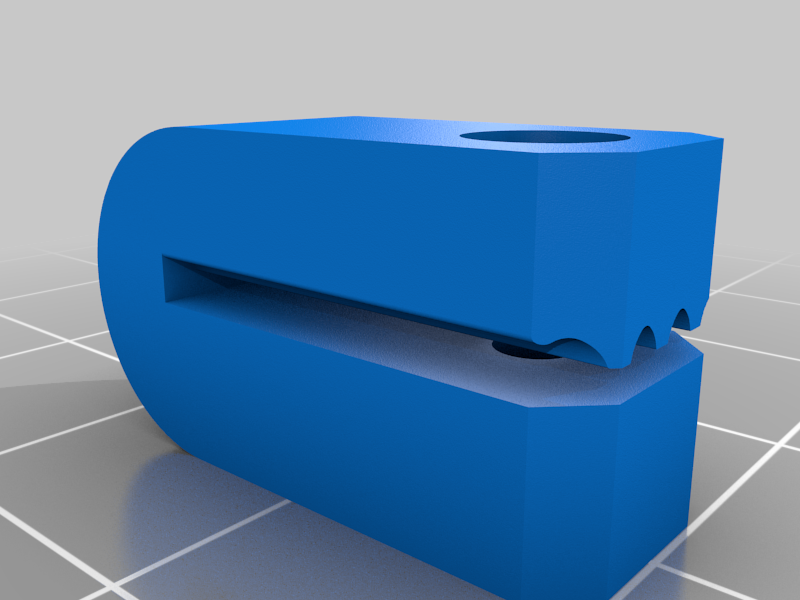
I needed a new belt clamp after the original from my 3-point bed broke. It wasn't 100% infill, and the plastic gradually flexed under tension. I couldn't find a new design that I liked, so I made my own. This one includes a spot for an M2 socket head cap screw and M2 x 4mm threaded insert. This way, it can't come loose and slip off the belt. It won't gradually flex and break under the load of belt tension. The screw creates a firm clamping grip on the belt and prevents the belt from sliding out of the clip. Print flat on the bed in your rigid material of choice, using enough perimeters to make it solid (10-12 should be about enough with 0.4mm nozzles). For a part that flexes a little as it clamps, I prefer this method over just using 100% infill. I made mine in PLA, but PETG should work great, too. To assemble, use a soldering iron or torch to heat up your insert and press it in. If using a torch, use a longer M2 screw in the insert using pliers to hold it while heating and pressing into the part. Slip the clamp onto the belt and screw tight. Tension your belt. That's it, you're done! STEP file provided if you want to make modifications. Enjoy!
With this file you will be able to print GT2 Timing Belt Clamp - M2 Threaded Insert with your 3D printer. Click on the button and save the file on your computer to work, edit or customize your design. You can also find more 3D designs for printers on GT2 Timing Belt Clamp - M2 Threaded Insert.