GT86 Center Console Push Start Mount
thingiverse
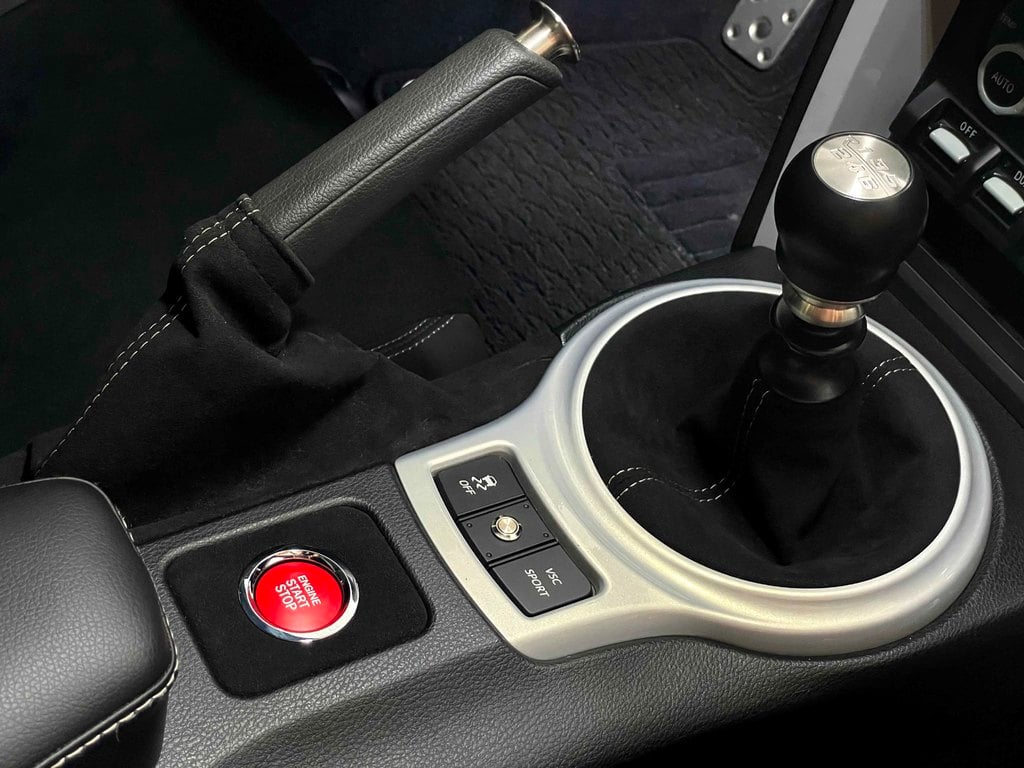
A solution for relocating the push button start to the recessed area in the center console. If you don't have heated seats this is just a blank area. Some people put decorative plates here but this is a more purposeful use of the space. This also allows you to swap out the cubby for the extended one without the push button. Make sure to print in a material that can handle the heat of a vehicle in the sun. In my experience, PLA does not do well in a hot car. I used TPU for my print. ABS or PETG would work well too. Print the drill template and remove your center console. Use the drill template to drill the five 3mm holes in the center console. The four in the corners will be used to mount the final piece. The center hole is a pilot hole for a hole saw. Use a 2 1/8" hole saw to cut a large hole in the center of the recessed area. Now print the actual push button mount. Insert four M3 countersunk screws into the recessed holes in the corners. Use epoxy and/or nuts on the backside to keep the screws from falling out or spinning. If you put the push button module into the piece you'll notice its a tad loose, this is so you can wrap the piece with some material and get the module in. It will be tight once you wrap it. I used black alcantara to match other trim in my interior. Cut out the center so you can shove the button in there. Mount the piece into the console, cut and extend the wire harness, and put it all back together.
With this file you will be able to print GT86 Center Console Push Start Mount with your 3D printer. Click on the button and save the file on your computer to work, edit or customize your design. You can also find more 3D designs for printers on GT86 Center Console Push Start Mount.