H2O: A Science and 3D Fusion
thingiverse
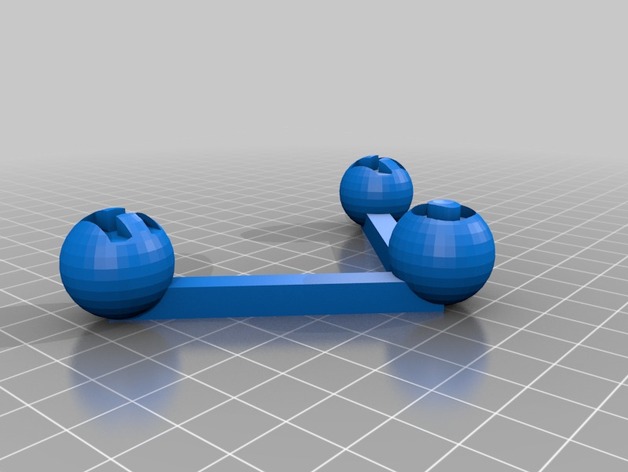
My model is about to print. Please wait until it is done printing to see the pictures. Remember those days when teachers had to relentlessly pursue a tiny sample for their classes to understand compounds and elements? Well, teachers, fear not, as I present... H2O: The Intertwinement of Science and 3D Printing This model of a basic compound was made out of just a few basic components and some subtractive designing (aka "Holes" for those of you who don't spend half their life on Make: Magazine). Print this as an example for your students. Read on for design tips, a lesson plan, and more! "When you combine Tinkercad and Makerbot 3D printers, you get something truly wonderful." -Luke Ajem Print Settings Printer Brand: MakerBot Printer: MakerBot Replicator 2 Rafts: Doesn't Matter Supports: No Resolution: 100 microns is enough Infill: 20% Notes: The above brand is what this is optimized for, but not my actual printer. View my other educational project at Abstract 3D Bridge-An Art/Engineering Fusion. Post-Printing Simple, Easy Process Post-print, all you need to do is display it to the class and challenge them with the lesson plan below! How I Designed This Quite Simple, Really At its roots, this demo is really just three spheres, connected by tether-like boxes, and combined with letter-shaped holes to create a model. Project-Remodeling Compounds Objectives -Build simple yet complex designs from a baseline -Take notes on designs Audiences -Designated Grades: 3-8th grade -Designated Ages: 7-14 -Designated Design Level: Basic Preparation Students need access to a 3D printer, a computer with Wi-Fi, and a Tinkercad account. It's easy to sign up! Just go to Tinkercad. Also, instructors should be prepared to answer questions, and should know how to slice files and print prior to reading this. Lesson Plan Step 1: Choose an Element or Compound to Model Assign groups of two or three to the students, and then assign compounds and/or elements they must model. Give them a total project time of half a week to a week. Step 2: Research Have students research the molecular structure of their assigned compound and have them draw a 2D model on paper (remind them to keep these "notes"). Step 3: Design For the next couple days, have the groups model their compound. Step 4: Print&Review Open the slicing program and print all models. When finished, review the accuracy of each model and take all the notes from students. Review the project and/or have students present their prints for half a period. Results -Students should have a model of their compound or element -Students should have a better knowledge of Tinkercad -Students should have a .stl file or a printed model
With this file you will be able to print H2O: A Science and 3D Fusion with your 3D printer. Click on the button and save the file on your computer to work, edit or customize your design. You can also find more 3D designs for printers on H2O: A Science and 3D Fusion.