Hack the Hack
thingiverse
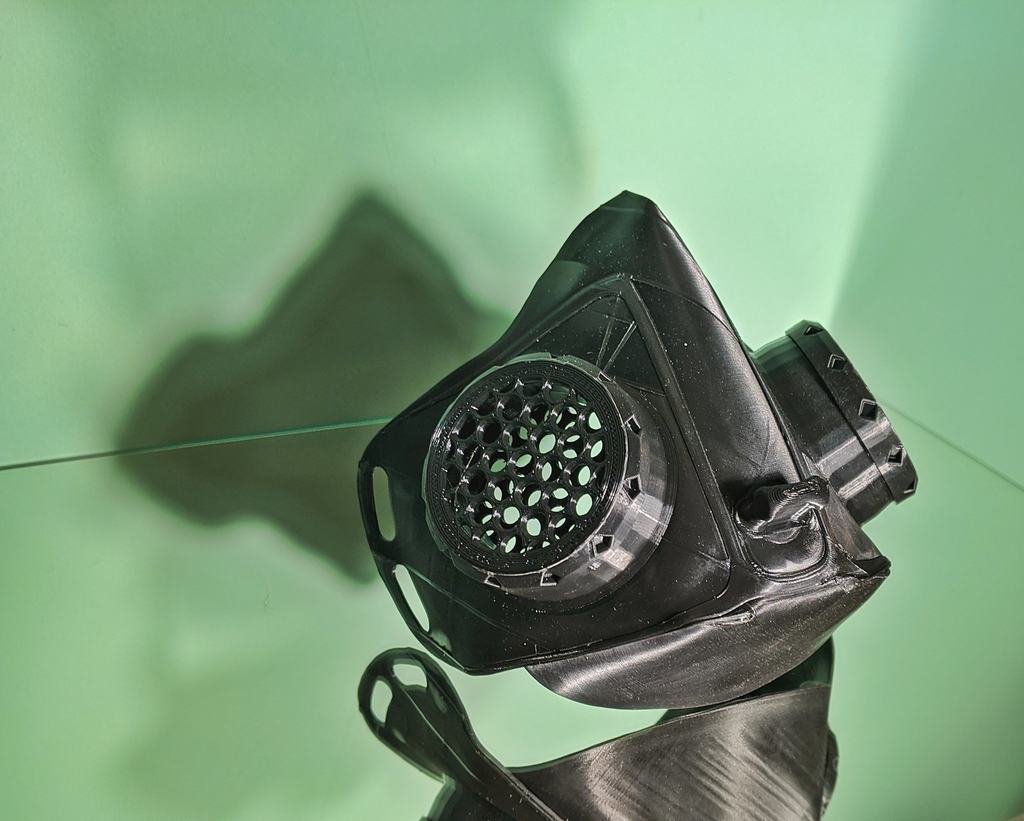
Hack the Hack! I took on the challenge of creating my own "Hack the Pandemic" mask from COPPER3D and was not impressed with the airflow. So, I designed my own from scratch, taking inspiration from their design but with a fresh approach. If you're reading this, COPPER3D, I hope you like it! To make this mask, print 1 flat piece, 2 caps, and 3 spacers. Don't use a raft, as all parts can be printed without support due to their angled designs. Print the caps upside down for added ease. Note: These are not instructions, but rather my personal experience with creating this mask. I won't tell you how to handle hot melted plastic on your face - that's just common sense! To shape the flat piece into a comfortable fit, use a hair dryer to heat it up and conform it to your face. Be extremely cautious when handling heated plastic near your face. Here's my molding process: - Heat the middle of the flat, along the nose, and bend it into a 90-degree V. - Curl the edges of the chin piece for easier welding or gluing. - Heat just the area attaching the chin and bend it up. This is a tight bend, so do it in stages, reheating slightly each time. - Glue/weld the tabs to the inside of the mask (make sure it's fully cooled and the glue is dry to avoid toxic fumes). - Shape the rest of the mask to your face in small sections. Voila! You now have a functional mask. Keep in mind that this design is not certified, so you're responsible for its safety and performance. Notes: ---Check the corners to ensure they're air-tight--- I discovered that while shaping the filters, they tended to squish against my cheeks, reducing airflow. To prevent this, I held them in place while shaping the edges to my face. The nose and chin areas were tricky to shape. I pused from the inside to enlarge the nose area, let it cool, then reshaped the top edge to fit my nose. Next, I did the same for the chin. Pay attention to the top edge of the mask, as it affects where it sits on your face - cheekbones matter! This design can accommodate 3 layers of filtration. I used cut-out circles from an N95 mask and placed a thin layer on top and bottom to catch moisture and larger debris, preserving the middle layer's effectiveness. For straps, I use non-elastic velcro for the bottom one around my neck and lightweight elastic on top. I applied silicone to the top strap to keep it secure on my head. Upgrades from the "Hack the Pandemic" model: * Added a second filter for increased airflow * Changed the grid pattern to circles for improved airflow * Enlarged the holes in the spacer, as it's only for pressure * Lengthened the spacer to accommodate a third filtration layer without extending the filter tube * Added more supports for easier bending * Included texture on the filter cap for easier removal * Revised the threading for better performance * Redesigned the model to print without supports * Split the strap slots for added security * Added a handle to the front center for easy adjustment
With this file you will be able to print Hack the Hack with your 3D printer. Click on the button and save the file on your computer to work, edit or customize your design. You can also find more 3D designs for printers on Hack the Hack.