Ham Radio Dual PowerPole with USB "Juicebox" Remix
thingiverse
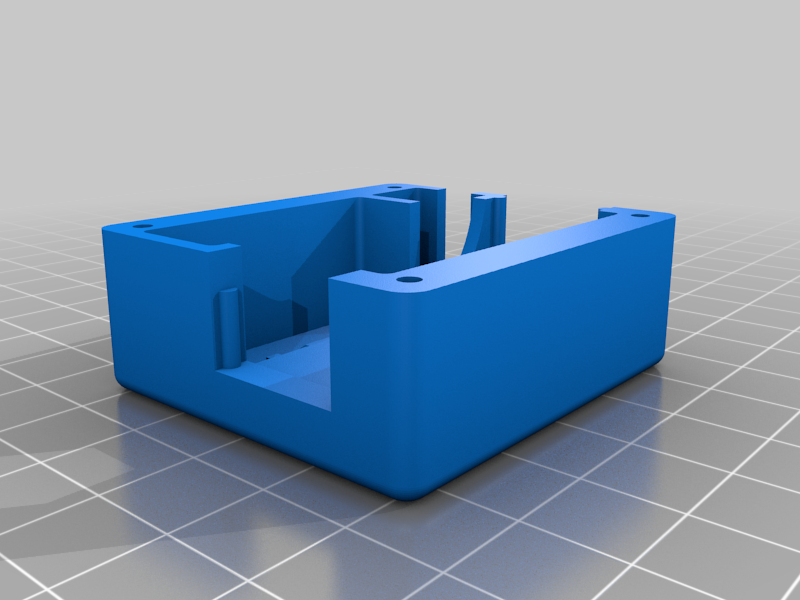
<b>This is a remix from Thump2010's Ham Radio Dual PowerPole with USB "Juicebox". </b> I didn't have any tiny M2 screws needed to assemble his original box, so I brought it in to Fusion360 and modified it by thickening the outer walls to accept either M3 or #4 sheet metal screws. Sheet metal screws have a wider thread pitch than their machine screw cousins and therefore it's easier to cut threads into soft plastic without stripping the holes with them. Hope this is useful for someone. Happy 3D printing. See The Smokin Ape's video of this device in action here : https://www.youtube.com/watch?v=kafOmk6WYEc&lc Update: Added a new top STL w/ Smokin Ape's logo engraved in it to add a bit of flair. <b>Tips on building:</b> <i>(See images above for context.)</i> Don't use stranded wire for the Power Pole pass-through connections. Use 12 awg solid wire if you have it. It make's the whole thing much easier to assemble. Start by cutting two pieces of 12 awg wire long enough to solder the pins for two connectors and form into a "U" shape. Assemble two connectors and slide them together on top of each other using the locking slides molded in to the connector housings. Now solder pins on those wires and press them into the connectors, red to red, black to black. You should have a loop of bare wire sticking out the back about 5 - 7mm (1/4in). Now using the 12 awg wire, cut two lengths of wire long enough to contact the wire loops from the stacked connectors when assembled into the case and solder pins to each (hint: cut the wires a little long and trim to length after you assemble in to case). Assemble the power pole connectors into the case and solder the wires from each connector together, again red to red, black to black. Now that part is done, use some 18-20awg stranded wire to make the connections from the power pole wires to the USB buck converter board. I soldered the two power wires to the board, then assembled it into the case with the power poles and measured the length of wire needed and cut the wires. Then I took everything out of the case to solder the connections. Doing it this way makes the job of fitting everything in the case easy and the solid wire connecting the power poles makes the whole thing feel nice and solid when assembled. <b>Summary from Thump2010's Original Part: </b> https://www.thingiverse.com/thing:4598906 A buddy of mine bought some USB buck converter boards and was going to make an adapter cable and I had the idea of this box instead. It has one set of power poles in and 2 sets out, and then USB to power a PI, what have you. This box is great for POTA FT8. battery in, PI, Radio, Tuner power out. It has gone through a couple revisions hence the different color boxes. You can either crimp multiple wires into the single set powerpole to the double or crimp one wire in each connector and then solder them all together, we have done it both ways and they both work. Yes, I know some of the pictures have the power pole polarity reversed, that has been remedied.
With this file you will be able to print Ham Radio Dual PowerPole with USB "Juicebox" Remix with your 3D printer. Click on the button and save the file on your computer to work, edit or customize your design. You can also find more 3D designs for printers on Ham Radio Dual PowerPole with USB "Juicebox" Remix.