Hamster Dollhouse Sliding Window
thingiverse
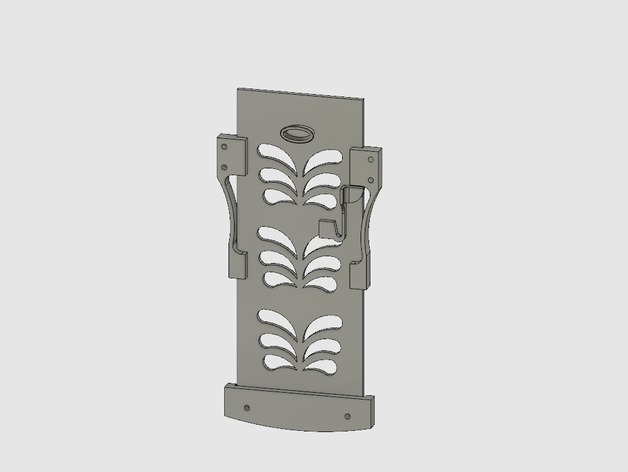
Kind of an Instructables project, but I thought I'd share the sliding window printed parts here. The kids got a new replacement Hamster (named GiGi) and poor thing has so much energy, its nightly military style pacing leaves a large stain on the side glass wall of its 10 gal fish tank. So to give GiGi more space and toys to play with, it was time to dust off the kid's dollhouse and turn it into a fancy mansion! The main viewing area was framed up with angle aluminum 3/4" x 3/4" x 1/16" and closed off with a removable large 1/8" thick plexiglass for easy viewing. There were 3 window openings that also needed to be closed off, but be easily removed for replenishing water or food. The window and lock design was done in Fusion 360. It's designed to accommodate a 3"x7"x1/8" plexiglass, which I CNC'd to allow airflow and give it some esthetics. Window guide printed parts were initially glued in place, but I found it needed a couple screws each piece to hold it in place. The window button and lock were hot glued in place; so far it seems to be holding up. I hope you enjoy seeing this project! Print Settings Printer: RichRap 3DR Rafts: Doesn't Matter Supports: No Resolution: .3mm Infill: 20% Notes: Please remember to flip the parts so that there are no overhangs! I'm still getting used to Fusion 360 and don't know of an easy way to orient the parts through the STL export. I'll repost when I figure out a way. Please ping me if you know what I should be doing.
With this file you will be able to print Hamster Dollhouse Sliding Window with your 3D printer. Click on the button and save the file on your computer to work, edit or customize your design. You can also find more 3D designs for printers on Hamster Dollhouse Sliding Window.