Hank's 3-point bed leveling for Printrbot
thingiverse
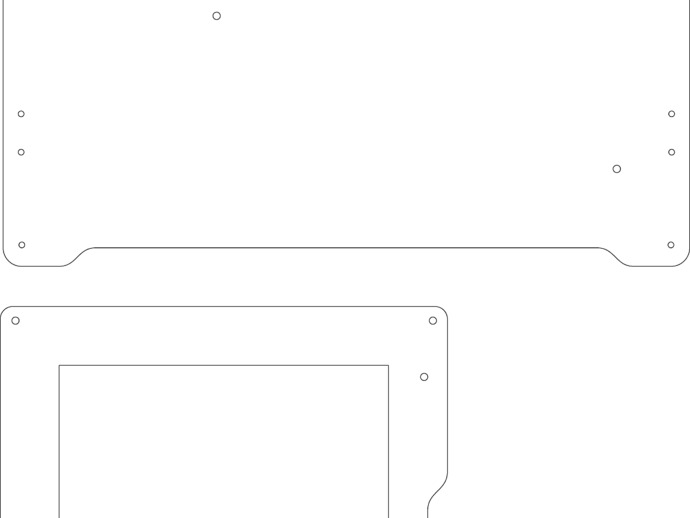
The Printrbot print bed platform and base starts with Beardface's Printrbot bed (http://www.thingiverse.com/thing:17717) and incorporates a three-point leveling system using the leveling knob idea from http://www.thingiverse.com/thing:9094 (reimplemented as an OpenSCAD file). These components are designed to be cut out of 1/4" MDF using a laser CNC printer. The bed platform and base attach to the original Printrbot Y-axis connectors and belt holders, and require 3 #6 panhead machine screws and nuts for attachment. The leveling system uses two layers of MDF with at least 1/4" spacing between them (for the two nuts and a little space for leveling), reducing printable Z-height by about half an inch or more. The holes for attaching the print bed to the bed platform are spaced for clipping an 8x8 bed to the base from the outside, so if your heated bed attaches via holes in the corner, adjustments may be needed. Print out six copies of the spinner knobs and attach them using nuts and screws as indicated. To level the bed, simply turn the upper spinner knobs to lower the bed on all three screws until there is 1/4" free space between the uppermost nut and the upper spinner knob. Adjust left-to-right and front-to-back levels using the provided knobs, then lock everything in place by tightening the lower spinner knobs. Remember to use an SVG file included in the instructions, which can be edited using InkScape (http://www.inkscape.org).
With this file you will be able to print Hank's 3-point bed leveling for Printrbot with your 3D printer. Click on the button and save the file on your computer to work, edit or customize your design. You can also find more 3D designs for printers on Hank's 3-point bed leveling for Printrbot.