Hatchbox Alpha LED Fan Shroud
thingiverse
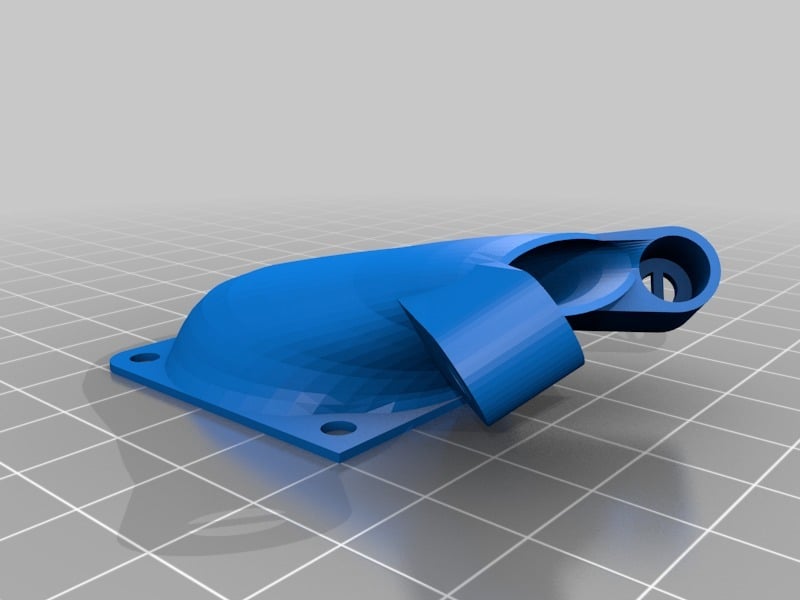
This is my final fan shroud to replace the stock one that came with the Hatchbox Alpha. I wanted to make one with a smaller, more focused airway that concentrated airflow closer to the print head for better cooling. Also, I wanted to light up the print area so I wouldn't have to use a flashlight every time I printed, so I added spaces for 2 LEDs on either side of the vent. It is fairly easy to install and you can reuse all of the screws and the mounting bracket that came with your Alpha, although you will have to bend the stock metal support flat as shown in the pics. There is very little room to work with but I wanted to make something that would fit the bill for condensed air flow, small footprint and bright lighting. You will have to buy these additional parts for this to work. :( sorry 1 - 2 5mm LEDs (I bought ultra bright white ones) 2 - a 100 Ohm Resistor 3 - wire with a female 2 pin adapter to connect to the main board I included a schematic and a pic of where to plug the wires into a blank part of the main board. You will have to pop the top of your Hatchbox Alpha to get to the main board. I plugged mine in to the Aux2 port at the 5v and ground connections as you can see in the pic. I added the resistor to the positive leg and wired them in parallel, so they should last pretty long. The LEDs are on whenever the printer is turned on but if you were so inclined, you could add a small switch somewhere. Happy printing!
With this file you will be able to print Hatchbox Alpha LED Fan Shroud with your 3D printer. Click on the button and save the file on your computer to work, edit or customize your design. You can also find more 3D designs for printers on Hatchbox Alpha LED Fan Shroud.