HBP Adjusters
thingiverse
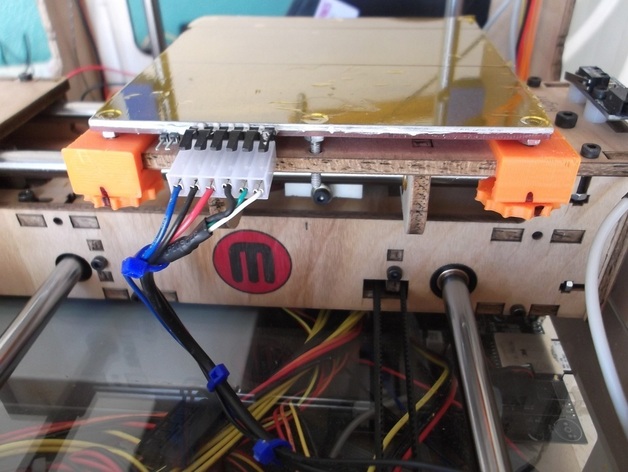
I designed this to make leveling my HBP a little easier. Once everything is installed the level can be adjusted very easily. The HBP can be installed or removed easily also. I have know idea if this will work on the ABP but should work on the acrylic platform. You have to use a 3 point leveling system though, 2 corner adjusters on the front and a straight one in the middle in the rear. If you put corner ones in the rear they may hit the Z rods, or any extensions such as Jetguys brass tube Z extenders. Instructions Print 2 corner sets and 1 straight set. I had to design a imperial size also because I couldn't find M3 hardware locally. So I substituted a 6-32 for my rear adjuster. Because of the level of my HBP the original M3 hardware on the rear adjuster just barely made the threads. The front are still the original M3 hardware I received with my aluminum build plate. So if you have similar problems you may have to print out the inches set(s). You may have to clean out the holes and enlarge the one on the top of the brackets. Press the nut into the thumb wheels. Thread the bolt down through the plastic nut and the metal nut to make sure everything aligns and also to thread the plastic nut. I left this tight so that there is some friction to prevent the thumb wheel from turning once adjusted. Glue the thumb wheel to the nut. Snap the thumb wheel assembly onto the bracket. With the HBP removed slide the adjusters into place. Place the HBP into place and push down until the threads catch. Using the thumb wheels screw the HBP down and then adjust the level.
With this file you will be able to print HBP Adjusters with your 3D printer. Click on the button and save the file on your computer to work, edit or customize your design. You can also find more 3D designs for printers on HBP Adjusters.