HC Maker 7 Y axis bed stabiliser
thingiverse
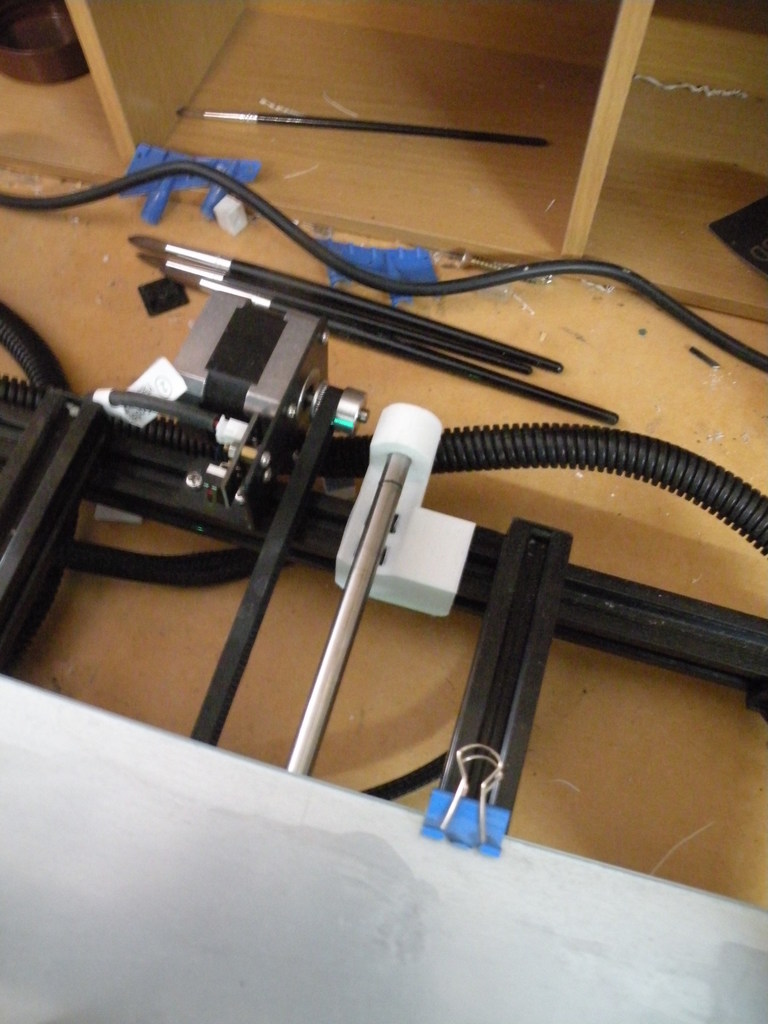
The HC Maker 7 is a large format printer with a 315x315 build plate. Unfortunately the Y carriage rolls back and forward on a set of six V wheels with quite a small wheel base (approx 50mm). This makes the whole built plate quite unstable and when printing it does rock up and down quite a lot during Y axis movements. Additional Parts Needed: + 2 x LM8UU linear bearings. + approx 470-480mm SS 8mm smooth rod + 5 x M3 hex nuts + 5 x M3x12 pan head machine screws My friend who owns this printer wanted the probelm corrected and I suggested a new carriage with wider wheel base and replacing the four T profile extrusions that make up the Y frame with much longer ones. He didn't want this so in the end I came up with this compromise solution. 1. A top and bottom bearing block which bolt together across the 3mm steel carriage plate with M3 nuts and bolts. A pair of M8 linear bearings are pushed into each end of the bottom block. This grips the steel carriage plate rigidly. Note that the rectangular plate in the centre of the bearing block assembly is designed to fit snugly into the same shaped hole on the right hand side of the steel carriage plate. 2. Two end blocks (only 1 pattern: the rear piece mirrors the front piece) are mounted on the front and back T extrusions just to the right of the Y belt. You have to unbolt the right hand side of the frame and the right hand Y carriage T extrusion and then slide the end blocks onto the T extrusion. They are a tight fit but should slide on with a little force. Leave the frame disassembled under the end of step 3! 3. Cut a piece of 475mm SS 8mm smooth rod and slide this through the linear bearings and through to the rear end block. It won't go in without a fair amount of force. With the frame still disassembled from step 2, I used a long "F" ratchet clamps with each end of the jaws pressing on the opposite outside faces of the end block behind the smooth rod hole. Gently and carefully tightening the clamp will push the smooth rod into the end blocks and bring the T extrusions at the right hand side back together. Once it's all back in place just screw everything together. Note that the end blocks will self locate once you slide the Y carriage back and forward. If the smooth rod is inserted to the correct length the end blocks will remain where they are. Now when you print you'll notice that the hot bed doesn't rock back and forward when the Y axis moves. It's not a perfect solution, we would have rebuilt the printer for that, but the linear bearings provide enough stabilisation for a good solution.
With this file you will be able to print HC Maker 7 Y axis bed stabiliser with your 3D printer. Click on the button and save the file on your computer to work, edit or customize your design. You can also find more 3D designs for printers on HC Maker 7 Y axis bed stabiliser.