Heading Indicator for Fligh Simulator
thingiverse
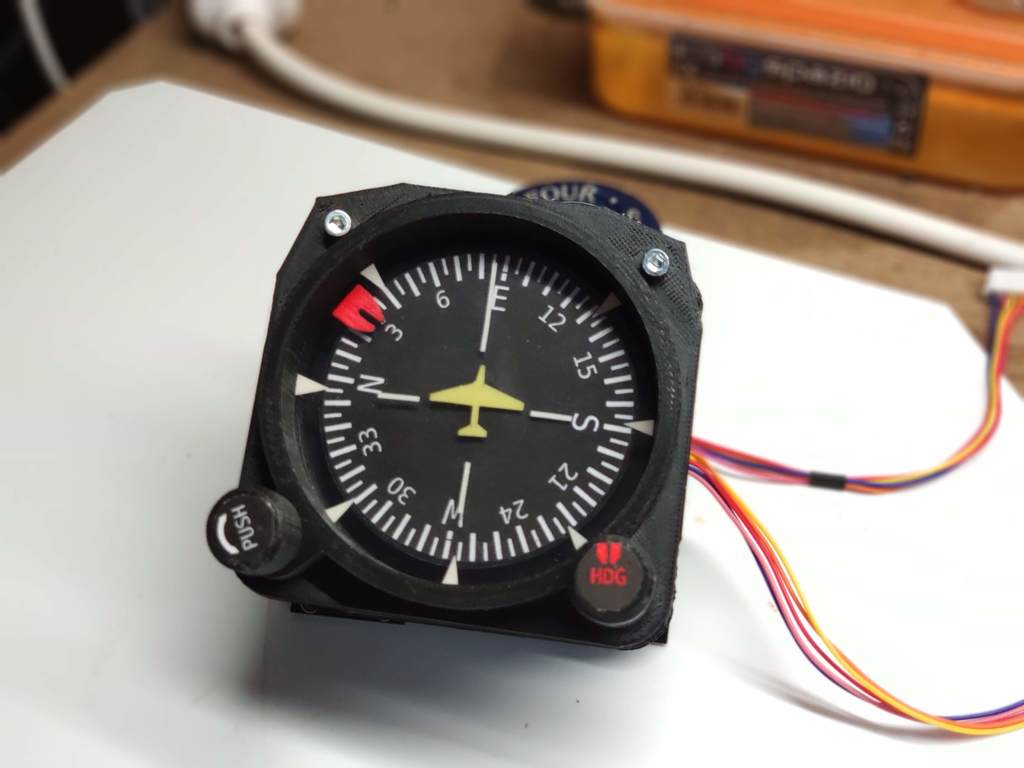
I Complete The Six Basic Indicators For An Airplane Cockpit With This Instrument. It's A Work In Progress, And I Still Need To Fine-Tune Some Things, But It's Usable At This Point. Initially, The Instrument Doesn't Solve The Initial Position Or Needle Of Disk Issues, Nor Does It Allow Arduino Software To Manage These Elements. However, Future Updates Will Address These Concerns. To Build The Gauge, You'll Need 2 Encoders And 2 Motors Type 28BJY. One Or Two Bearing Type 608 Are Also Required For This Project. For The Glass Components, Use Vinyl Electrical Insulation Tape And A Transparent Sheet To Mark The Indications. The PDF Files Contain Useful Information, Including A Wind-Rose Diagram, Cut-Out Templates For Handles, And A Guide On Placing Marks On The Glass. Please Note That "Build.stl" Is Not Meant For Printing; It's Only For Viewing In 3D On Thingiverse Web Page. To Complete The Gauge, You'll Need Two Prints Of "eje_mando.stl" And "mando.stl". However, If You Opt To Print Only One Rose Component, Choose Between "rose.stl" Or "rose_1.stl", Using High Filling For The First Option. Mounting The Rose, Needle1, Needle2, And Mandatory Bearing May Require Some Effort; Use Cyanoacrylate Glue To Secure Needle1 To Needle2. In Total, You'll Need 5 Screws: Two For Encoder, Mando, And Eje_mando Axes, One To Fix Fondo And Fondo2, And Two To Support Bezel, Glass, And Fondo Elements Together. The Gauge Requires A Minimum Panel Thickness Of 4.5mm (Typical Wood); If You Mount It On Metal, Use An Additional Separator Available In My Other Instruments. This Project Is Almost Open-Source; Remember That Any Modifications Should Be Published.
With this file you will be able to print Heading Indicator for Fligh Simulator with your 3D printer. Click on the button and save the file on your computer to work, edit or customize your design. You can also find more 3D designs for printers on Heading Indicator for Fligh Simulator.