Headshell for 70s-80s Dual Brand Turntables
thingiverse
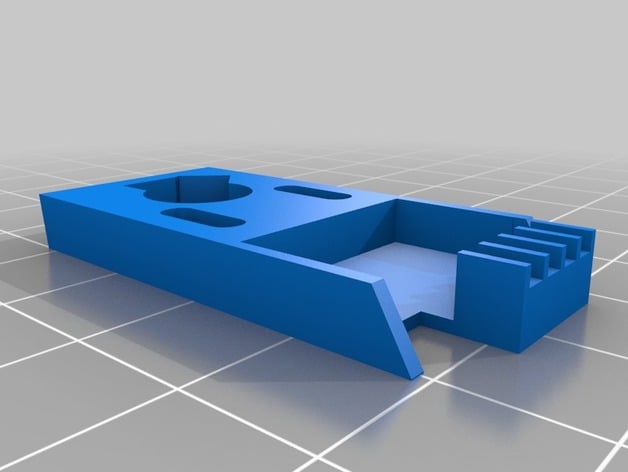
Headshell for Dual brand Turntables This is a recreation of the long-unavailable headshell for early 70s to late 80s german Dual brand turntables such as the 1209, 1249 and a great many others. If you collect shellac as well as vinyl or own several cartridges you probably need several of these. You will need to find some connector pins and thin wire for this project. Tools required: Small pliers, small soldering iron and the skills to use it. Although it looks a bit different it fits well and plays perfectly. Enjoy! Consider color-coding your cartridges- Black for LP, blue for 78, green for spherical, etc. I've included both the STL and Autodesk 123D files for re-mixing. Enjoy! ngreenouatgmaildotcom Instructions Re-Created Headshell for 1970's-1980's Dual brand Turntables Print and clean the headshell as in photo #1. I used ABS, no raft, with support, 1 extra shell, 20% infill. Obtain 4 pins for the headshell. I used Molex P/N 0008650115, available as DigiKey P/N WM2135 or Mouser P/N 08-65-0115.Your electronic junkbox may yield some candidates. Obtain 4 mating pins for the cartridge. I found some in the junkbox. You can use a spiral of AWG 26 or so solid copper wire instead. Wrap it around a toothpick and alter it a bit to grab the cartridge pins. Don't solder directly to the cartridge pins! Obtain 4 1" lengths of AWG30 insulated wire. Ideally red, white, blue and green. But the electrons don't really care about the color. Bend the tip of the Molex pin outward as shown in photo #2. Top is an unaltered pin, bottom is bent. Solder up pins on the wires as in photo #3 left. Use a small iron and very little solder. Insert the pins in the plastic teeth on the headshell base as shown in #4. They should stay nicely trapped by the plastic layers.The order is: front-red, next-green, next-blue, rear-white. (OK, I substituted violet for green.) Melt the plastic teeth down over the pins with a small soldering iron as shown in #5. If they're still wiggly, add some epoxy. Twist the inner pair of contacts outwards and the outer pair of contacts inwards to match the original headshell contact spacing. Pins 1-2 and 3-4 are about 1.8mm apart; pins 2-3 are about 3.6mm apart. See photo #6. Test fit it to your tonearm and check that the headshell pins seat on the left and right pairs of contacts in the tonearm. The midle one is unused. Install your cartridge on the headshell as in #7. As viewed in #6, from L to R the pins are: R(red), Rg(green), Lg(blue), L(white). Photo #7- Enjoy your vinyl or shellac with your new cartridge! If your belt-drive Dual needs a new belt, try MCM Electronics P/N 42-610. About $4.
With this file you will be able to print Headshell for 70s-80s Dual Brand Turntables with your 3D printer. Click on the button and save the file on your computer to work, edit or customize your design. You can also find more 3D designs for printers on Headshell for 70s-80s Dual Brand Turntables.