Heart Box Tinkercad Tutorial
thingiverse
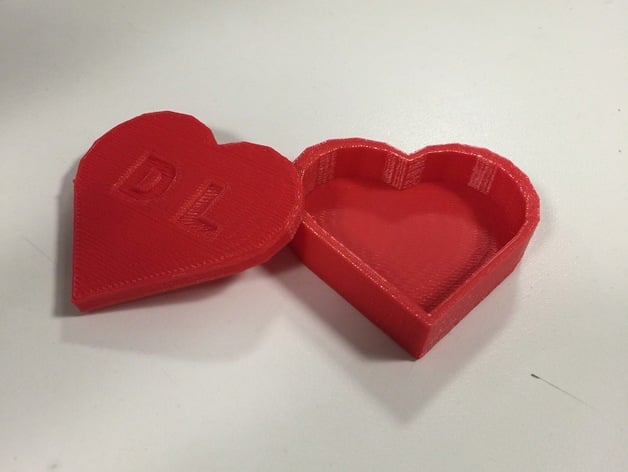
Just in time for Valentine's Day! Follow along with this quick tutorial to create your own custom heart-shaped box in Tinkercad! Watch the video for an overview of the design process: https://www.youtube.com/watch?v=Jh7wlbxoU_o. To design your own heart box, follow these steps below. Happy printing! Print Settings Printer Brand: MakerBot Printer: MakerBot Replicator (5th Generation) Rafts: Yes Supports: No Resolution: 0.2 Infill: 10% How I Designed This Instructions Watch the video for an overview of the design process. To follow along, follow these steps below. Happy printing! Step 1 Drag a Heart shape (found in the Symbols menu) onto the workplane. This will be the base of your heart box. We'll call this the Base Heart. Step 2 Resize the Base Heart to your desired box size (we kept it pretty small, roughly 50 mm x 50 mm x 8 mm). Step 3 Use Edit -> Duplicate (or CTRL + D on your keyboard) to make a copy of your Base Heart. Step 4 Resize the duplicate box, this is what we will use to hollow out the box, we will call this shape the Heart Cutout. Tip: Hold SHIFT + ALT on your keyboard when resizing to scale uniformly about the center of the object. Step 5 Select the Heart Cutout and change it to a Hole. Step 6 Create another duplicate of your Base Heart. This will serve as the Box Lid. Step 7 Drag the Box Lid upward and flatten it to roughly 5 mm. Step 8 Create a duplicate of the Heart Cutout and drag it upward. This part will be the Lid Bottom, the underside of the lid to keep it in place. Select a color to turn it back into a solid part. Step 9 Resize the Lid Bottom (using SHIFT + ALT) so that it will fit within the Heart Cutout when printed. Flatten it to roughly 3 mm. Step 10 Drag the Lid Bottom upward so that it touches the Box Lid. Step 11 Group the Box Lid and Lid Bottom. Tip: Hold SHIFT to select multiple objects for grouping Step 12 Group the Base Heart and Heart Cutout. Step 13 OPTIONAL: Drag out letters or other shapes onto the top of the lid to create a design. We used letters and turned them into Holes for easier printing. Step 14 Select the Lid part and navigate to Design -> Download for 3D Printing. Make sure to check the box labeled Download the Selected Shapes. Repeat for the Base Step 15 Import both STL files into MakerBot Desktop and lay them out for printing (we printed ours with the Lid facing downward and the Box facing upward). We selected Standard Settings and printed this on our MakerBot Replicator (5th Generation).
With this file you will be able to print Heart Box Tinkercad Tutorial with your 3D printer. Click on the button and save the file on your computer to work, edit or customize your design. You can also find more 3D designs for printers on Heart Box Tinkercad Tutorial.