Heated chamber for Up! Plus/Afinia
thingiverse
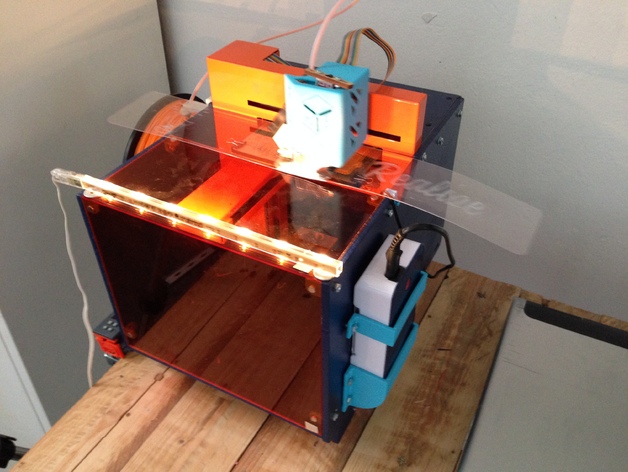
This heat chamber/enclosure is designed for the up! plus/Afinia printer and features a small 200W hand heater and a thermostat. It maintains an internal temperature of 50°C or more and prevents warping in large prints. The enclosure is primarily made from laser-cut 6mm MDF and 3mm plexiglass, with some 3D printed pieces. Doors are held shut by 6x3mm magnets. It was created for and used at RealizeBxl. For assembly, laser cut the required pieces from MDF and plexiglass, 3D print additional parts, attach panels, glue magnets in place, screw in the heater and thermostat, and mount the sensor in the printer. If you make improvements to the design, please share them.
With this file you will be able to print Heated chamber for Up! Plus/Afinia with your 3D printer. Click on the button and save the file on your computer to work, edit or customize your design. You can also find more 3D designs for printers on Heated chamber for Up! Plus/Afinia.