Hectorrail 141 Wifi remix locomotive for OS railway
thingiverse
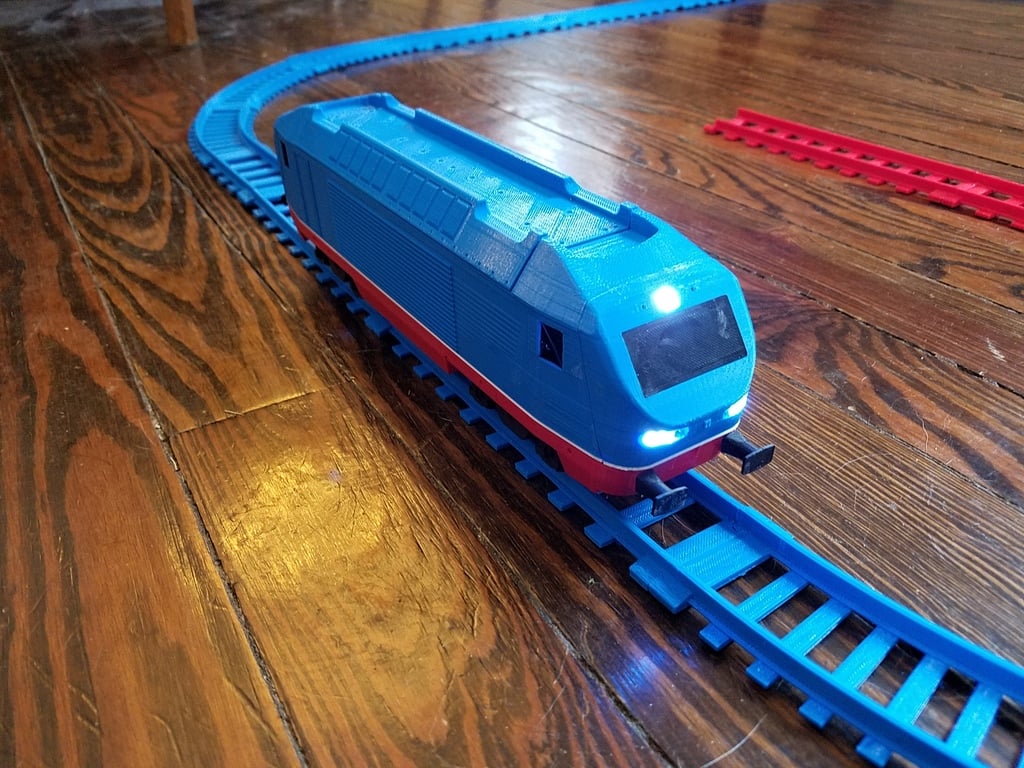
#####Overview This is a remix of Depronized's Hectorrail 141 engine. These parts are all printed in ABS and I had trouble getting certain parts together as it was too tight. Probably a difference in the materials or the printers themselves. First I would read and fully understand Depronized's system and then if you have issues with some parts printing mine might fit easier for you. This is a work in progress. I still plan to add some type of cooling to the motor because it heats up after awhile. I also plan to edit the roof to allow for ventilation and because it fits very tightly for me as is. I ran a 3s lipo battery to the motor driver and used a buck converter to regulate the voltage down to 5V for the NodeMCU. This way I was able to get everything powered off one source and with a lipo battery the train runs for a very long time between charges. For the original locomotive go here https://www.thingiverse.com/thing:2575667 #####My Parts * The motor mount is for the linked motors. The shaft is shorter than the Maxon motors so you need the motor to sit lower in the mount thus you'll need this mount. I may edit it a little more but it's been working very well for me as is. * For the boogie I allowed more room for the bearings because with Depronized's after I installed the bearings they wouldn't turn well because they were in there too tight. I also had a hell of a time getting them in there in the first place. This is simply the original boogie with more spacing for the bearings to fit. I will do a remix of his new boogie as I do my next train. * The two gears (10 teeth and 14 teeth) are Depronized's upgraded gears but with his you had to drill out the centers a bit to make them fit on the shaft. Mine have a slightly larger hole which for me fits perfectly. I am currently debating making the diameter a tiiiiiny bit smaller but as is I've not had issues. * There is a special 10 tooth motor gear I'll upload in the next few days. I wanted to make it lock onto the flat part of the motor drive shaft because I had a little issue with it slipping after driving awhile. * Chassis offset is just because I printed Depronized's original frame and he had accidently erased one of the circular offsets under the chassis that keeps the boogie's at the correct height. #####Wiring If people show an interest I'll add details on how I wired everything here. Mostly you can follow Depronized's diagram and figure out how to run it off two sources. #####Hardware * 1xNodeMCU ESP12E board * 1x Sparkfun motor driver - dual TB6612FNG (1a) * DC voltage regulator (buck converter) to get the 3S lipo from 12v down to something the NodeMCU can handle. I used a DROK LM2596 but wouldn't again simply because of the size. It fits, it works well but it's large. * 1x 3s Lipo battery. I'm running a 1000mAh battery with an XT30 connector. You don't really need an XT30 I just thought they're easier to work with so I put one on there. As long as the battery fits in the space under the chassis you'll be OK. * 8x 3x6x2.5mm bearings, I used these https://www.vxb.com/ProductDetails.asp?ProductCode=MR63ZZ * 3mm carbon rod for wheel shafts look on Ebay or Amazon, I also drilled out the boogie some and used a 3mm rod for the connection shaft to make it 4wd * 16mm DC-motor and gearbox. Look at Depronized's page and comments as he's posted a lot of information regarding motors. I used a ESCAP 16 Coreless DC 12V 540RPM Motor ( Model 16G 214E MR 19) off Ebay. I have 10 of them and so far they all work well. * M2 screws for assembling the body, chassis, etc (various length) * M3 screws to assemble the boogie, connect the boogie to the chassis, and the coupler. Again, various sizes. * O-rings for the wheels so they roll a little quieter and grip better. * 3mm LEDs and resistors. * I used silicone wire as it is more flexible and for this was easier to work with for me. https://youtu.be/_-fC2sBBlyw
With this file you will be able to print Hectorrail 141 Wifi remix locomotive for OS railway with your 3D printer. Click on the button and save the file on your computer to work, edit or customize your design. You can also find more 3D designs for printers on Hectorrail 141 Wifi remix locomotive for OS railway.