Hemera - Creator Pro Carriage
thingiverse
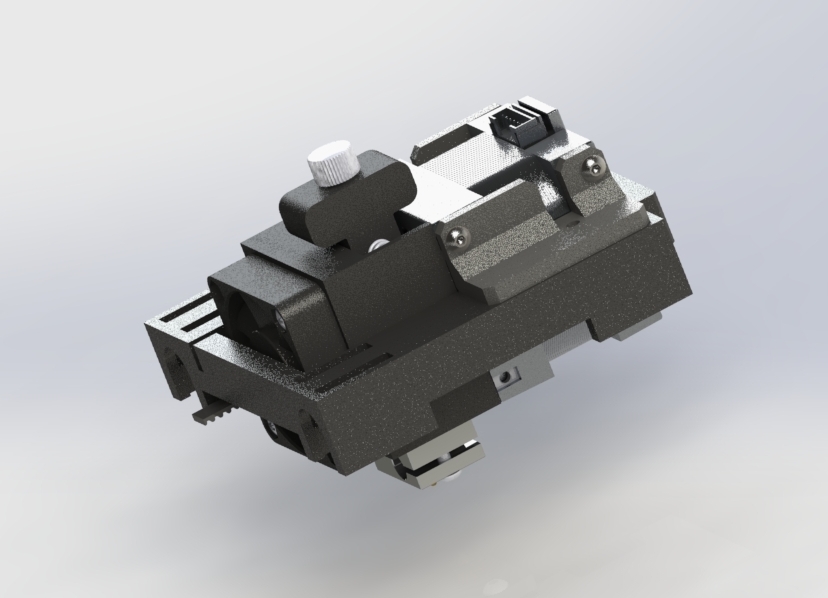
Update 22/02/2020 : this mod is working great, many dozens of prints so far, Have used a cable chain to take cables from the head to the back side of the printer. I have only bodged up a makeshift stand to hold the chain to the head assembly, but so far it is working fine, i may design something better in the future. This is a replacement carriage for the Flashforge Creator Pro This is still a work in progress! But is currently being used in my machine! This is a Single Extruder Modification it may or may not work with the factory firmware. This is working in My machine which has a Duet2 board fitted 18-10-2020 : you may need to reduce the carriage scale by 1% if your carriage binds on the left side of the rails (when sliding it back and forth once clipped onto the bearings) NOTE: check for binding before you attach the belt as zipping the carriage back and forth with the belt attached will generate current via the stepper motor and may back feed into the control board! (not a good thing) You will need to remove the factory carriage first. The Hemera Carriage will clip onto the existing rails and bearings. connect the belts to the carriage via the belt locks (2) the belt will have a twist to vertical This is required so there is enf room for the extruder assembly to fit between the rails. There are 4 captured M3 nuts to be fitted underneath. One bolt on the rear mount ( L bracket ) is used to hold the bracket down to the carriage via the outer screw holding the right hand belt lock. The front L bracket once everything else is in place (including the Extruder Assembly) gets CA glued into place, This becomes a permanent part of the carriage. ( The rear L bracket cant be glued as it is needs removal for any belt maintenance) Make sure your M3 bolts are not too long for the mounting of the extruder assembly, maybe do a pre-install assembly to check for bolt lengths first. I may or may not post a hardware list. 3 x M3 12mm 1 x M3 16mm 4 x M3 nut Bolts for extruder attachment are included with the Hemera on assembly the extruder would be fitted from the bottom up. allowing the cables to pass on the left of the carriage between the rails. *** Please hang fire on printing this until i design the endstop flag as it will collide with the X stepper motor. Alternatively print a calibration cube and glue it to the carriage so the endstop is triggered earlier. Credit goes to https://www.thingiverse.com/thing:1350343 as I used his model to inspire the factory bearing support and some clearances. I did use his model with an E3D for some time before purchasing the Hemera. Thanks Mate it is a well designed piece of kit.
With this file you will be able to print Hemera - Creator Pro Carriage with your 3D printer. Click on the button and save the file on your computer to work, edit or customize your design. You can also find more 3D designs for printers on Hemera - Creator Pro Carriage.