Hemera XS Adapter for Anycubic MegaX
thingiverse
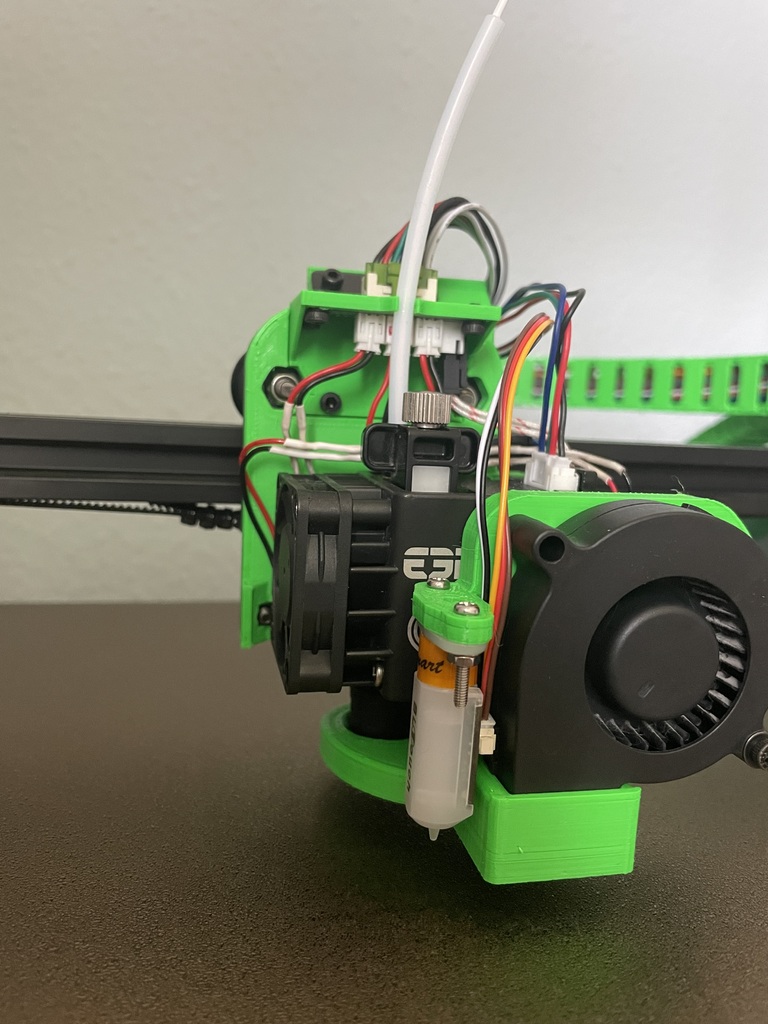
E3D Hemera XS Adapter for the Anycubic Mega X. Based on the baseplate of the X-Carriage MK4. Easy to print and kind of easy to mount. The filament guide is optional. The fan holder and all other modifications I used for my printer can be found in this collection: https://www.thingiverse.com/astrocabin/collections/38094081/things Additional parts needed: Some M3 screws and nuts. I mostly used spare screws from the original printhead. ## Pre-installation Do a test-mounting of the extruder to the adapter plate to make sure the screws fit. Use the screws that come with the extruder! While the extruder ist attached you should test the cable length to the PCB-holder. For me the hot-end-cable just fitted perfectly. For the thermistor cable I needed to use the extension that comes with the extruder. I strongly recommend to solder a fitting plug for the PCB-board to it. This can be done afterwards. When all fits, disassamble again. Move the Z-axis up to the middle to have space to work. ## Installation ### Removing the printhead First, remove the original printhead completly until only the backplate with the rolls is left. You need to remove the roll on the bottom as well in order to get everything of. There is no need to remove the belt, just attach the roll afterwards and make sure the whole carriage can move smoothly and is not too loose or tightened too much. It can be adjusted easily with the special spacer of the roll. ### Mounting the extruder First, attach the PCB-board to the holder. I fixed it with three short M3-screws. They should hold in the plastic of the holder. Take the adapter and attach it to carriage in right bottom corner using a M3 screw and a nut. Make shure you can still move the adapter freely. Then, rotate it so you can reach the screw holes and the back and attach the extruder. Tighten the extruder-screws equaly to prevent twisting of the adapter. Rotate it back and add the screw in the left bottom corner. You may tighten them slightly. Add the prepared PCB-board holder with three screws on the top of the adapter. Tighten all screws step by step and you're done. ## Post-installation Relocate the X-axis endstop switch. Attach all cables. I soldered the motor-cable that came with the extruder to the existing cable of the original extruder. Beware that you might need to switch the inner wires to get the direction right. I did this on the plug going into the extuder motor. That's it.
With this file you will be able to print Hemera XS Adapter for Anycubic MegaX with your 3D printer. Click on the button and save the file on your computer to work, edit or customize your design. You can also find more 3D designs for printers on Hemera XS Adapter for Anycubic MegaX.