HEVO 10mm X Carriage, Titan Aero Mount & XY Micro Switch End Stops
thingiverse
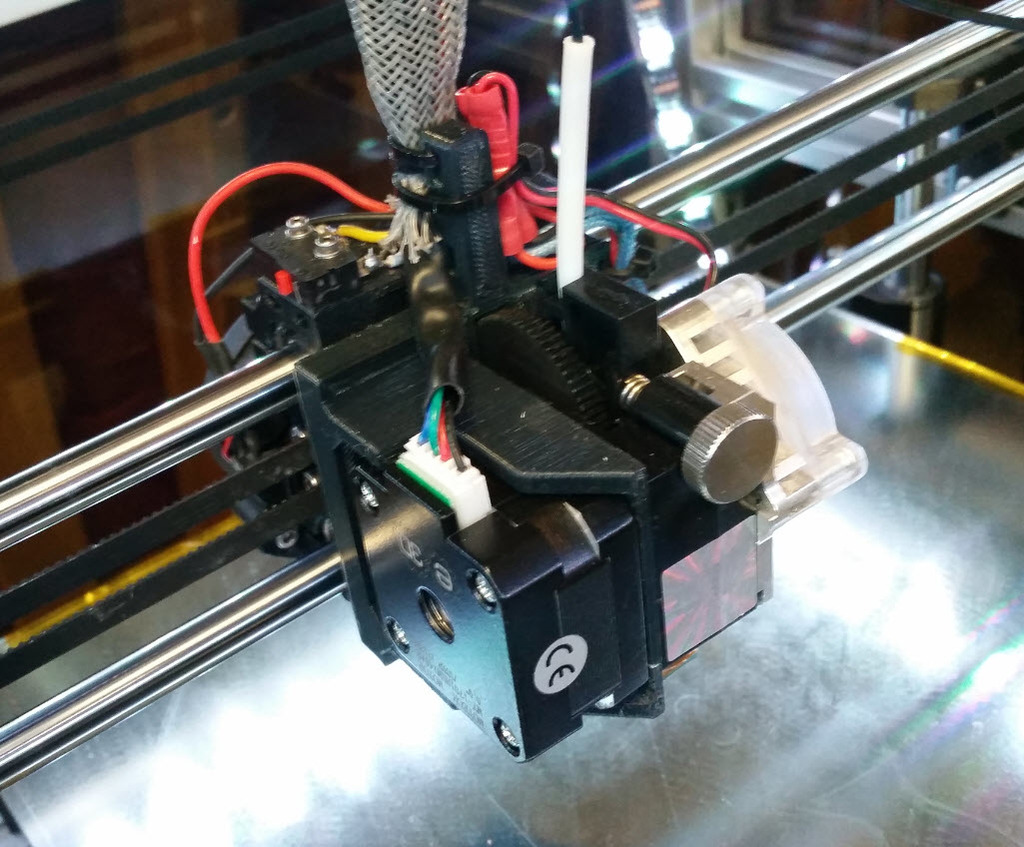
I remixed an x-carriage and Titan Aero mount to suite my tastes. That included mechanical micro switches for all end stops, fewer of the press-in brass nuts, no supports, etc. I have been using and tweaking these parts for about a year and I have been getting good results. I still want to balance the airflow in the duct a bit better eventually when I have time. X-Carriage: This is a remix of a thing that I can't seem to find on Thingiverse anymore. I removed the press/melt-in nuts on the belt clamp screws and replaced with a single regular metric nut for each clamp. These screw holes will print with a single layer support bridge that you drill out later. It also has mounting provisions on the top for my x end stop microswitch (m2 hdw). Also made a lot of other minor tweaks. Included is a version with big mouse ears to help it stay perfectly flat in case you might have a problem with that like I did. Titan Aero Mount: Not 100% sure what thing I remixed it from but I think it is thing #2466684. This was very heavily reworked to accommodate my part cooling duct, my use of micro switch end stops and how I wanted to route wires. I left the press-in brass nut for mounting it to the carriage. ..Also have a version with ears to hold the corners flat should you have the need (you shouldn't if you use petg). Micro Switch End Stops: Also included are end stop parts for X & Y. The "y end stop switch bracket" was modeled to go on the rear left corner but I later reprinted it mirrored and moved it to my front left corner. Part Cooling Duct: The cooling duct is designed to mount under my Titan Aero mount. It also prints without supports but does have a wide bridging area that most printers should handle. You will have to rotate it to its up-right position for printing. Add washers between the between this and the Titan mount if needed to bring the duct a little lower. You will want it as close to the bed as possible without risk of hitting things. The tab above the fan attaches to the rear of the x-carriage by match drilling a small hole into the carriage and using a small wood screw or ideally a plastic screw to secure it. Currently the left side of the duct does get more air than the right. You can manually balance it if you like by experimenting with slightly blocking one side by where the blower connects. Also included is an iges file of my whole carriage assembly.
With this file you will be able to print HEVO 10mm X Carriage, Titan Aero Mount & XY Micro Switch End Stops with your 3D printer. Click on the button and save the file on your computer to work, edit or customize your design. You can also find more 3D designs for printers on HEVO 10mm X Carriage, Titan Aero Mount & XY Micro Switch End Stops.