Hewlett-Packard OmniBook Hinge Fix
thingiverse
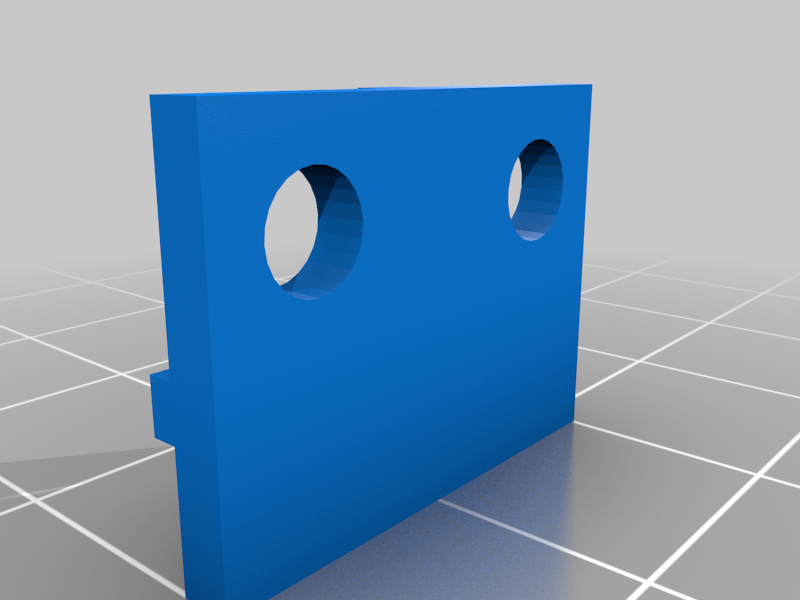
Hewlett Packard Omnibook Hinge Fix Created as a simple "fix" for the 90s Omnibooks using a very bad hinge design, consisting of a strip of metal connected to the display and a rotating metal piece. Please note that the fixv2_fixed.obj file is the one which is fully manifold and watertight, and the other two are provided purely for your own use and testing etc. To install: 1/ Take out screws holding display and hinge together, flip laptop over 2/ Open up the lifting feet at the back and remove the screw under it - the hinge block should come off 3/ There will be a screw on the bottom of the hinge block, take it out, remove the metal bit and undo the hex nut slightly to make the hinge block looser 4/ Put this part back together 5/ 3D Print your hinge supports| 6/ Find yourself a nut and screw which fits through all of the holes and grounding hooks 7/ Put the plastic part on the OUTSIDE of the hinge, T shape (for support) facing up and put through your nuts and bolts, having the nut on the T shaped side 8/ Tighten You should now notice your entire display assmbly is much better supported than previously, and should prevent any further damage. Because of the loosening of the hinge block you may notice that the display can no longer hold itself up, however if anything this is preferable as it will prevent any further damage to the assembly. It is possible if yours still has a top hinge cover you will have to remove these, however I'm unsure of how those fit or are attached as mine are long gone and broken.
With this file you will be able to print Hewlett-Packard OmniBook Hinge Fix with your 3D printer. Click on the button and save the file on your computer to work, edit or customize your design. You can also find more 3D designs for printers on Hewlett-Packard OmniBook Hinge Fix .