HG P407 shock and servo mod
thingiverse
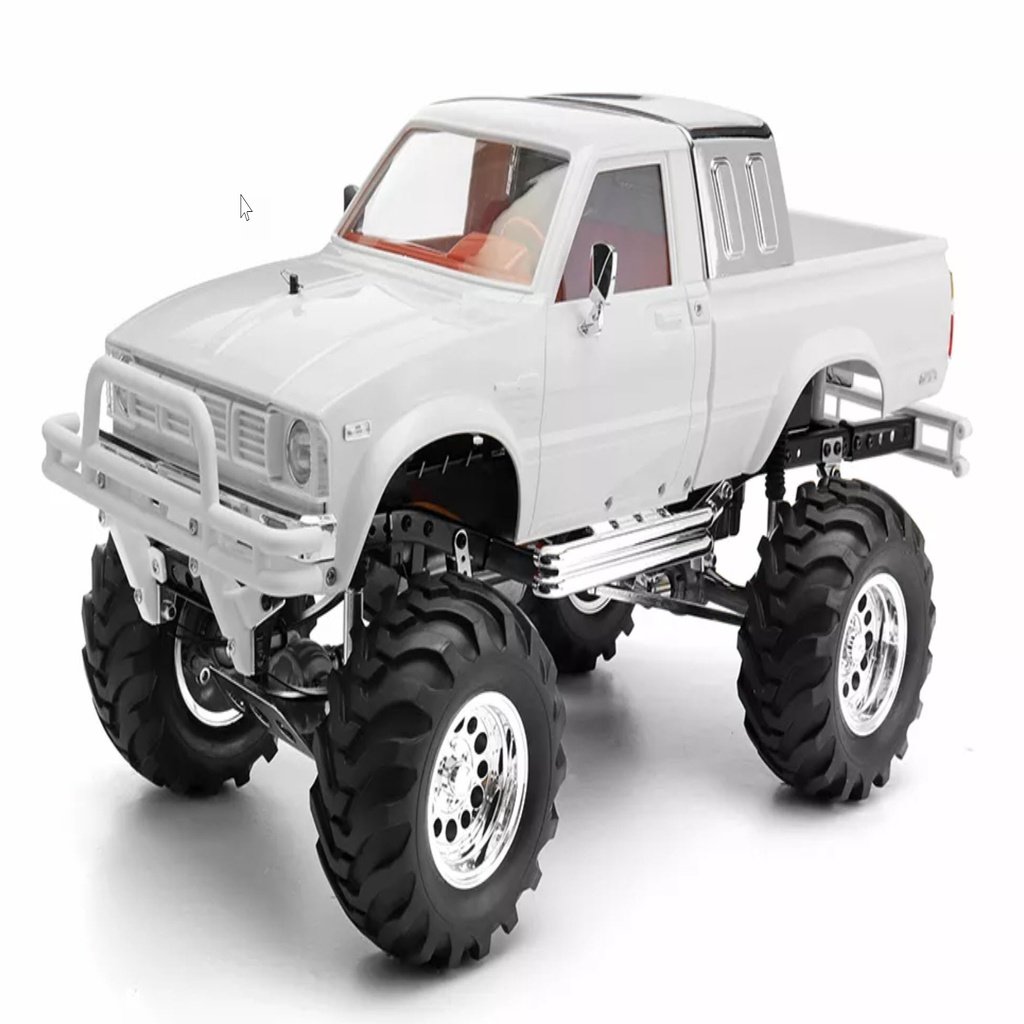
This is for P407 RC Truck or Tamiya Bruiser Shock Modification. The original shock is quite bad, so I want to replace it with some common aftermarket shocks. I'll use 100mm hole-to-hole shocks x 4. However, it's not easy because the space between the wheel and chassis is narrow, requiring some modification. Front Shock: Use File Top Mount Front two parts and bottom mount; it has enough space for shock installation between the outside of the chassis and front wheel, but the original super long steering servo rod needs to be removed. Therefore, a steering servo must be changed to front-mount, an idea originally from https://www.thingiverse.com/thing:3471382, thanks to him - it's a very good idea. I designed my own front servo mount part, allowing necessary modification. Rear Shock: Not enough space for common shocks installed between wheels and chassis, so they must be installed inside the chassis. It's necessary to make two holes in the electronic box to let shock pass through, then it works very well. Optional: Since we moved the steering servo to the front, the original servo room has only one gear-switching servo; it's possible to move it to the side to make a bigger room so that an ESC or receiver can be put in the servo room. We can use the file gear_switch_servo_mount.stl to change the gear speed servo mount position. File List: rear_shock_mount_passenger_side.stl rear_shock_mount_drv_side.stl To slice and print: The largest face should face down on the bed. For rear shock mount, left and right, install on chassis outside. Using 4X M3 screws (8mm long) and 2X M3 nuts, the other two screws screw into metal holes. shock_bottom_mount.stl For front and rear shock bottom mounts, to replace the original white plastic part. To slice and print: nut face facing down on bed. For rear shock installation, make sure it's facing the correct side; nut face toward outside of chassis. Suggest installing the shock first so we have easier access to screws, then put it on the chassis later. It's a little longer than the original one, so new shocks don't touch the chassis. top_mount_front_driver_side.stl top_mount_front_passenger_side.stl Front shock mounts left and right. To slice and print: The largest face should face down on bed. Install inside of chassis; 4 self-tapping screws should work. car_body_mount_front.stl Install it between two front shock mounts, to reinforce the front mount, and put the car/truck body holder on it. Need to remove screws and nuts from the original body mount metal piece and install them here. Use 2X M3 self-tapping screw to connect with two shock mounts. shock_insert.stl Insert shock upper hole if necessary. Can also use the original insert. servo_mount_vertical.stl Use it to mount servo on truck front. Idea is from this design https://www.thingiverse.com/thing:3471382. Can use the original short servo rod to connect wheel and servo, no need to buy an extra servo rod. gear_switch_servo_mount.stl Optional; use it change gear switch servo mount position if necessary. Print using PETG 50% or more infill
With this file you will be able to print HG P407 shock and servo mod with your 3D printer. Click on the button and save the file on your computer to work, edit or customize your design. You can also find more 3D designs for printers on HG P407 shock and servo mod.