Hi precision Z lash test
thingiverse
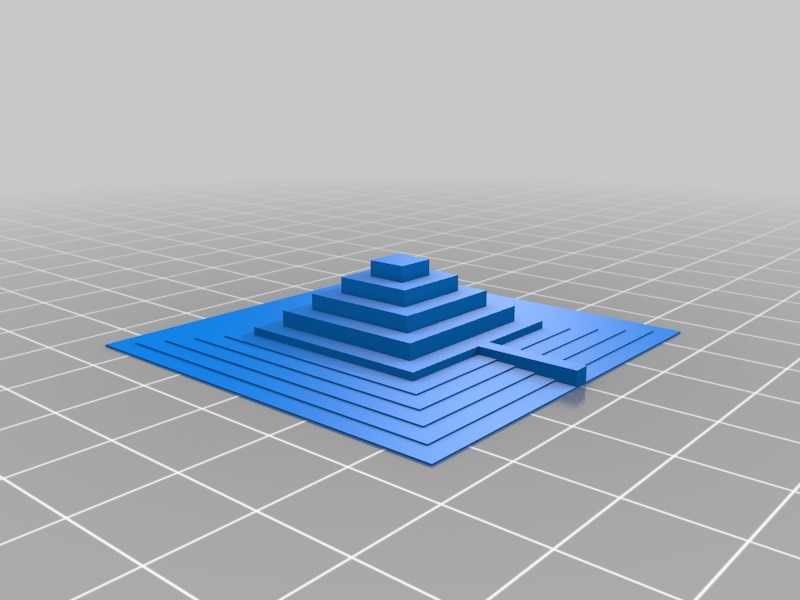
I can hear all the chorus of groans.... "Oh no not another one grrrr!" Well hang on I believe this one is different in a subtle but very important way. I had a non linearity problem with my Z screw system which was tricky to properly identify. My full height Z accuracy was set great up to 300mm, but yet at lower Z heights everything was apparently reduced or compressed by somewhere around 0.6mm. This also caused excessive back pressure with extruder bumping on the early solid layers (after The first layer). This was caused by the early layers not increasing in Z adequately, so no space for the nozzle to freely extrude into. It turns out that I had a Z mechanism backlash issue. It really only showed up when Z action reversed direction before laying the first few layers at less than 1mm thickness. Resulting in compressed lower layers. So I made this simple precision test pyramid to enable checking and calibration of small Z dimensions right down to single first layer thickness. I just print it then measure the steps thickness with vernier calipers or a micrometer. So The steps on this pyramid are precisely...... 0.2mm 0.4mm 0.6mm 0.8mm 1.0mm 2.0mm (with extension line to front edge for X Y orientation after removing pyramid) 4.0mm 6.0mm 8.0mm 10.0mm It is also handy for rudimentary checking X and Y calibration. The central 10mm high tip is 5mm square, with each subsequent lower step increasing in 5mm increments.... 5mm 10mm 15mm 20mm 25mm 30mm 35mm 40mm 45mm 50mm This test piece was invaluable to pinpoint my recent Z errors at sub mm nozzle heights. (It was caused by the flex couplings on my twin Z screws. A simple grub screws readjustment so that Z screw bottom ends are always touching the motor shafts resolved it totally). I include photographs of my before and after pyramid prints. It was hard to capture such small differences on the photos, but if you look closely you can see The lower steps below 1mm are all somewhat truncated, or flattened on the before print (generally, the photos of the bad one is to the left of the good one). So I thought to share this might help others detect and correct similar problems. It's a quick and economical piece to print but worth its weight in gold I think. I hope others will find it useful too.
With this file you will be able to print Hi precision Z lash test with your 3D printer. Click on the button and save the file on your computer to work, edit or customize your design. You can also find more 3D designs for printers on Hi precision Z lash test.