Hilly Billy Heated Build Platform
thingiverse
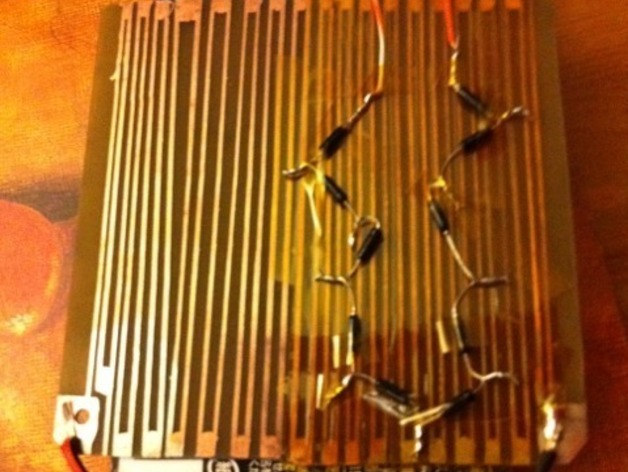
This is a heated build platform I made at home with things I had laying around. It works. Instructions Get a dual-sided copper clad board and clean it with steel wool, and acetone (not at the same time.) Next get a sharpie and draw a serpentine pattern. I did this by drawing many parallel lines and connecting the ends together so it formed one long snake. Next cover the backside completely with paint or a sharpie. (Paint works better.) This will make the top layer a big piece of metal which will spread the heat. Etch the board for 40-70 minutes. Remove the sharpie marks on both sides with acetone or rubbing alcohol. Now measure the resistance of the board with a multimeter. Mine came out at 5.7ohms which proved to be too high. This will get powered by the extruder controller which has 12V. So the max power available to this is: V^2/R = 12^2/5.4 = 144/5.4 = 26.6W. This proved to be a little too low to bring the board to 100C in November in California. 4ohms gives you more room, you can adjust the resistance by shorting out the lengths in the serpentine. Short out legs until you get 4ohms of resistance. Also make sure the legs you short out are evenly spaced. Now you will need a thermistor, try to get one with 100k ohms. You can connect this and a regular resistor ~5kohm in series to sense temperature. Hook this up to the extruder controller and you can start measuring temperature. You will have to calibrate the temperature sensing circuit.
With this file you will be able to print Hilly Billy Heated Build Platform with your 3D printer. Click on the button and save the file on your computer to work, edit or customize your design. You can also find more 3D designs for printers on Hilly Billy Heated Build Platform.