Hinged Box with Clasp - Parametric Print in Place
prusaprinters
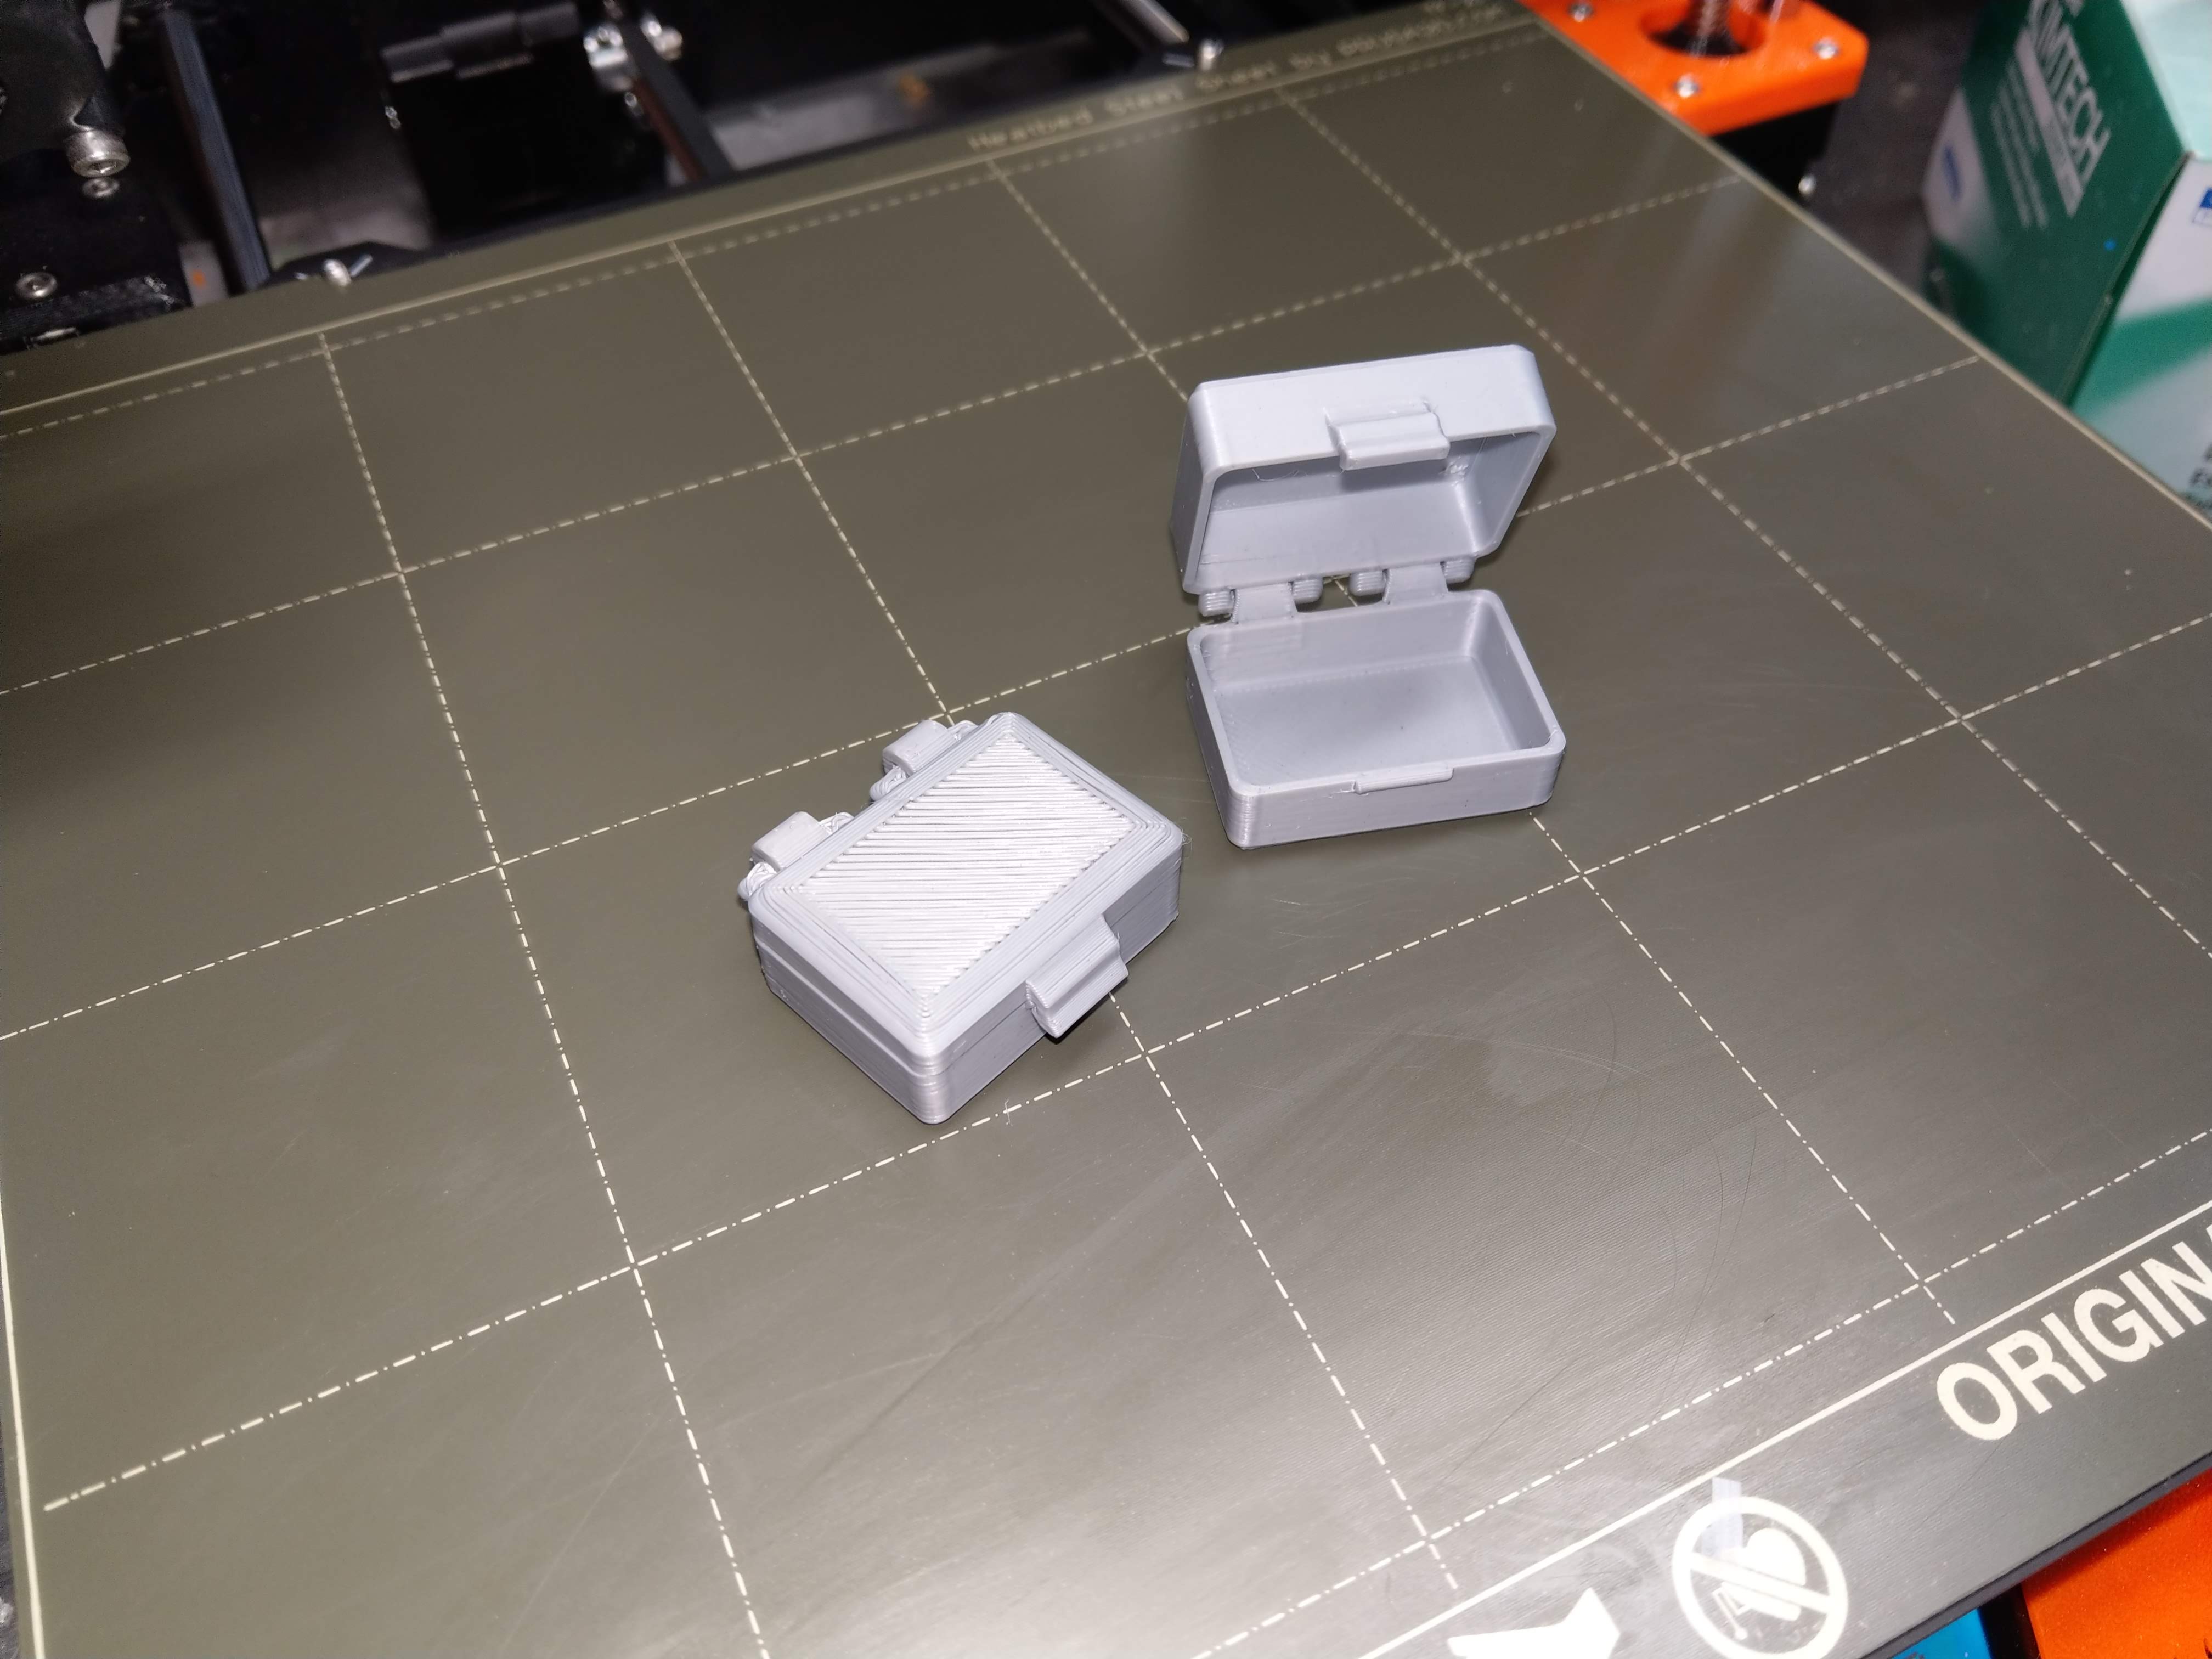
<p>This print was made as a proof of concept, as well as a model future use. The provided prints are primarily for testing purposes. On the other hand, the prints are useful on a try-before-you-buy basis, and they are perfectly useful little boxes that close with a satisfying <em>click</em>.</p> <p>To get the most benefit from this project use the OnShape 3D CAD files to create a box with whatever dimensions you need, limited only by the size capabilities of your printer.</p> <p>Addendum Oct. 9, 2020 : Corrected some errors in the OnShape CAD file. "BoxHinged7C" should now be working properly.</p> <p>Using the parametric CAD file, you can easily modify the following box properties :</p> <ul> <li>length, width, and height</li> <li>number and spacing of hinges</li> <li>corner radius of the box</li> <li>thickness of the box walls</li> </ul> <p>I do not recommend changing any of the other parameters, or making any other changes, unless you just want to experiment. I made a number of small tweaks in the hinge size, the clasp fitting, etc. to get a good working print (which is not to say that further improvements could not be made). If you just want to get a decent working box, then changing the above listed parameters should work well.</p> <p>See the print instructions for some additional details on sizing and printing the box.</p> <p>The OnShape 3D CAD files are here :</p> <p><a href="https://cad.onshape.com/documents/bfc43bd9b11dff2be9ba1073/w/1174e7ca68d6dc9863cf93d9/e/fa77586403844e98b64044e2">https://cad.onshape.com/documents/bfc43bd9b11dff2be9ba1073/w/1174e7ca68d6dc9863cf93d9/e/fa77586403844e98b64044e2</a></p> <h3>Print instructions</h3><p>Print in PLA using the 3mf files provided; in general :</p> <ul> <li>0.2mm layer height</li> <li>10% rectilinear infill</li> <li>perimeters = 5</li> </ul> <p>When first moving the lid on the finished box, bend the hinge slowly and carefully (supporting the top of the hinges with your fingertips helps) until they break loose and rotate freely.</p> <p>You can make the top and bottom of the box different heights, but for most efficient use of materiel use equal heights. When using different heights, you must use support material under the shorter half (see also note below). The two prints provided illustrate how the two options are printed.</p> <p>Suggested support material settings:</p> <ul> <li>4mm spacing</li> <li>45° pattern angle</li> <li>0.2mm detachable</li> <li>bridge flow ratio = 1</li> <li>bridge speed = 20mm/s</li> <li>use a support enforcer block under the shorter piece (not including the clasp or hinges)</li> </ul> <p>Note 1 : As an experiment in reducing the amount of support materiel required, I tried printing a box with a short lid at and angle. Although the print worked, the print quality was poor and the materiel savings was not great.</p> <p>Note 2 : Just to show the possibilities, I included data for a large (100mm x 120mm x 50mm) box with four hinges. I did not actually print this, but the slicer data shows a 6+ hour print time at a cost of about US$1.70</p>
With this file you will be able to print Hinged Box with Clasp - Parametric Print in Place with your 3D printer. Click on the button and save the file on your computer to work, edit or customize your design. You can also find more 3D designs for printers on Hinged Box with Clasp - Parametric Print in Place.