Holder for Ultipanel LCD controller
thingiverse
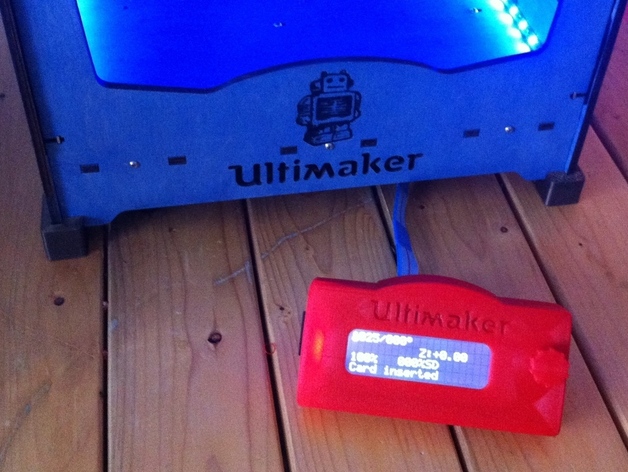
Upcoming photos will showcase better images; in the meantime, check out the Alibre model pictures. Using an Ultipanel with my Ultimaker, I wanted a design that could do two things: first, attach to the front or side of the Ultimaker, holding the screen at a suitable angle without obstructing printing, and second, stand on a table, also maintaining the optimal viewing angle. This design consists of two main parts, requiring no glue for assembly, and it's free from Vitamin materials. It should be robust enough to withstand minor accidents and print easily using standard Ultimaker Netfabb profiles or higher quality settings if desired. The pictures display the last prototype in red PLA; eventually, it will be printed in blue PLA to match the printer. Assembly instructions are straightforward: load and print! There are two knob versions available. Clean excess plastic from the LCD holder, back plate, and knobs before proceeding with assembly. Align the encoder spindle and SD card slot within the holder, then insert the Ultipanel face down, ensuring it clips into the retaining clips/ski ramps. Push the circuit board down at both ends of the holder while being cautious not to damage the board. Attach the chosen knob onto the spindle. Feed the plugs through the back panel's cutout and ensure the leads don't twist before connecting them to the board. Tuck the back plate's tongue into the holder, rotate it down until the angled flap contacts the hook, then squeeze and push the flap up into the recess for a flush fit. Finally, enjoy your newly assembled Ultipanel holder and continue printing!
With this file you will be able to print Holder for Ultipanel LCD controller with your 3D printer. Click on the button and save the file on your computer to work, edit or customize your design. You can also find more 3D designs for printers on Holder for Ultipanel LCD controller.