Hologram helper - Fringe Viewer
thingiverse
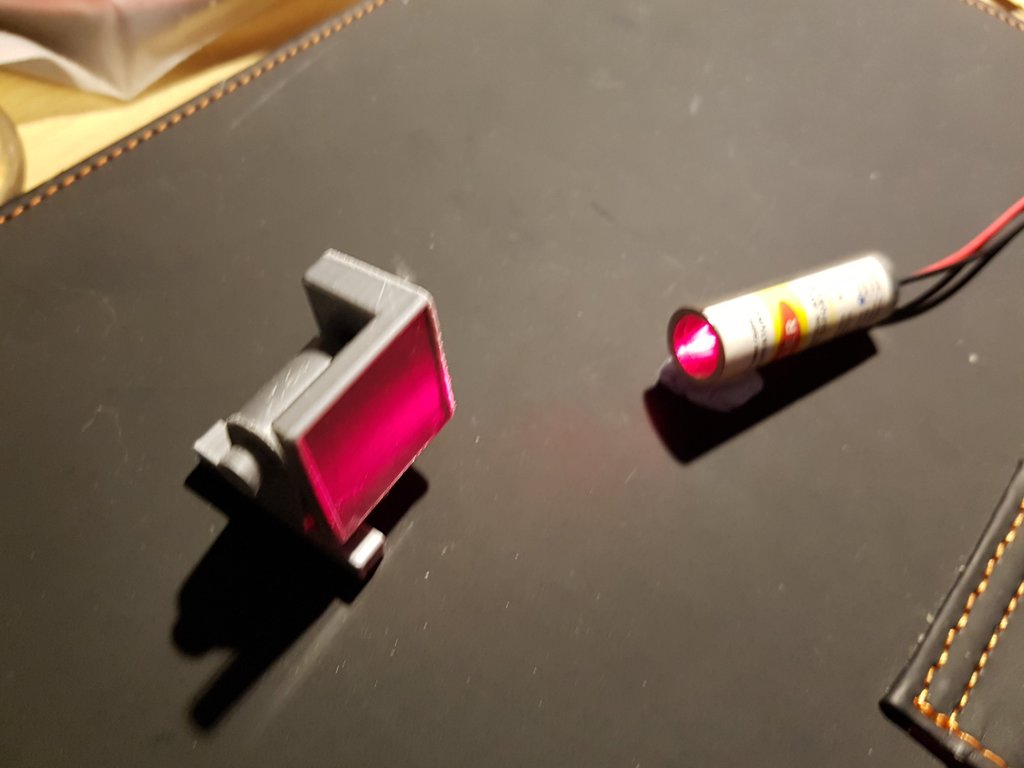
If you've been making DIY holograms, you'll know how hard it is to get a decent laser and a consistent result. Even when you keep it vibration free, and lots of thermal cooling! What's going on? We can learn the problems we have from FRINGES! Or more accurately the coherence of the laser, the light frequency(color) and the lasers stability. We can see these by viewing the fringes from reflected laser light. Most of the time our issues are due to : 1. The laser you're using. 2. How hard you're powering it. 3. The temperature. (the temperature of the laser SILICON, NOT your room!) But making the right kind of fringes can be a challenge. I've been told to use two microscope slides and place them together, and view the reflected fringes from them... this has NEVER worked for me. The idea is the backside of the top glass and the top side of the bottom glass are VERY close together, and will produce fringes. It does - but these fringes don't react to anything I do, I can brighten the laser, dim it, heat it up, put a fan on it to cool it down... nothing changes those fringes. I've yet to work out why. I suspect the fringes are from other sides of the glass, but why they'd be so stable I don't know. The glass too far apart? What I've discovered that works very very well are Microscope Cover Slips - these are little rectangular panes of glass with dimensions usually of 22mm x 22mm x 0.17mm thick. It's that super thinness that's the trick to this glass slide working to make our fringes. Take the lens off your laser if it has one, point it at the glass slide, and use a bit of bluetac to align the laser tube properly. Wait half an hour for the bluetac to settle, cool down and harden. This prevents the fringes from sliding giving you misleading results. Change the angle of your little glass slide to point at a nearby wall - the distance means you'll get a light square around 60cmx60cm big.... **What do the fringes tell us?** Find a group of fringes that are wide apart - in my example images, that's the part of the image running from top to bottom roughly in the middle of the reflection. This is made by the thickness of the glass slide being nearly the same thickness. Find a glass slide in your own pack that produces something like the same shape. With fringes visible we can see the following issues: 1. Temperature changes. 2. Lost coherence. 3. Mode/frequency hops. **Temperature changes.** Set up your laser and reflector, and get a good image of the fringes on your wall. Turn it off and let it cool down for 15 minutes. Now, turn on the laser again and make a note of where the wide fringes are on your wall. As the laser warms up and the cavity gets warmer - it expands and gets longer making the frequency change. In my example image I can see this happen by observing the fringes slowly climb/fall over a couple of minutes (the wide ones running from top to bottom). I can see one of the light wide bars gently rise about the thickness of itself. The thin stripes are too narrow to see it. You may need to push some blue-tac gently on your wall to mark one of the fringes positions, and then you will see the movement much easier. When the movement stops after around 2 to 4 minutes, the laser has reached temperature. Learn how long your laser takes for the fringes to stop moving - no more guesswork! If you try making a hologram while the fringes are sliding like this, you'll get a dim one. **Lost coherence.** This one is a biggie for me. ALL my lasers lost coherence after about 10 minutes of being run at their rated power. What it appears as is the dark stripes of the bars blur and then eventually vanish leaving a fairly even red reflection on the wall. Goodbye ANY attempt at a hologram! I found a red 200mA laser running at 3.5 volts worked best when I turned it down to 2.9 volts on my power supply. The fringes stayed well past 10 minutes of runtime. I maybe was left using a 150mA bright laser, but the exposure's still under 2 minutes. **Mode/frequency hops** The fringes in this case will jump suddenly about half a fringe length apart, a fraction of a second later they'd jump back! I found this one was NASTY. It happened across the minimum to maximum of the voltages I was powering the laser at. From 2.0v to 3.5v. What I discovered when I was changing my power supply output was that the frequency changes... and the fringes slide up and down a little. At some points the fringes got a little dimmer, and at some they started bouncing. Gently adjusting the power felt like I was tuning an old TV... the fringes would slide, then they'd jump a little, and then they'd get nicely defined and rock still! At that point I'd let go of the power supply voltage knob, and wait a while to check the laser didn't jump around again. As you may have realised after reading this - the best results you can get are from using a cheap lab power supply ($40)... and running your red laser diode about 3/4 of the power it can produce at its maximum! A little bit of "tuning" is required just before you make your hologram to ensure the ambient temperature isn't causing the laser to hop on a previously stable supply voltage. **To make the reflector** Print both parts using an infill around 45% to make it sturdy. Then take a thoroughly cleaned glass slide and use a TINY drop of super glue on opposite sides - place it snugly on the reflector front side. Wipe off excess superglue (away from the center of the glass slide!), and press it flat with some toilet paper and hold it about 10 minutes until it's set. Then gently sand the cone a little to make it rough - leave the plastic sanded off powder on it! Then do the same to the hole in the base. When the two pieces come together they should fit most of the way - and then lock tight with further pushing. I've left a little "nub" poking out so you can loosen the panel again and re-angle it. With a little practice the panel can be pressed in fairly tight, but allowing enough slip to change the angle without pushing it back out of the hole. Happy hologram making! Microscope cover slips - 22mm x 22mm x 0.17mm: https://www.amazon.co.uk/SGerste-Anatomy-Prepared-Microscope-Distortion-Free/dp/B07CZ7B8BR/ https://www.amazon.co.uk/Bresser-5915100-microscope-accessories-glasses/dp/B0017GVSKW/ https://www.amazon.co.uk/Homyl-Anatomy-Prepared-Microscope-Distortion-Free/dp/B07BHL1QM7/
With this file you will be able to print Hologram helper - Fringe Viewer with your 3D printer. Click on the button and save the file on your computer to work, edit or customize your design. You can also find more 3D designs for printers on Hologram helper - Fringe Viewer.