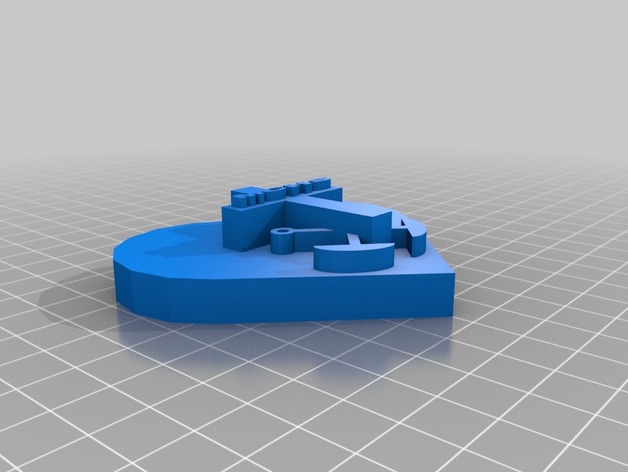
Holy Cross Icon Project
thingiverse
A Student Project: Exploring Holy Cross Themes through 3D Design After receiving introductory instruction in Tinkercad, students create an object that highlights what Holy Cross means to them and connects to their first-year experience as freshmen at the school. They present their designs during a prayer service. This project can be adapted to various subjects and serves as an introduction to 3D design and printing. Print Settings: Printer Brand: MakerBot Printer Model: MakerBot Replicator (5th Generation) Rafts: Yes Notes: Supports depend on the design Design Process: Students use Tinkercad after receiving instruction to create their designs. They decide on a project that incorporates Holy Cross themes and connects to their experience as freshmen. Lesson Plan and Activity: Theology Class Instructions: 1. Choose an object that you can relate to, connected to Holy Cross. 2. Make connections between the object, your personal representation, and Holy Cross. 3. Design the object to be printed on a 3D printer. 4. Present the design during prayer round 4. 3D Printer Certification: To use the MakerBot Replicator, students follow these steps: 1. Download the MakerBot software from the website. 2. Download the classic_button.stl file as their test print. 3. Open the MakerBot Print application and add the model to the project panel. 4. Select the printer settings and prepare for printing. Tinkercad Instruction: After certification, students sign up for a Tinkercad account and follow basic instruction on using the software (https://youtu.be/-9daIzs1i7w). They design their objects, considering supports to avoid messy prints. Materials Needed: * Laptop * MakerBot Print app * Tinkercad account * 3D printer/filament Skills Learned: * MakerBot Print * 3D design * Duration of Lesson: 80 minutes * Preparation: + Have samples for explaining supports, rafts, and print time. + Verify the MakerBot Replicator is installed on all computers. + Work with the Theology teacher to create a printing schedule. References: * 3D Design LibGuide - http://moreaucatholic.libguides.com/c.php?g=426721&p=2913214 * Getting Started with the MakerBot Replicator - https://sites.google.com/moreaucatholic.org/mchsmakerlab/get-started/makerbot-replicator
With this file you will be able to print Holy Cross Icon Project with your 3D printer. Click on the button and save the file on your computer to work, edit or customize your design. You can also find more 3D designs for printers on Holy Cross Icon Project.
