Home Assistant ESP32 Alarm Keypad
thingiverse
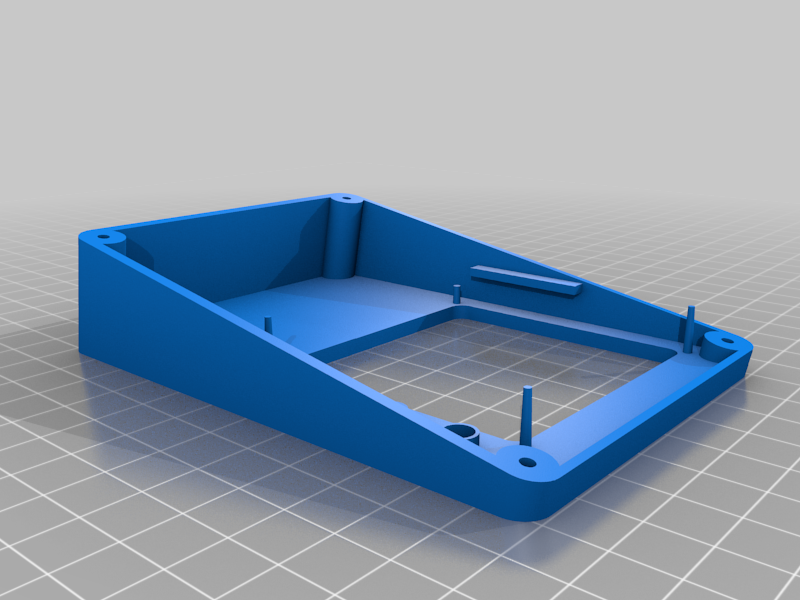
More info here https://community.home-assistant.io/t/esp32-alarm-keypad/422952/ In action: https://youtu.be/KX8sle-yERo Parts: 1x ESP32: https://www.amazon.co.uk/gp/product/B08DR5T897 1x 4x4 matrix keypad: https://thepihut.com/products/4x4-matrix-keypad 1x USB DIP PIN board: https://www.amazon.co.uk/gp/product/B07W13X3TD 1x Micro USB right angled connector pointing the right way: https://www.amazon.co.uk/gp/product/B00Y1LOBOU 2x M1.7 x 5 screws (for the USB board) 1x M2.6 x 6 screws (for the keypad plate) 4x M3 x 16 or 20 (for the case bottom) 4x LEDs (Green, Red, Yellow, Blue) 1x 5 pin dupont connector 2x 8 pin dupont connectors Ribbon cable, solder, crimping tools etc Example Screw sets: https://www.amazon.co.uk/gp/product/B07XCB4MMW/ https://www.amazon.co.uk/gp/product/B08YYYDTFB/ Notes: - Requires supports for the top and bottom, not the keypad flap - Screw hole on the back should fit M3 screws, bit tricky to get the support out - Good idea to put some electrical tape on top of the USB connector. - When adding the keypad flap (looking at it from the inside) - place the bottom right corner on the pins first then gently turn it into the correct position lining up with the top pin
With this file you will be able to print Home Assistant ESP32 Alarm Keypad with your 3D printer. Click on the button and save the file on your computer to work, edit or customize your design. You can also find more 3D designs for printers on Home Assistant ESP32 Alarm Keypad.