Hook for mini gantry for 20x20 aluminum extrusion x-axis conversion
thingiverse
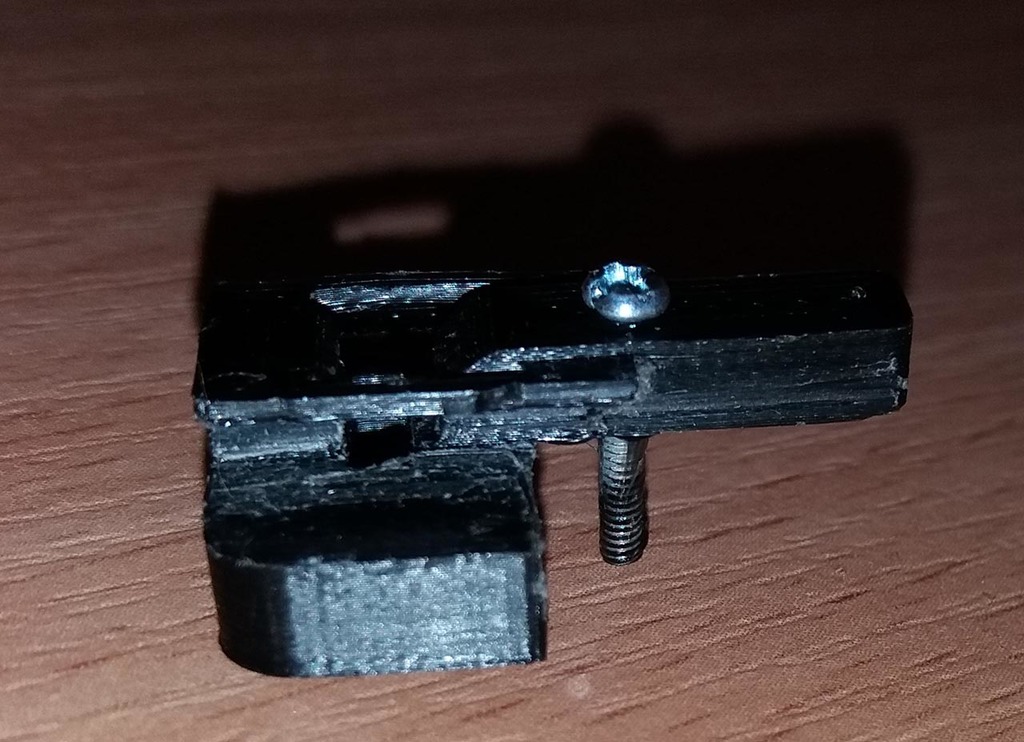
There is a great x-axis conversion for 20x20 aluminum extrusion https://www.thingiverse.com/thing:1285301 I did a remix for it for my tronxy p802ma printer https://www.thingiverse.com/thing:2766399 However, the conversion requires using 20 tooth pulley and idler, otherwise the belt is not parallel to the axis. To understand: with 16 tooth pulley/idler the problem is not visible in the center of a bed because error is only 0.006mm. However, close to the edge the error becomes as large as 0.5mm. I did not want to use 20 tooth pulley/idler because resolution is decreased by 25% and torque also decreases by 25-28%. So, i created a special hook which pushes the belt into the extrusion, so the belt goes parallel to the axis. I am testing now. First test prints turned out great. Well, not worse than in the center of the bed. The whole x-axis conversion just makes everything better. I provided two versions. The flange is very thin (only 2.4mm) and can break off easily. When i printed mine one broke when i tried to insert it. I simply melted a screw into it. So, i did a second version with two 1mm holes where you can put little metal pieces. Better melt them into the holes. Installation is hell. You will either need a lot longer piece of belt or tied a thread to one end to pull it through the holding hole later. The procedure: 1) Secure one end of a belt into one hook 2) Insert hook into mini gantry 3) Trace the belt into the extrusion, through the left z holder, motor holder, turn around, through the right z holder, through the idler, again right z holder (return path) 4) pull into the right hook belt hole 5) insert hook into the gantry 6) put the gantry on the extrusion 7) secure the belt on the right hook 8) tension the belt Securing the belt is simple - fold the end of belt and push it back into the hole, insert a pint into the belt loop, as small as 0.5mm in diameter. Printing: PLA, turn it 180 around, supports needed, 0.2mm per layer, 100% infill Lots of work to remove the supports and the sand everything so it goes smoothly into the extrusion. I provided solidworks files, fill free to play with the design. Final thoughts: Originally i did a hook like this for Y axis conversion (not published and not finished yet). There it seems as the only way to go. However, for X axis now i thing is not really necessary. A better way would be to go with 20 teeth pulley/idler and just secure the belt from the inner side, so it is as parallel as possible. The error will be negligible this way. The resolution will drop from 0.01mm to 0.0125mm, but it is totally beyond error which is introduced even by the extrusion process itself. However torque will be decreased by as much as 30%, but we are on wheels now, and do not need as much torque. Maybe only for stopping after acceleration, but anyway nobody notices any problems. However, for Y axis 16 teeth, i think, are necessary, because the weight is a lot more and we need as much torque as we can get. UPDATE 06/02/2018: Printed 0.5kg of plastic with it- not problem.
With this file you will be able to print Hook for mini gantry for 20x20 aluminum extrusion x-axis conversion with your 3D printer. Click on the button and save the file on your computer to work, edit or customize your design. You can also find more 3D designs for printers on Hook for mini gantry for 20x20 aluminum extrusion x-axis conversion.