Horizontal & Hole expansion tests
thingiverse
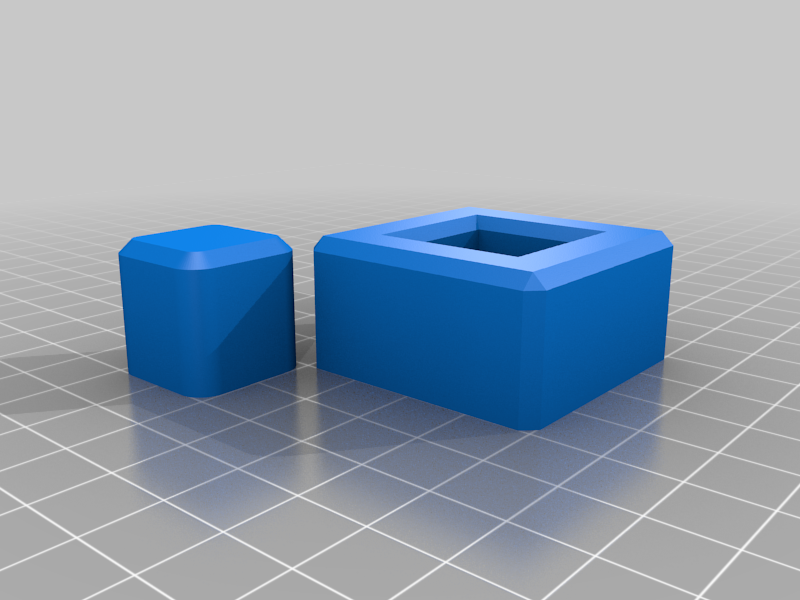
The 2 Tests are to Dial in the Horizontal Expansion and the Horizontal Hole expansion. The 2 versions have: - 40mm Plug-Size, 40mm Hole-size, 60mm Frame-Size - 20mm Plug-Size, 20mm Hole-size, 40mm Frame-Size Of course, you can adjust the size in Cura if wanted... Be sure to place the Seam in a way to have it in a round part of the plug to not being bothered by blobs from layerchanges. --> Place it at 45°, 135°, 225° or 315° / Top-Left, Top-right. Bottom-left or Bottom-right in Cura Start with all 3 Expansions @ 0.0mm. - Dial the outer dimension first (Horizontal expansion) - Then, Dial in the Hole-Size (Horizontal Hole expansion) - Lastly (Can also be done during the other 2 tests) adjust for elefants foot (Initial Layer horizontal expansion). To not being bothered initially with elefants foot, you can fit them / test them TOP to TOP: Flip one part after printing and match them with chamfered sides. I often print them with 0 Bottomlayers and 0 Top layers... Oh... cura has Hole expansion in RADIUS and not Diameter. So, if your hole is 0.3mm too small initially, go with 0.15mm hole expansion.
With this file you will be able to print Horizontal & Hole expansion tests with your 3D printer. Click on the button and save the file on your computer to work, edit or customize your design. You can also find more 3D designs for printers on Horizontal & Hole expansion tests.
