How I Spiral and Test Blocks to Spiral With
thingiverse
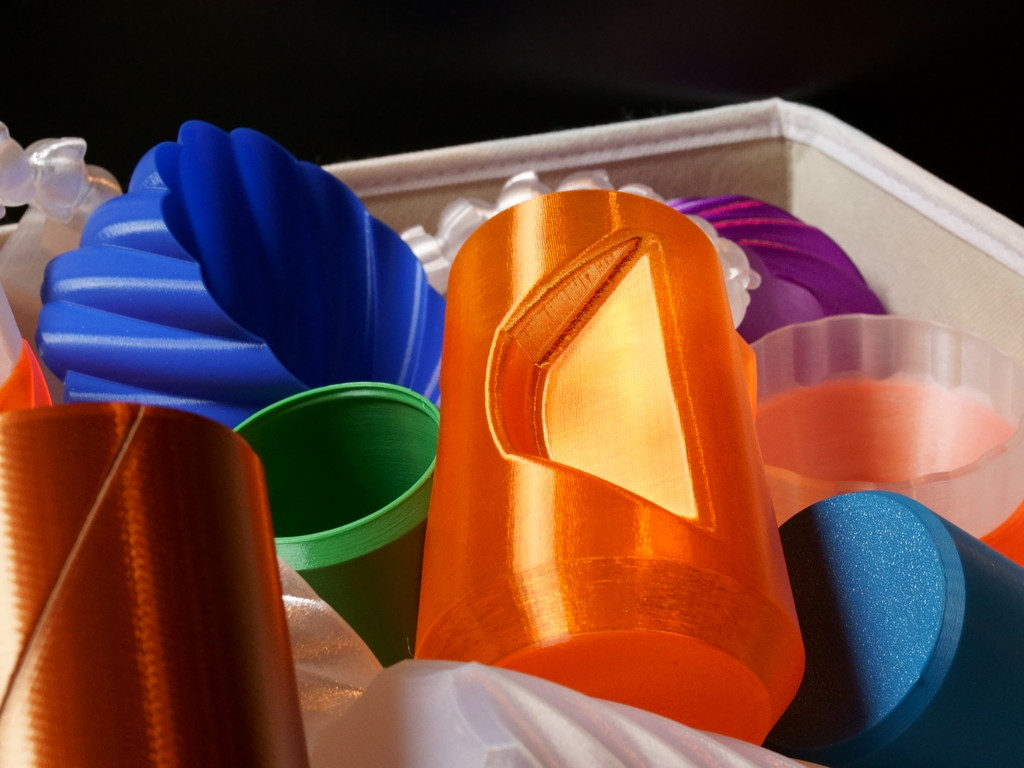
Too Long Didn't Read. I'm not Brook Drumm, but I posted a link to his video on high flow spiral printing. That's not my content, though it does feature Brook explaining the concept. Introduction: The spiral vase has an inexplicable pull on me, much like rocks are drawn to gravity. It often becomes my go-to choice for approaching new designs or making existing print designs faster and stronger. Most of my designs incorporate the spiral vase, and I frequently share print settings to help ease the challenges of 3D printing. Occasionally, I post some incorrect information or get a design half-right or completely wrong. This prompts me to review all my previous posts and correct each one individually - a tedious task that I'd rather avoid. Nozzle Diameter: I use Prusa MK3 printers with 0.4mm nozzles, which allow me to achieve wall thicknesses between 0.4mm and 1.0mm. If you're aiming for thicker walls during spiral vase printing, swapping the nozzles might be necessary. Line Width and Flow Rates: Flow rate is crucial in most of my designs. I was introduced to high flow rates after watching a YouTube video by Brook Drumm (Printrbot), which explained how to print prosthetic limbs using thick, solid walls created with high temperatures and flow rates. I use Cura for slicing. Two settings that affect the flow rate are available: line width and flow rate itself. However, if used together, they don't produce the desired result. Setting the line width parameter adjusts the flow rate to achieve the selected width. Modifying the flow rate seems to adjust off of this value. If I set 0.67mm line width and 160% flow, I get a spiralized wall that's roughly 1mm thick. If you're using Cura, I recommend using line width as the driving parameter and only adjusting flow rate for minor changes. Using line width is likely the simplest way to achieve prints with the correct outer dimensions. Cura adjusts the center of the nozzle based on the line width parameter, so if you ask for a 20mm OD cylinder, that's what you get. If you don't have an equivalent slicer setting or if this setting doesn't maintain the outer dimension of the part model, you can still adjust flow or extrusion rate and scaling. In both cases, your slicer should offset the nozzle position by half the nozzle diameter, so we start from there. Untested Model: ( Target OD - ( Wall Thickness - Nozzle Diameter ) ) / Target OD = Scaling % With a bit of luck (I'm looking for feedback), this formula can help us determine the correct scaling factor. Scaling: Your slicer doesn't understand your intentions; it's an adorable little puppy waiting for you to tell it what to do. Let's take a model with profile lines brought near enough to weld extrusion lines together. If we scale it, we'll run into issues at roughly 30-40% variance. You placed profile lines 0.4mm apart for a 0.4mm extrusion width so they will barely weld together. If you scale it up by 50%, your profile lines are now 0.6mm apart, leaving a 0.4mm gap between your walls, so no welding. Scaling down runs into the intersecting profile line issue mentioned in part design. The slicer will start skipping parts of our profile since it recognizes that the lines intersect but doesn't know how we want to resolve the intersection. You can either alter the model in the design program or increase/decrease your extrusion line width in accordance with your scale. Model Scale = 150% Extrusion Width Modifier = 150%
With this file you will be able to print How I Spiral and Test Blocks to Spiral With with your 3D printer. Click on the button and save the file on your computer to work, edit or customize your design. You can also find more 3D designs for printers on How I Spiral and Test Blocks to Spiral With.