Hue Switch Faceplate - 3 Gang
thingiverse
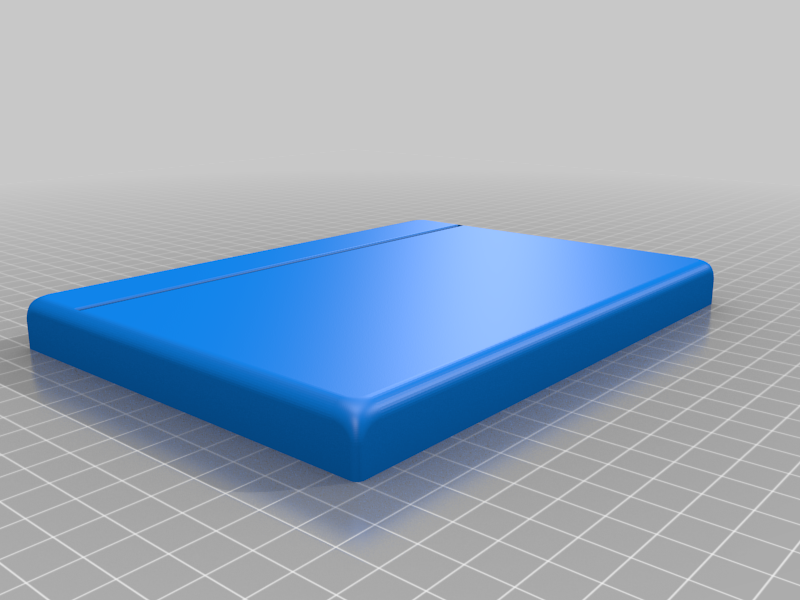
This is a custom faceplate designed to cover an existing 3 gang faceplate and provide a holder on which to place up to 3 Hue dimmer switches (https://www.philips-hue.com/en-us/p/hue-dimmer-switch/046677473372). *Important* The faceplate only provides enough clearance to cover existing decor style switches. Traditional flip switches will not fit under the cover. In order for the hue dimmer switch to attach to the faceplate you will need to glue relatively strong magnets to the inside of the face plate. I used Neodymium Disc Magnets (https://www.amazon.com/gp/product/B07PWP9DWC/ref=ppx_yo_dt_b_search_asin_title?ie=UTF8&psc=1) and they work great. Installation: 1. Using the existing screws holding the faceplate to the wall, attach the faceplate holder to the existing on-wall faceplate. 2. Before installing the faceplate position the magnets on the inside of the faceplate such that they align with the magnets in the hue dimmer switch and hold them in place. Once positioning is established glue the magnets to the back of the faceplate. Note the groove in the faceplate should align with the hue dimmer switch 3. Glue the switch inset part to the faceplate such that the insets align with the the hue switch placement. 4. Push the faceplate onto the the faceplate holder that is attached to the on-wall faceplate. The tabs in the faceplate holder should provide enough friction to hold the faceplate cover in place snugly. To remove simply pull the faceplate cover off of the wall, being careful not to snap the faceplate holder that is screwed onto the on-wall faceplate.
With this file you will be able to print Hue Switch Faceplate - 3 Gang with your 3D printer. Click on the button and save the file on your computer to work, edit or customize your design. You can also find more 3D designs for printers on Hue Switch Faceplate - 3 Gang.