Hugo toy car
thingiverse
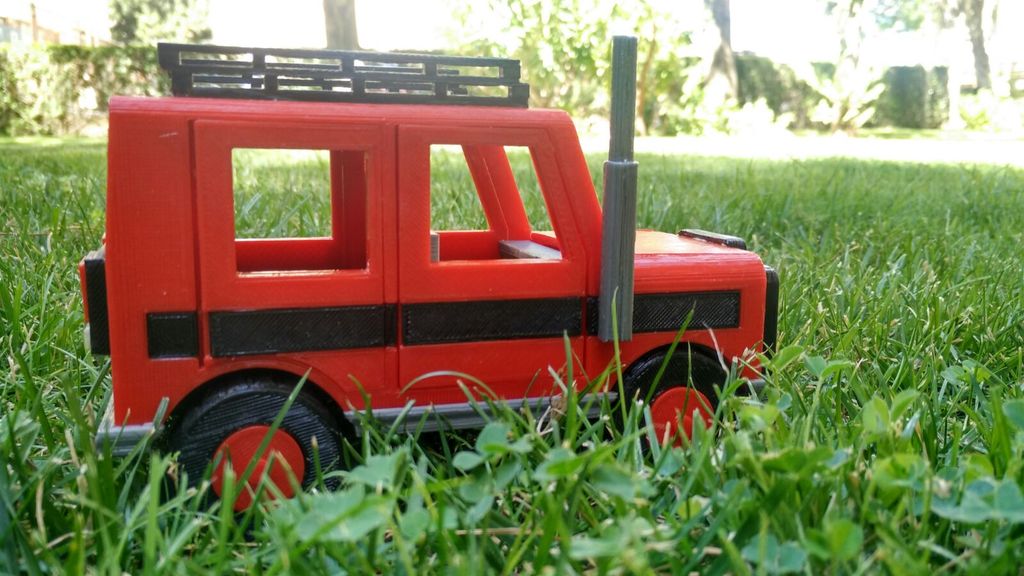
#Hugo Toy Car ###v 1.0.0 #### Mechanics Linear bearing LMU88 x2 ####Printed Parts #####Wheels Axis x2 Wheel Hook x2 Tire x4 Rim x4 #####Spotlight Frontal White Spotlight x1 Back White Spotlight x1 Back Red Spotlight x1 #####Bodywork Car Roof x1 Trunk x1 Lateral left x1 Lateral right x1 Front doors x1 Back doors x1 Frontal x1 Exausht Pipe x1 Bumper x1 ##### Inside Inside x1 #####Decorations Roof x1 Grill x1 Lateral Embelliser Left x1 Lateral Embelliser Right x1 Back hook x1 #####Luggage Luggage x1 Luggage1 x1 Luggage2 x1 Luggage3 x1 ####Assembly For joining the pieces I recommend using PVC glue, silicone or any strong glue. The doors in this first version can not be opened! 1. Glue the Lateral Embellisers to the doors and car laterals. 2. Join the bodywork pieces except the lateral bumpers and glue the roof, the back hook, the spotlights, and the grill. 3. Apply a layer of varnish to make the structure strong, and let it dry off, meanwhile, glue the linear bearings into the wheel hooks and glue it to the inside. 4. Join the inside with to the bodywork and apply another layer of varnish. 5. Glue the tire into the rim and all this piece to the axis (just one extreme), insert into the linear bearing and glue the other wheel. ####Recommendations Be patience at the assembly. Sand the pieces before glue it to improve adhesion If there is something wrong with the pieces I ll try to fix it as soon as you tell me. More vehicles coming soon.
With this file you will be able to print Hugo toy car with your 3D printer. Click on the button and save the file on your computer to work, edit or customize your design. You can also find more 3D designs for printers on Hugo toy car.