Hyper X Carriage
thingiverse
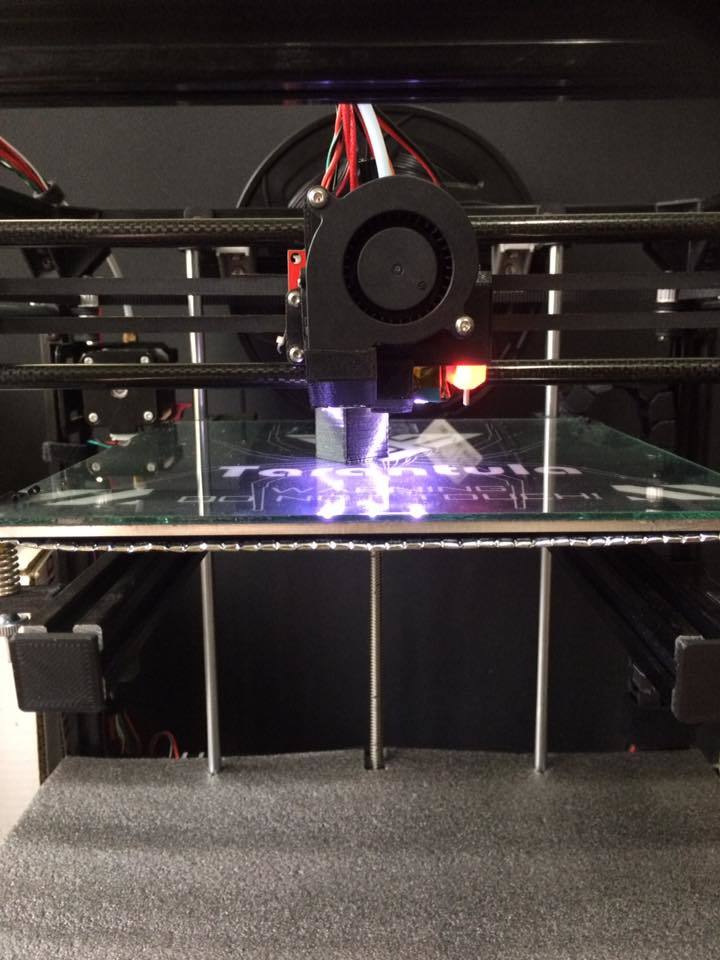
I experimented with using balsa wood to keep the X axis set up as light as possible, in line with Tech2C's ideal. To minimize parts and screw counts, I also integrated different elements that went into the whole X carriage setup. In the second iteration, I did away with the brass bushing and raised the Z clearance. https://www.facebook.com/groups/1871049783171141/permalink/1962681270674658/?comment_id=1963679073908211&comment_tracking=%7B%22tn%22%3A%22R0%22%7D Notes ------ The 5015 fan is a critical component that needs to be integrated into the whole structure, so it must tighten down properly. One drawback of this design is that it becomes harder to swap out the hot ends if needed. To prevent damage, I highly recommend using a silicon sock for the hot end and protecting your BL touch with some Kapton tape and cork sheet. Fans ---------------------- 1 x 5015 blower fan 1 x 40mm radial fan (the fan that comes with the hot end/heat sink) Screws and Nuts ---------------------------------------- M3 screws: 2 x 6mm (for BT touch mount) 3 x 8mm (1 for 40mm radial fan mount, 2 for BL touch mount) 4 x 20mm (2 for e3d clamp, 2 for 5015 blower fan) M3 nuts: 6 (2 for e3d clamp, 2 for 5015 blower fan, 2 for BL touch) Painter's Tape and Kapton Tape ---------------------------------------- To ensure a proper fit, I used painter's tape and Kapton tape to compensate for any slack caused by the integrated printed bushing.
With this file you will be able to print Hyper X Carriage with your 3D printer. Click on the button and save the file on your computer to work, edit or customize your design. You can also find more 3D designs for printers on Hyper X Carriage.