Hypercube EVO LM10 10mm X-Carriage
thingiverse
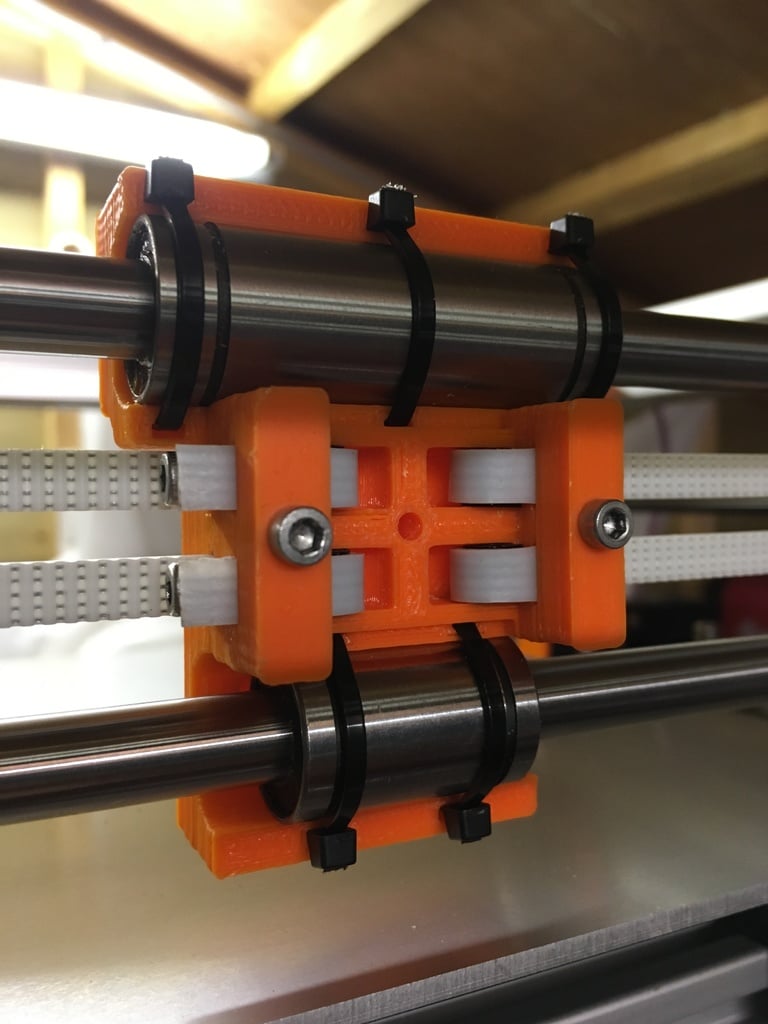
<i>Please consider a small [donation](http://paypal.me/geoffsim59 "PayPal") if you find this design useful.</i> A 10mm X-Carriage for the Hypercube EVO, drawing heavily from the original 8mm carriage design, along with influences from the Prusa i3 MK2 X-Carriage. Bill Of Materials: 1 off LM10LUU bearing. 1 off LM10UU bearing. 5 off 100mm x 2mm zip ties (the holes are 4mm wide, and so may accept other sizes). 4 off M3 x 12mm pins (carriage/extruder mount alignment pins). 14 off M3 nuts. Square nuts are preferred for the hotend/sensor clamp. 2 off M3 x 10mm bolts (optical sensors). 6 off M3 x 12mm bolts (belt adjusters & cooling fan nozzle mount). 2 off M3 x 20mm bolts (hotend/sensor clamp), 1 off M3 x 25mm bolt (carriage to extruder mount fixing). 2 off M3 x 30mm bolts (belt clamps). 1 off E3Dv6 hotend. 1 off 12mm sensor. 1 off 50mm blower fan. 1 off part cooling fan nozzle from original Hypercube EVO post. Once printed, * Clean out the belt guides with a small flat file. * Enlarge the 4 alignment holes *only* on the X carriage to 3mm using a 3mm drill bit. * Enlarge all the other holes to 3.2mm using a 3.2mm drill bit. * Push/hammer the pins into the appropriate holes on the X carriage. * Push/hammer all the nuts into their respective holes. * Pop the X carriage onto the rails, upper LM10LUU 1st. * Fit the zip ties with heads facing away from the carriage (see photo), tighten and trim. Note that this carriage is 6mm wider, and the nozzle 2mm forwards, compared to the LM8UU version. Make sure you use the modified X end-stop flags, or the sensors will not trigger.
With this file you will be able to print Hypercube EVO LM10 10mm X-Carriage with your 3D printer. Click on the button and save the file on your computer to work, edit or customize your design. You can also find more 3D designs for printers on Hypercube EVO LM10 10mm X-Carriage.