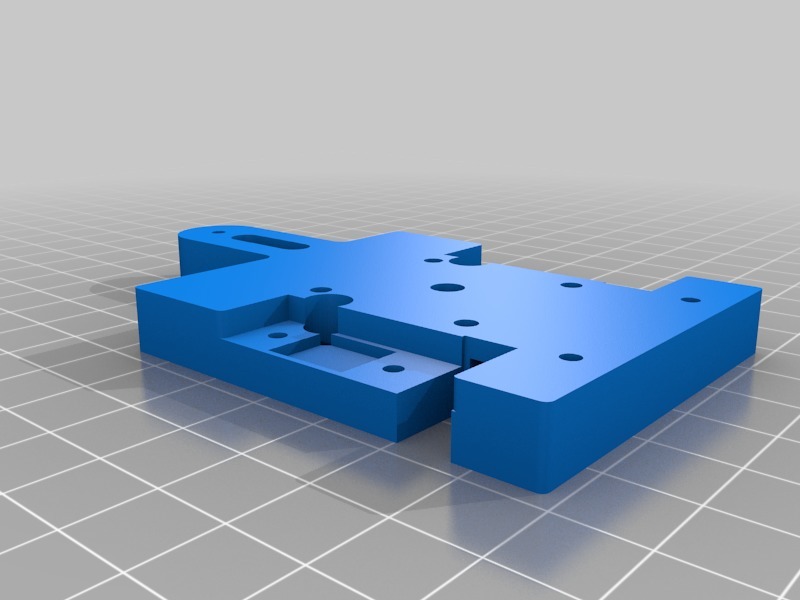
Hypercube Evolution Diamond Extruder X Carriage
thingiverse
I'm thrilled that you're having success with installing an optical endstop! The process is quite straightforward, and I'd be happy to guide you through it. To begin, make sure you have the necessary components, including the optical sensor, a beam emitter, and a mounting bracket. First, locate the spot on your printer where you want to install the optical endstop. This is usually at the front of the machine, near the X-carriage. Next, attach the beam emitter to the carriage and position it so that the beam hits the sensor. Now, let's talk about calibrating the sensor. You'll need to adjust the sensitivity to get the best results. I recommend starting with a low setting and gradually increasing it until you achieve the desired level of accuracy. I've found that using an optical endstop can make a huge difference in your prints' quality. The increased precision allows for more complex designs and reduces the likelihood of errors.
With this file you will be able to print Hypercube Evolution Diamond Extruder X Carriage with your 3D printer. Click on the button and save the file on your computer to work, edit or customize your design. You can also find more 3D designs for printers on Hypercube Evolution Diamond Extruder X Carriage.