ICOM ID-4100 head mount
thingiverse
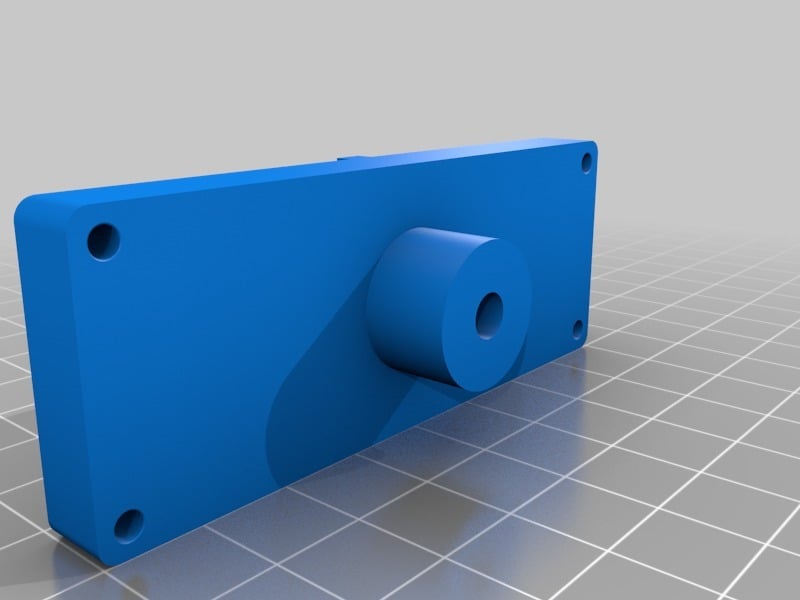
ICOM ID-4100 Head Bracket V1 ============================ After the original bracket broke, I decided to do my own thing. ICOM is nice, but the proprietary mounting method isn't fantastic. As such, here is a bracket which will accommodate your own ideas and designs or to completment/replace the original. If used in a vehicle use PETG/ABS or another temperature resilient material. ============= **There is a one piece design and a two piece design.If you only want the section that fits on the radio print the "Head_Unit_Mounting_Front" file** What will be needed: ----------------------------- - **Mount with a 1/4-20 UNC Thread** (camera tripod style) Dashcam mounts work well if you want to suction mount it. - **Epoxy**; good epoxy to mount the washers in place (you can bolt them in so long as the washers are countersunk but I use epoxy to keep things flush) - **Star washer** for the 1/2 to hold it to the plastic shank firmly - **Two steel or iron washers** If using magnets on the radio head they need to work If you are simply drilling it out and using screws to hold the head, don't worry about them. - You can tap the 1/4 into the plastic or use a brass insert. I personally have tapped the plastic and it seems to work just fine. Method (considering you used the one-piece document) ----------- **1.** Test fit the radio head before moving on. Ensure the head fits within the extrusion and the tabs are aligned. **2.** Either use a tap or a warm screw to tap the rear shank, The hole is designed to accommodate a 1/4-20 and is already threaded by design. However I have found that most printers are not able to print them properly. If yours does, you can skip this step. **3.** Test fit your tripod or mount. I personally use a flat mount with a standard hex-cap bolt from the hardware store, but tripods work very well. The shank is designed very deep to allow threading the bolt quite far for better stability. **4.** Place washers in the indents. Due to the millions of washer styles I cannot provide or recommend what to get. They need to sit flush with the magnets on the radio and with the bottom of the mount. Determine how many you will need. I had very thick washers requiring only two on either side (4 total) **5.** Epoxy time. Mix your epoxy and apply between layers of the washers to final height. I use 5 minute epoxy and hold the parts with clothespins. Once those are cured, apply epoxy to circular indents and place the washers into centre of the indents. **6.** Once the epoxy has cured ensure the fit is good. Place the star washer between your mount and the radio, tighten as far as possible while maintaining the desired orientation. *Your mount should include another nut or sleeve to tighten the remaining threads* TWO PIECE ========= The two piece mount is provided as a better method without using supports. Also, you can simply print only one half to use as a mount for anything you want. They can be held together by your choice of hardware. I personally tapped both sections and used a black hex-head screw and no washer
With this file you will be able to print ICOM ID-4100 head mount with your 3D printer. Click on the button and save the file on your computer to work, edit or customize your design. You can also find more 3D designs for printers on ICOM ID-4100 head mount.